tutorials
Installing Ubuntu using VirtualBox
Overview
This tutorial provides instructions for installing the latest Ubuntu LTS (Long Term Support) version using VirtualBox.
At the time of this writing, the current LTS is 24.04.
Outcomes
- Produce a working installation (virtual machine) of Ubuntu LTS
Prerequisites
- A computer with 6GB+ of RAM running an OS that is compatible with VirtualBox and an AMD64 or ARM64 CPU.
Important note
Background
This section provides a bit of background on the key technologies involved in this tutorial.
What's Linux?
Linux is a common core or kernel shared by a class of operating systems (OS). Commonly, however, people simply use Linux to refer to operating systems that use the Linux kernel.
History/Lineage
Linux was developed by Linus Torvalds in the 1990s as an extension to the GNU operating system (which in turn was a rewrite of AT&T's Unix OS).
What's VirtualBox?
VirtualBox is a free, cross-platform (AMD64 CPUs running MacOS, Windows, Linux, etc.) application for software virtualization that allows you to run multiple guest operating systems (virtual machines) at the same time on a single host OS (the OS of the physical machine on which VirtualBox is running). If something goes wrong with a virtual machine (for example, perhaps you're experimenting with a completely new OS), you can safely delete or replace it without damaging your host OS.
Why use Linux?
Highly customizable: Unlike operating systems such as Window or MacOS, the core of a Linux OS is open-source software (OSS) making it highly customizable.
Democratized access: Most Linux distributions are free and some Linux distributions are completely open source!
Fast and lightweight: Linux distributions can be barebones. Some have no graphical interface at all (these are typically labeled as server distributions). As such, they typically run faster than commercial alternatives.
Common in the developer world: While you may not see many computers sold with a Linux distribution preinstalled at large retailers, Linux distributions are quite common. Many devices such as TVs and e-readers are powered by Linux.
Most (if not all) of the world's supercomputers run a version of Linux
Linux is fairly ubiquitious on large cloud computing providers
Why is this necessary?
Many of the tools we will use were developed on Linux-based OS. This course uses a Linux-based development environment. For the sake of uniformity, we'll be using the latest Ubuntu Desktop LTS which is a Debian-based Linux distribution.
Prerequisites
Before starting, ensure that …
- you have a machine with at least 8GB of RAM and 50GB of free space
Part 1: Installing VirtualBox
Follow this link and install VirtualBox according to the instructions provided for your operating system (OS).
Checking the version of VirtualBox
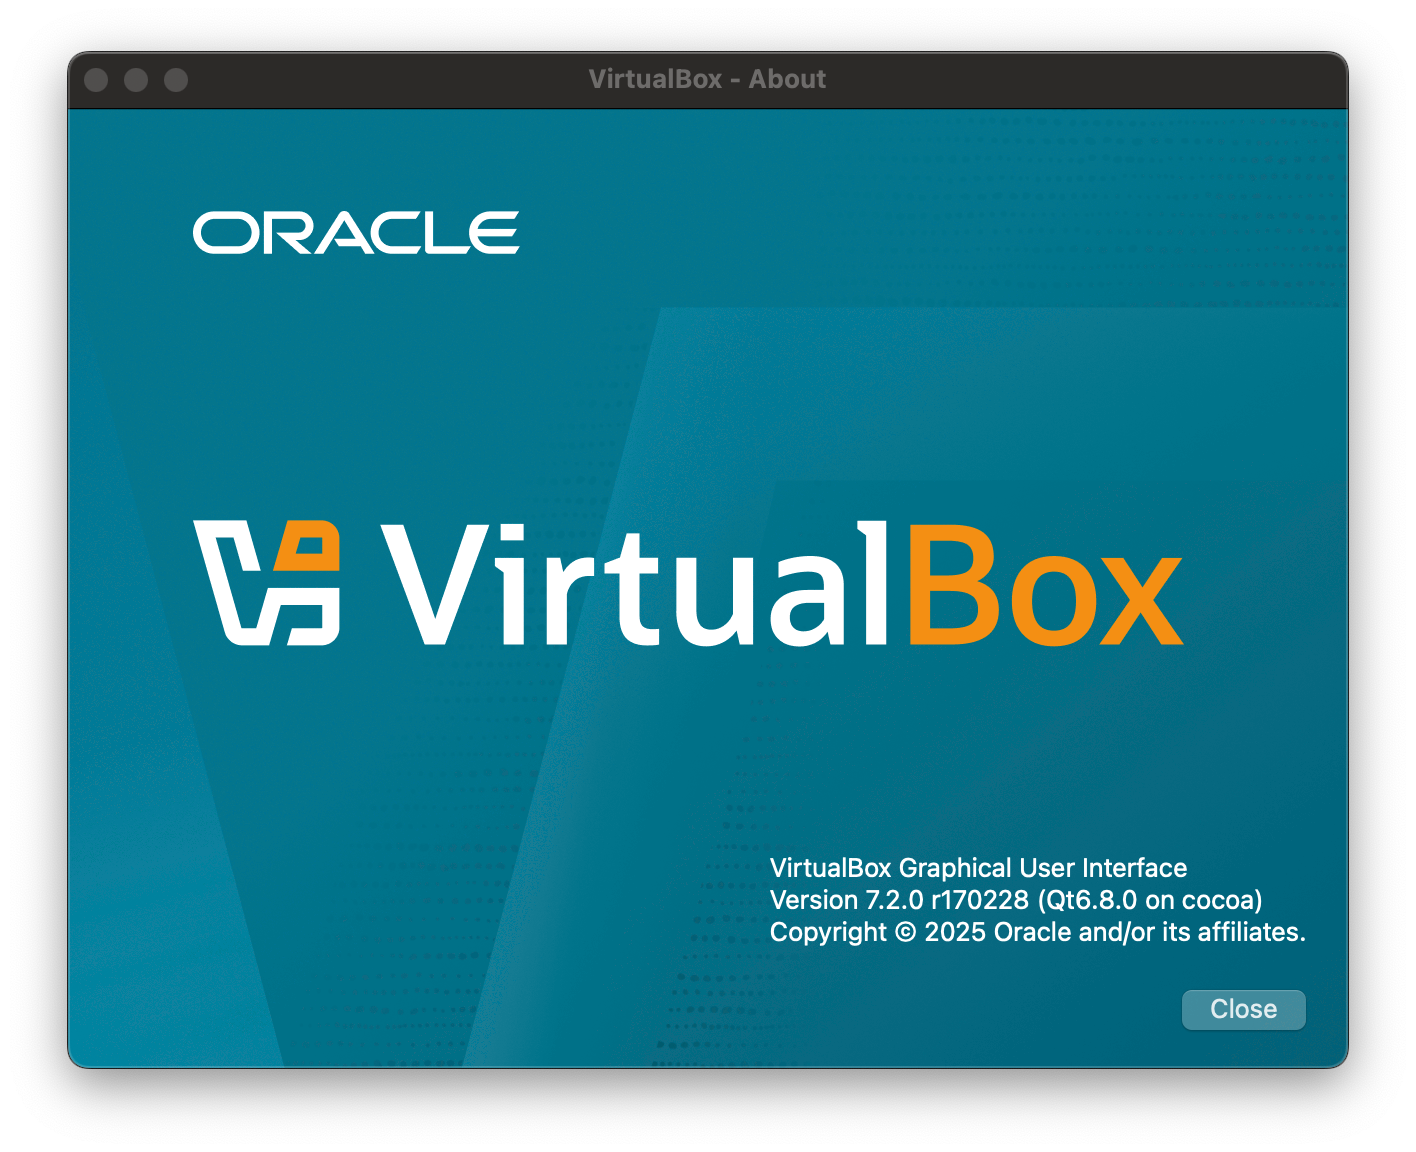
- Click
VirtualBox→About VirtualBox. You can check the version in the window that launches.
Part 2: Downloading Ubuntu LTS
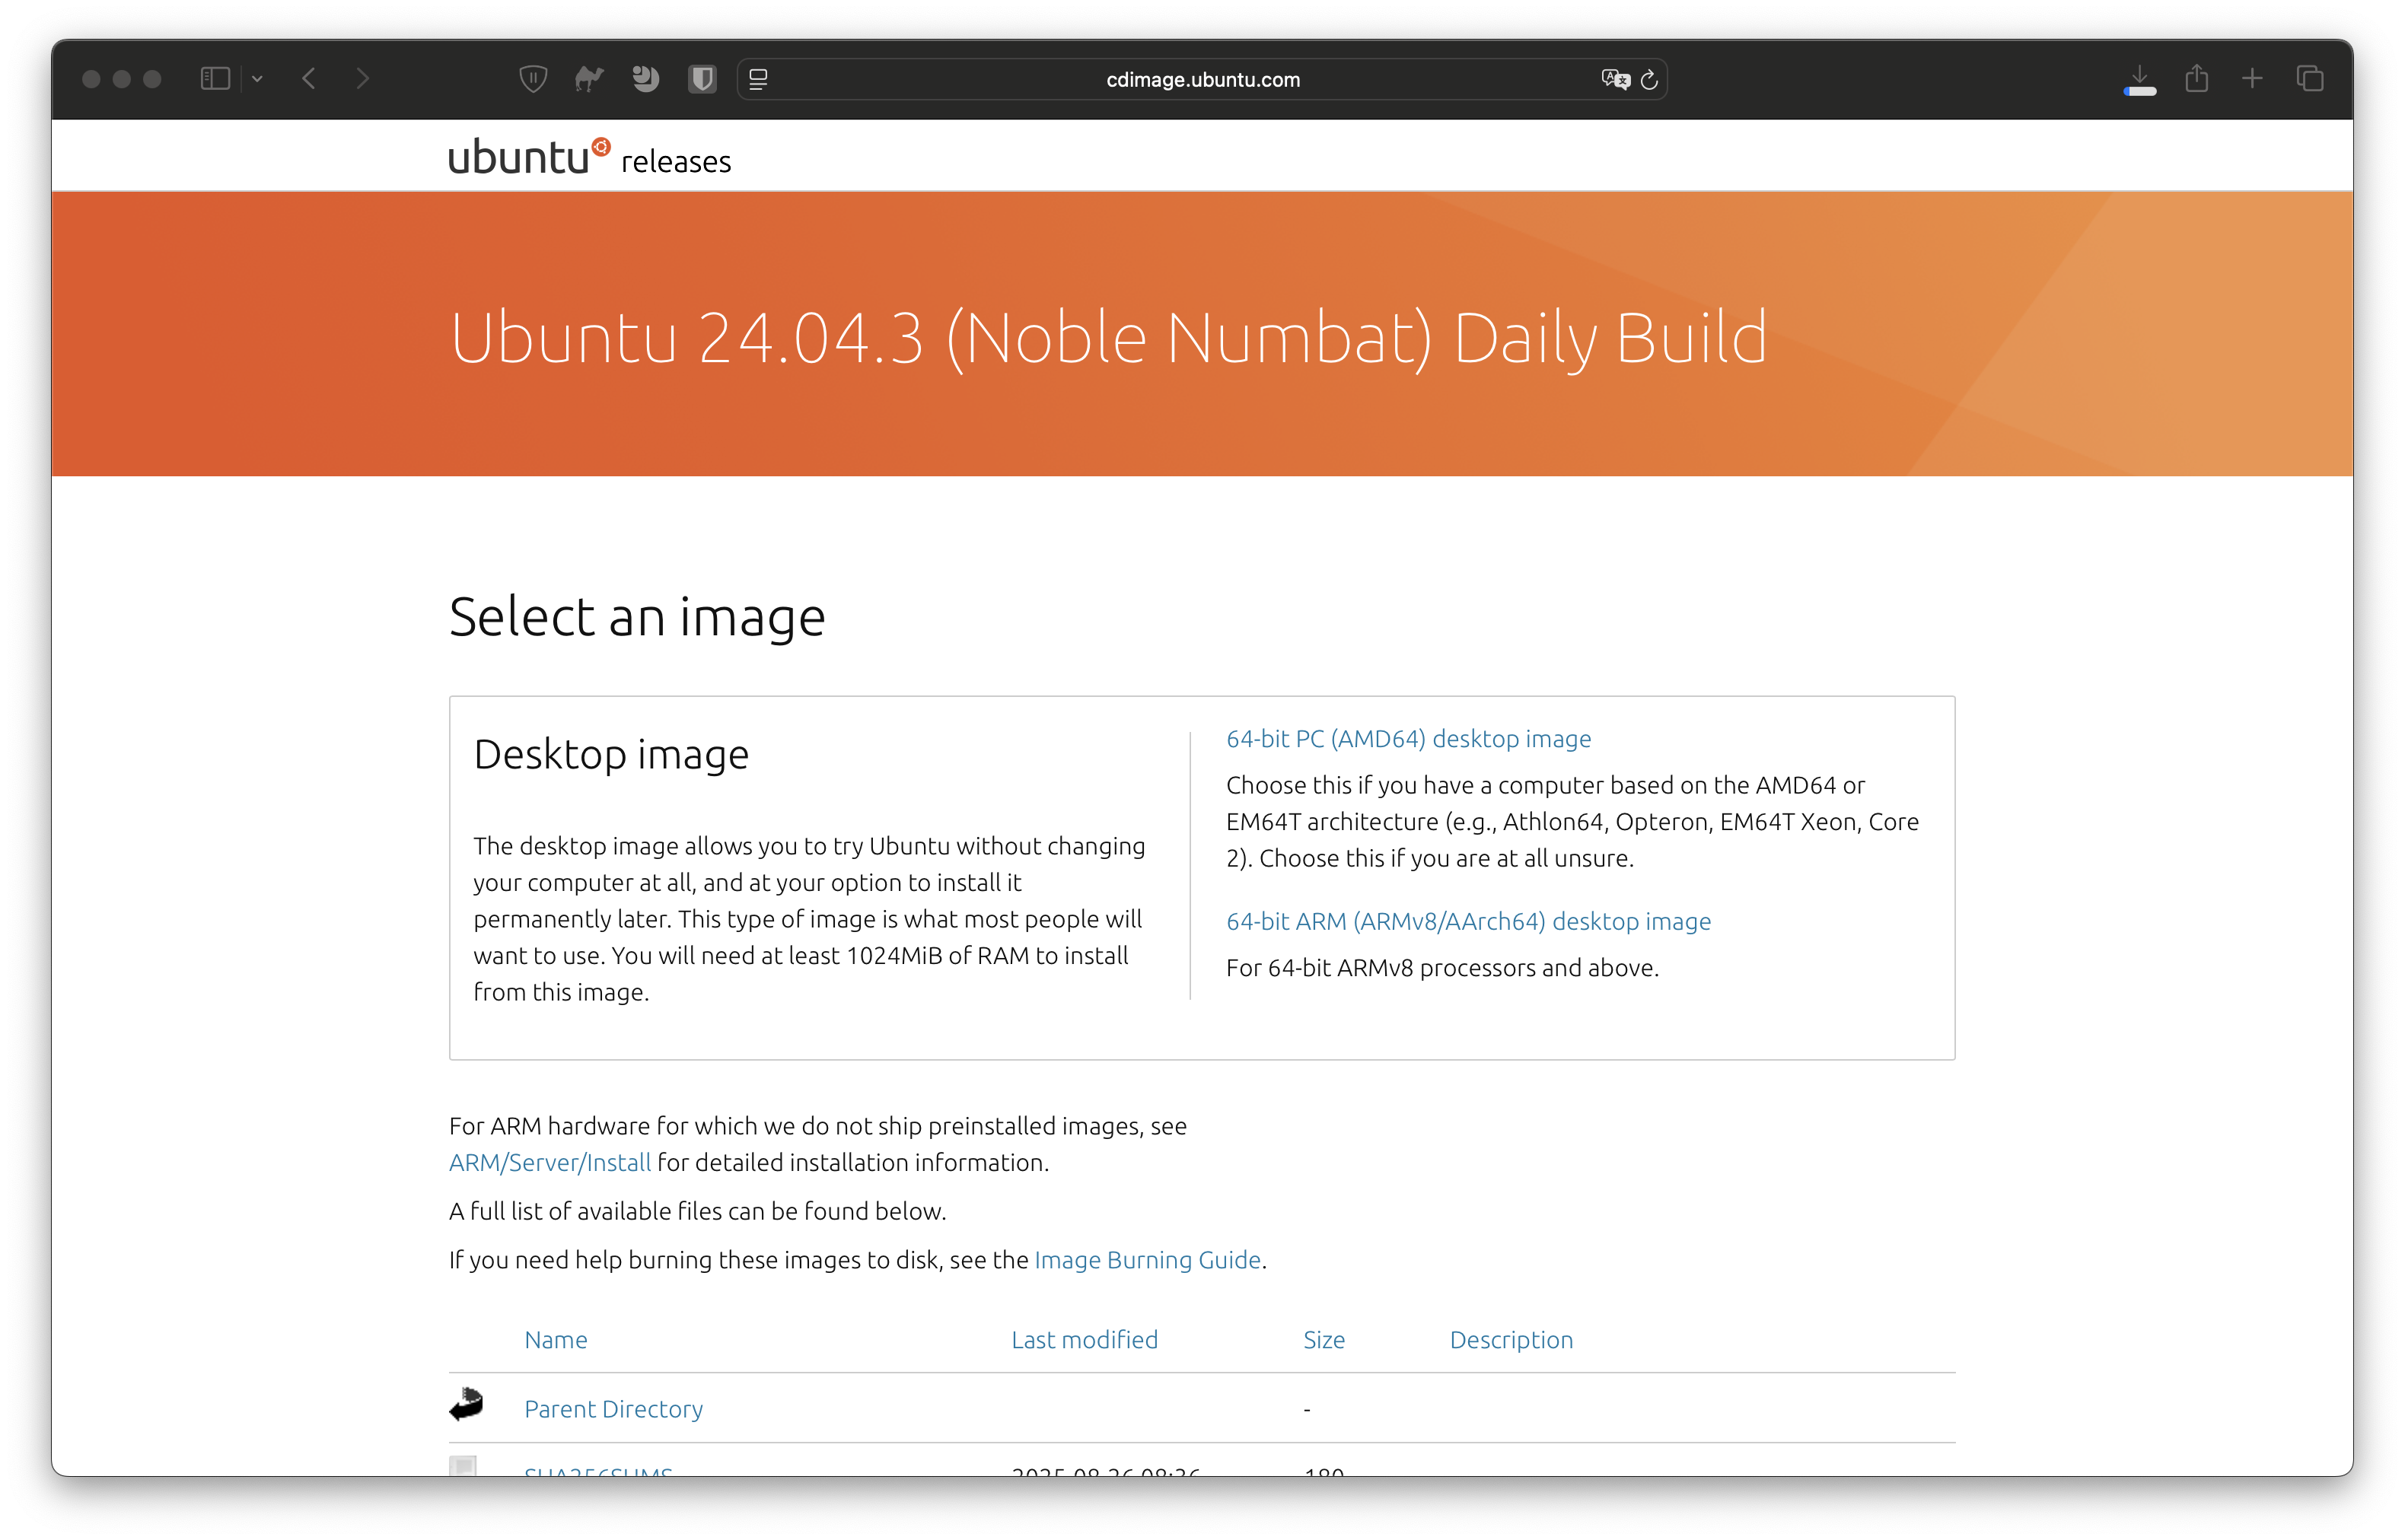
- Open the Ubuntu Desktop LTS (Long Term Support) release page in your computer's web browser. You can download the Ubuntu disk image (also known as an ISO file) here.
Alternatively, you can use one of the following links:
- AMD64: https://public.parsertongue.org/ubuntu/ubuntu-lts-amd64.iso
- ARM64: https://public.parsertongue.org/ubuntu/ubuntu-lts-arm64.iso
- After confirming that the platform architecture of your ISO file, click
Download.
Part 3: Creating a virtual machine (VM) using VirtualBox
- Open VirtualBox (instructions vary depending on your host OS). If it's your first time opening VirtualBox, select the Basic mode.
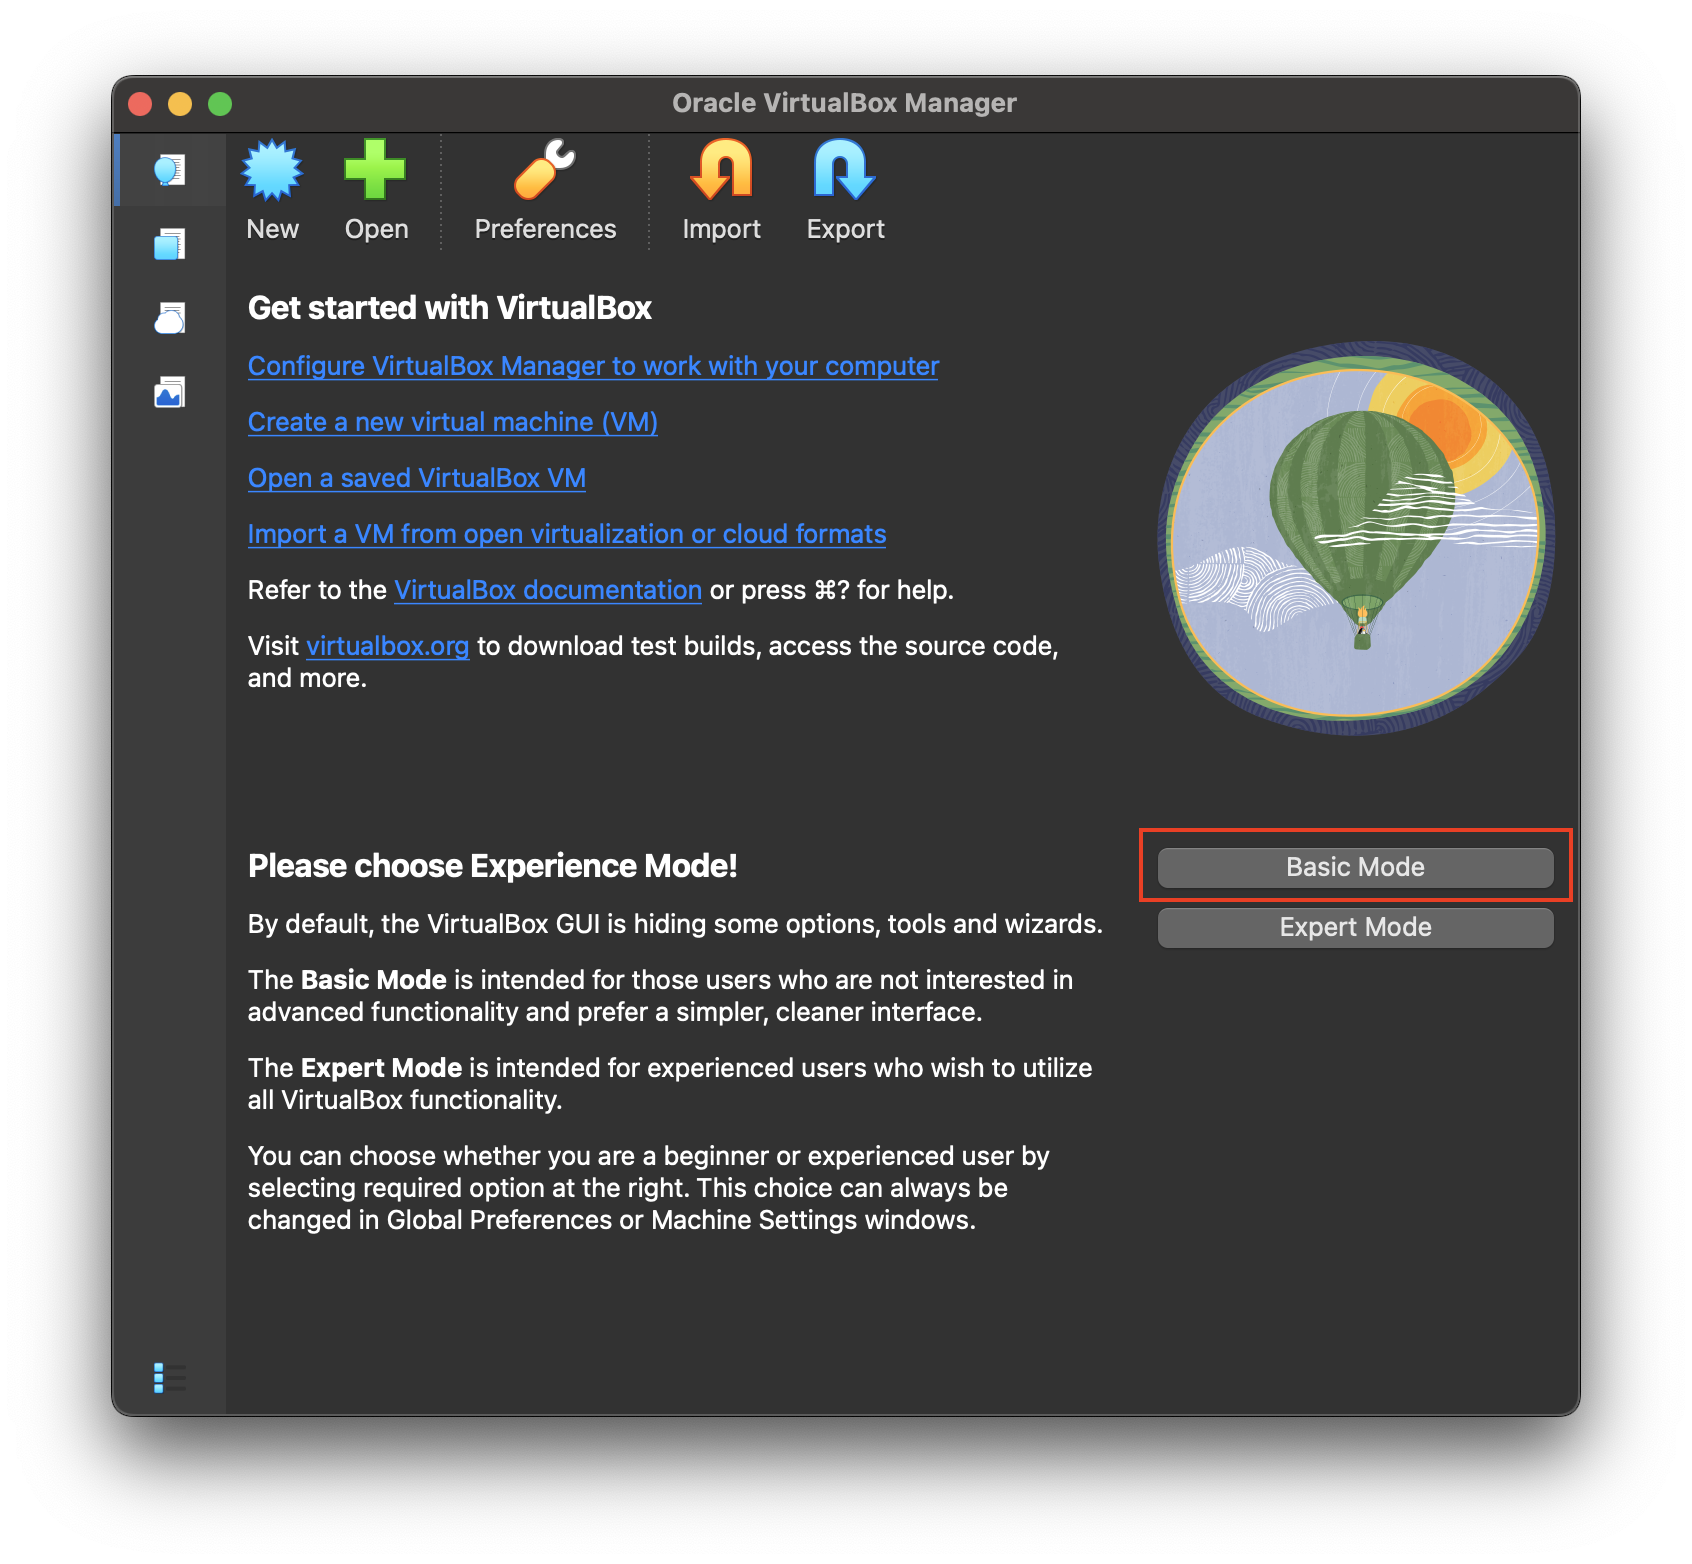
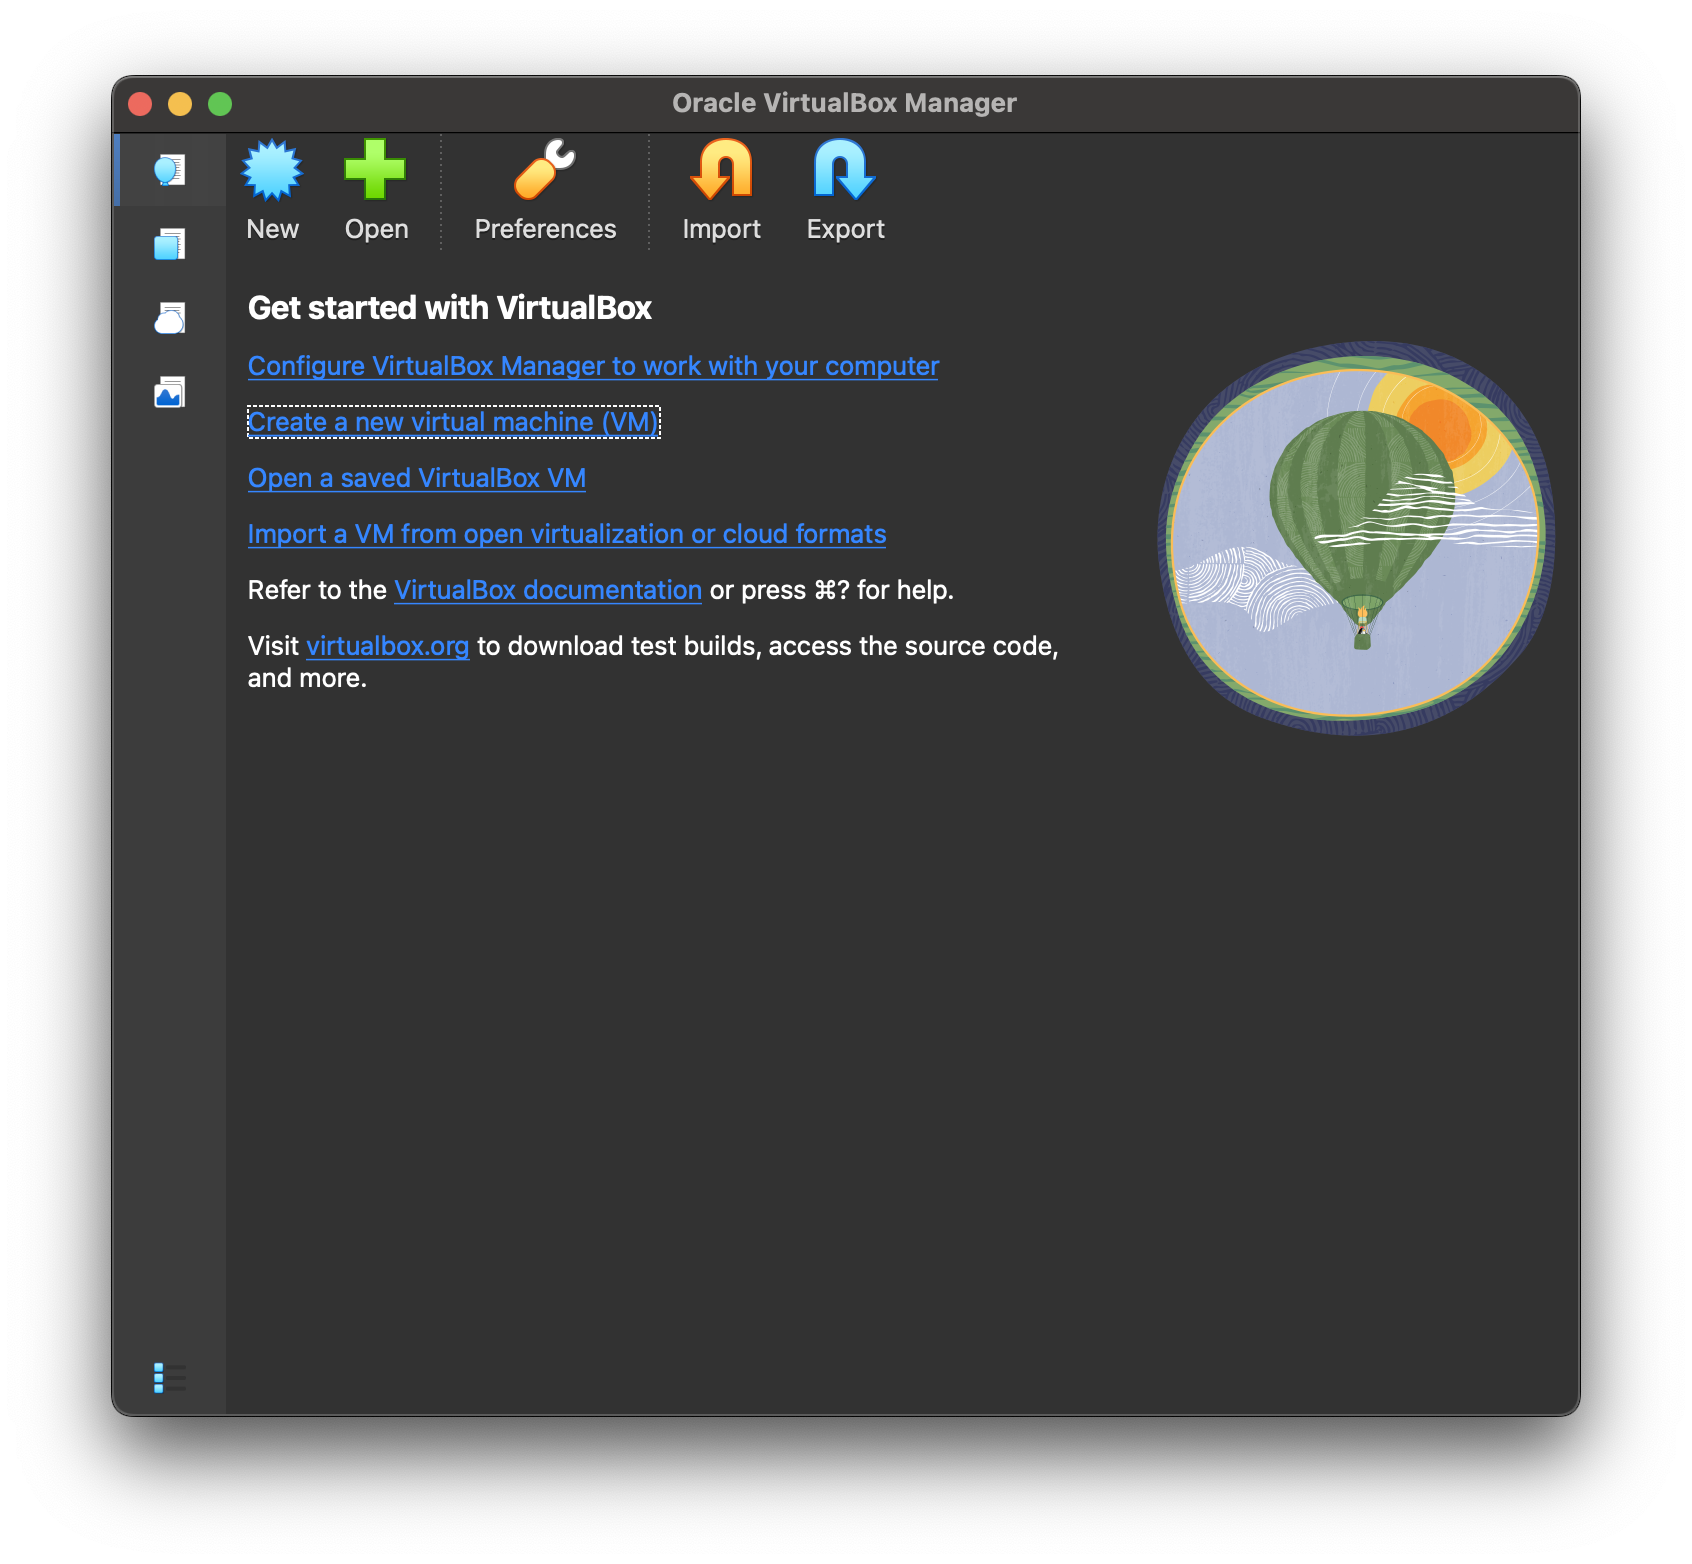
- Click Create a new virtual machine (VM).
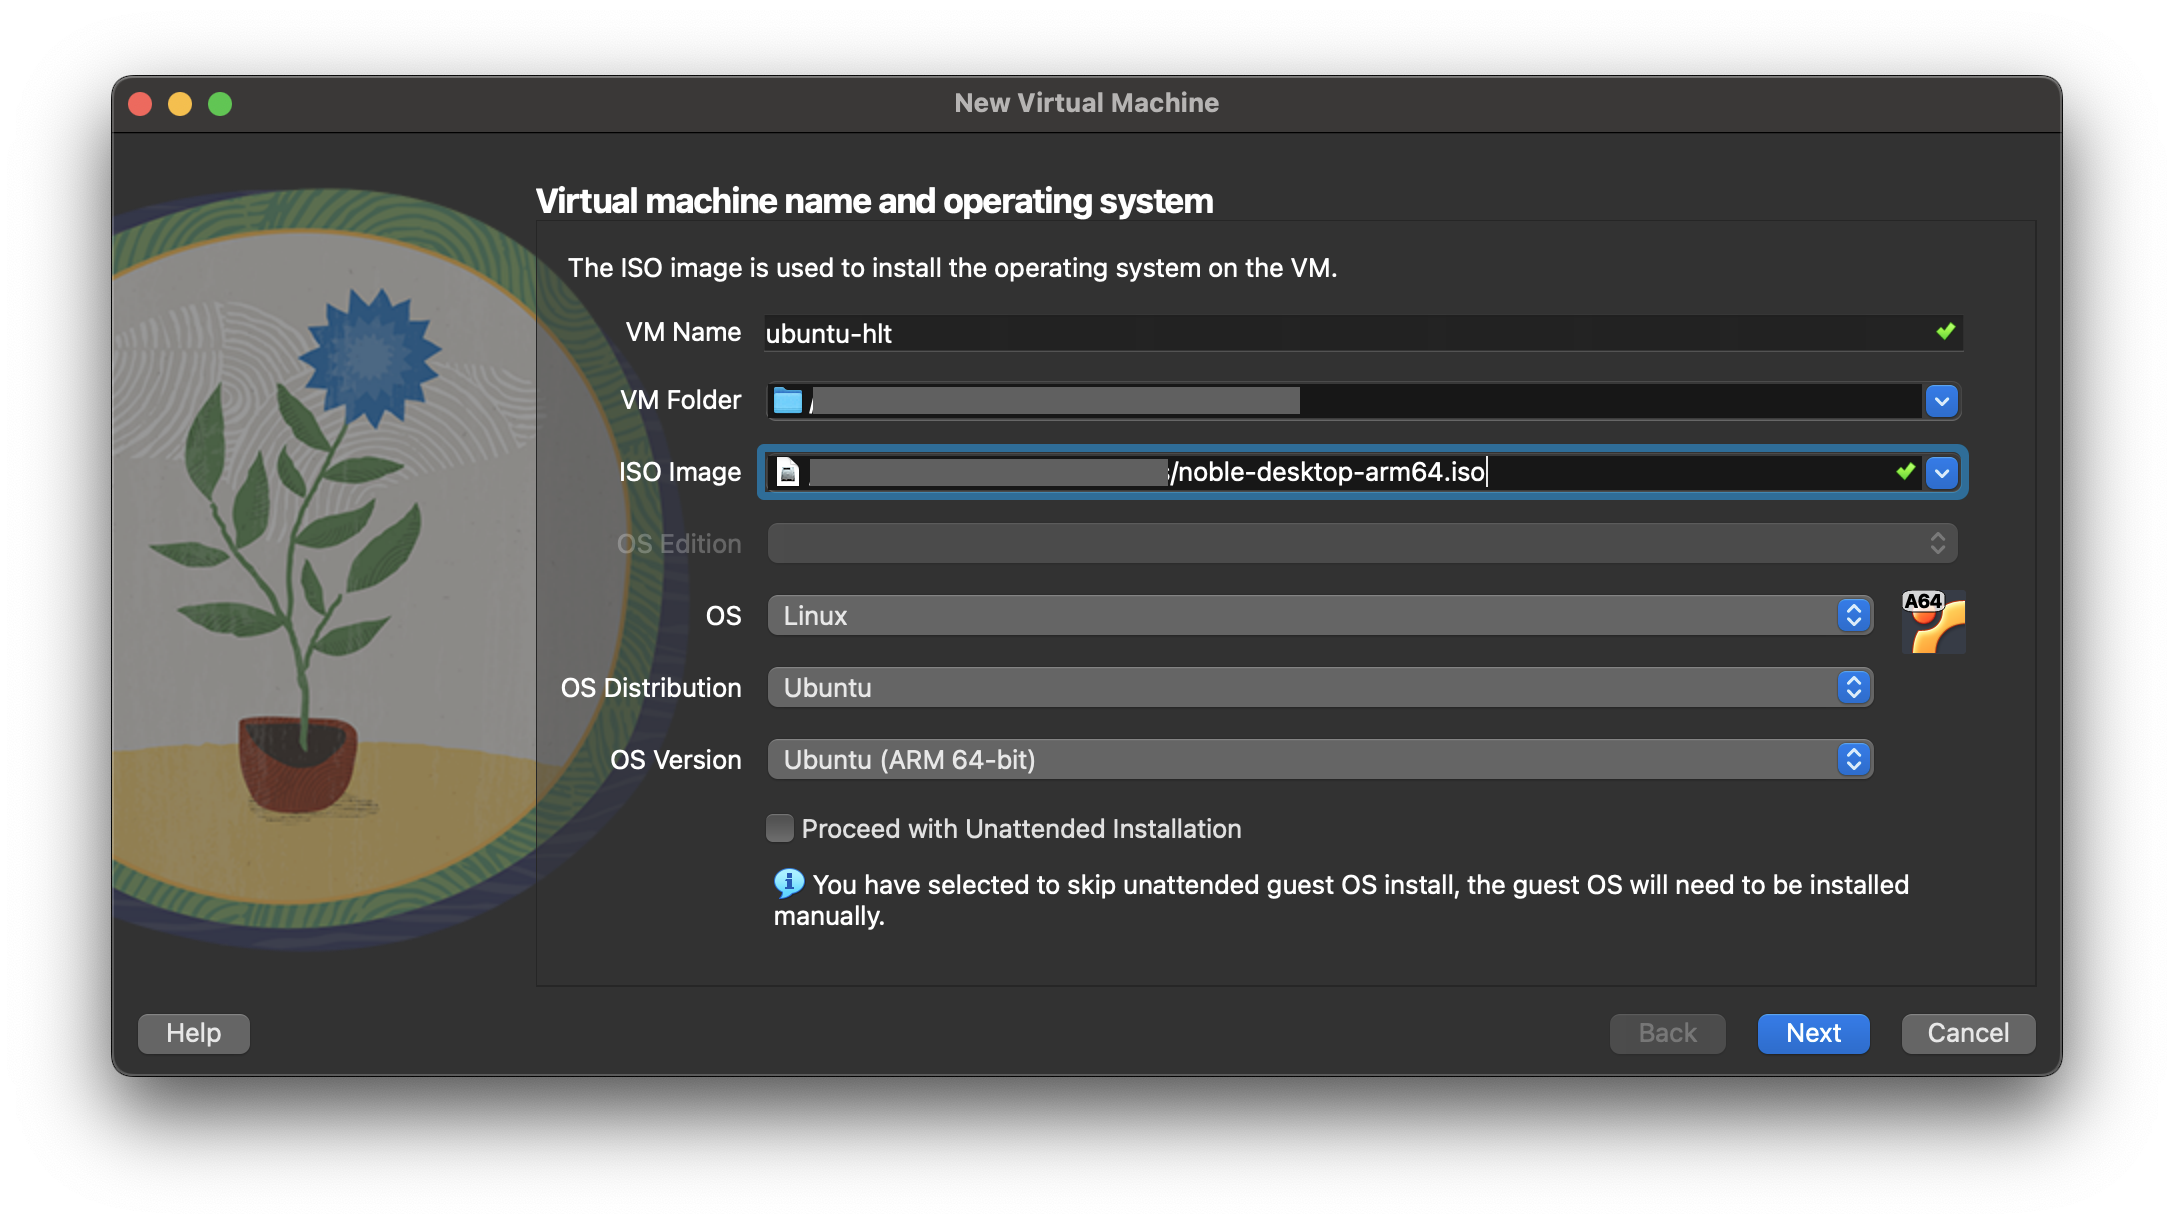
- Enter a name for your virtual machine. Since we're installing an Ubuntu LTS, I'll enter 'ubuntu-hlt'. Note that VirtualBox automatically changes OS to Linux and OS Distribution to Ubuntu. These two options are what we need, so keep those settings. Note that the value of OS Version will depend on your CPU architecture (ex.
Ubuntu (ARM/AMD 64-bit)). In the ISO Image dropdown, select the Ubuntu LST.isofile that you downloaded in the previous step. ClickContinue.
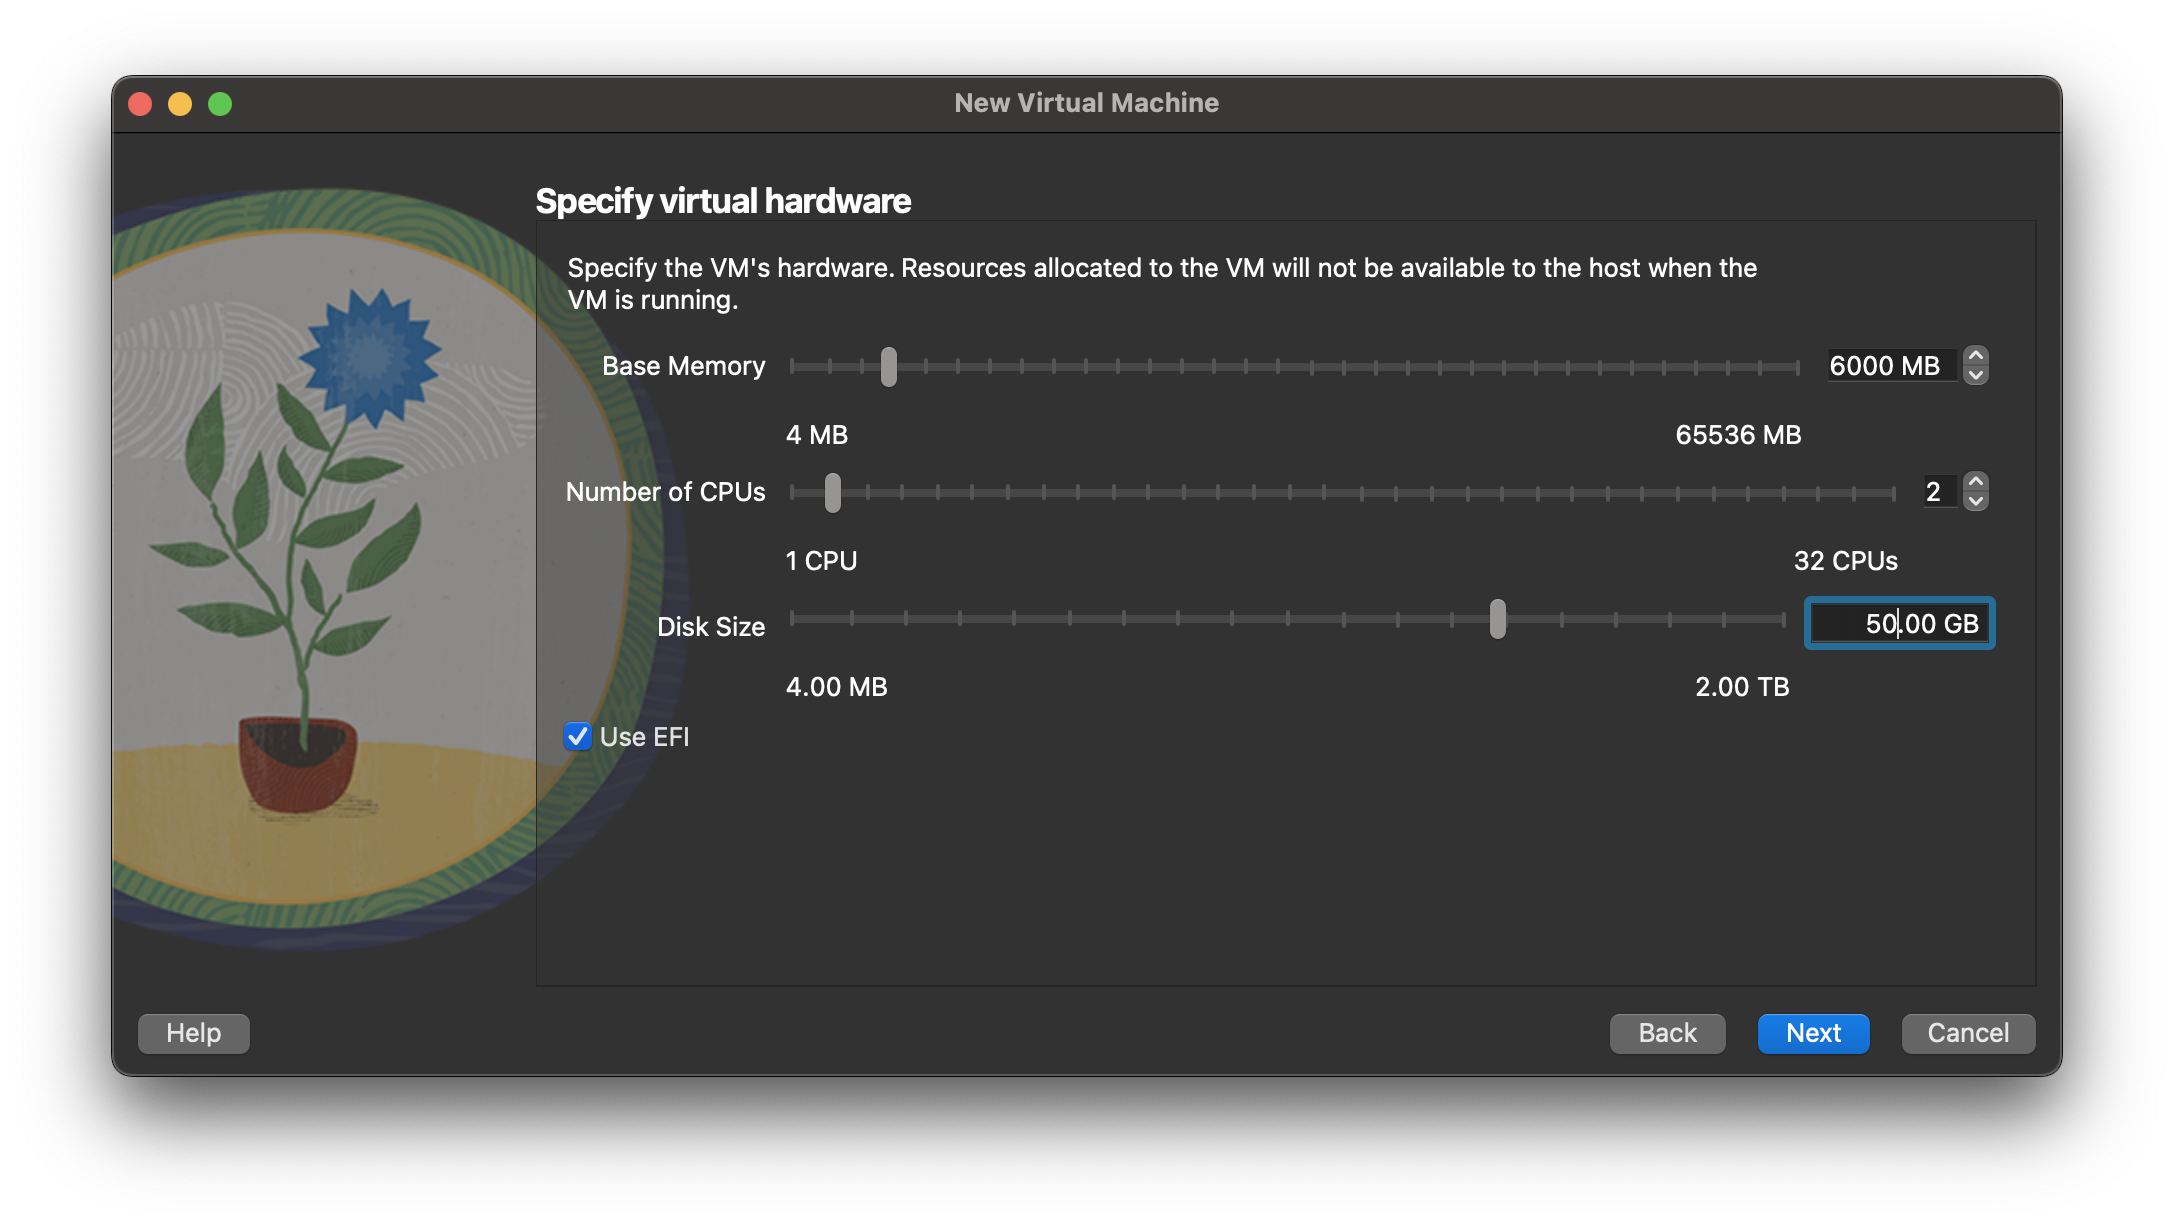
- Select the amount of RAM to use for the virtual machine (VM). Click and drag the slider left or right to decrease or increase the amount of RAM, number of CPUs, and disk space that VirtualBox will make available to your Ubuntu VM. Click
Continue.
- The "ideal" amount of RAM will automatically be selected when you get to this page.
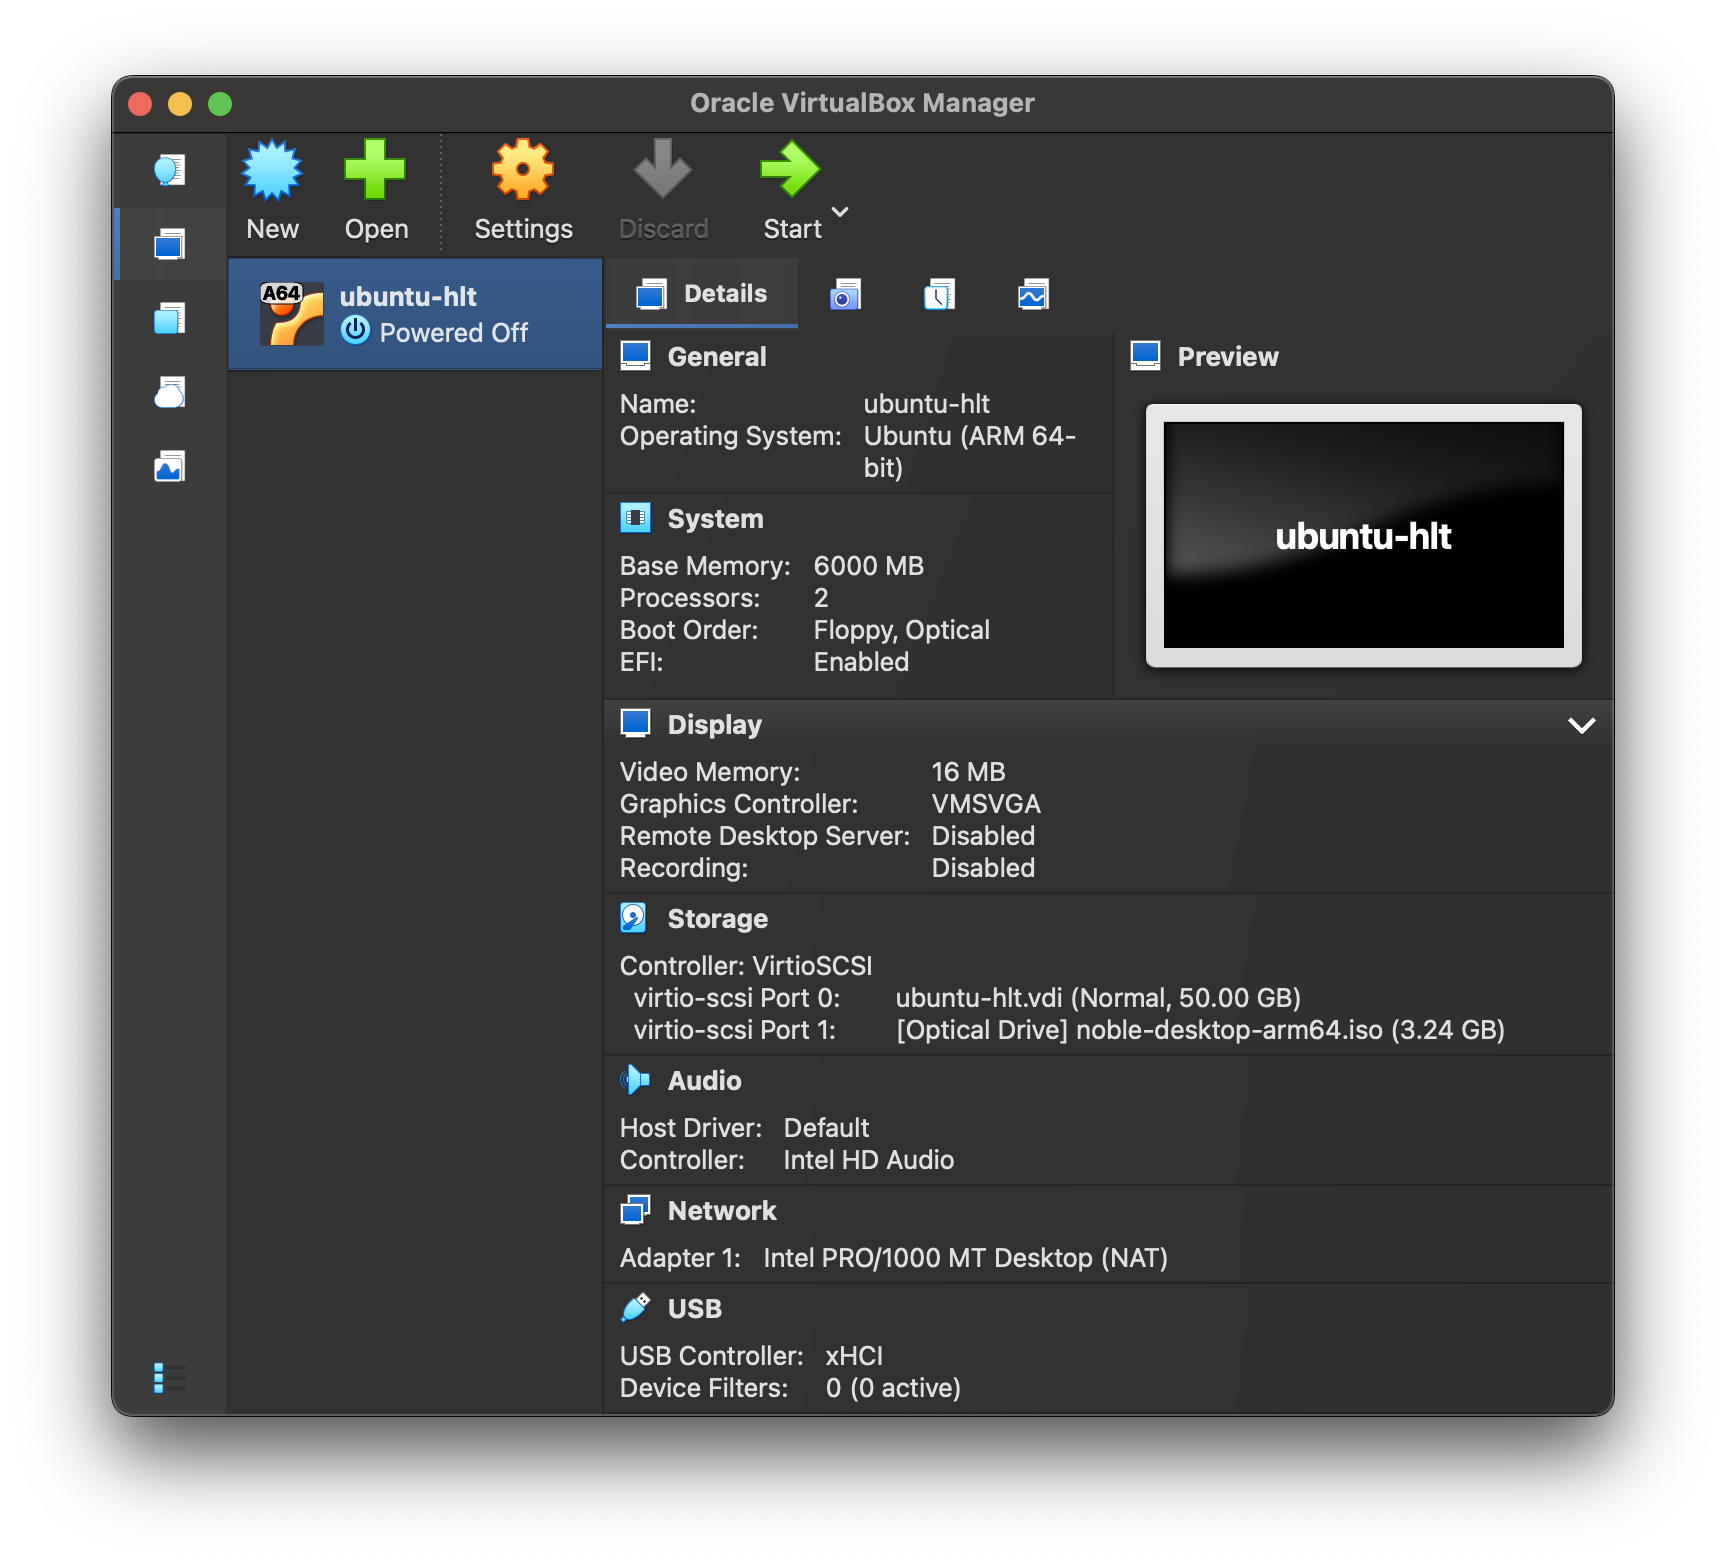
- Review the values and click
Finish.
Part 4: Installing Ubuntu in VirtualBox
Now that the virtual machine has been created, we are ready to install Ubuntu in this VM.
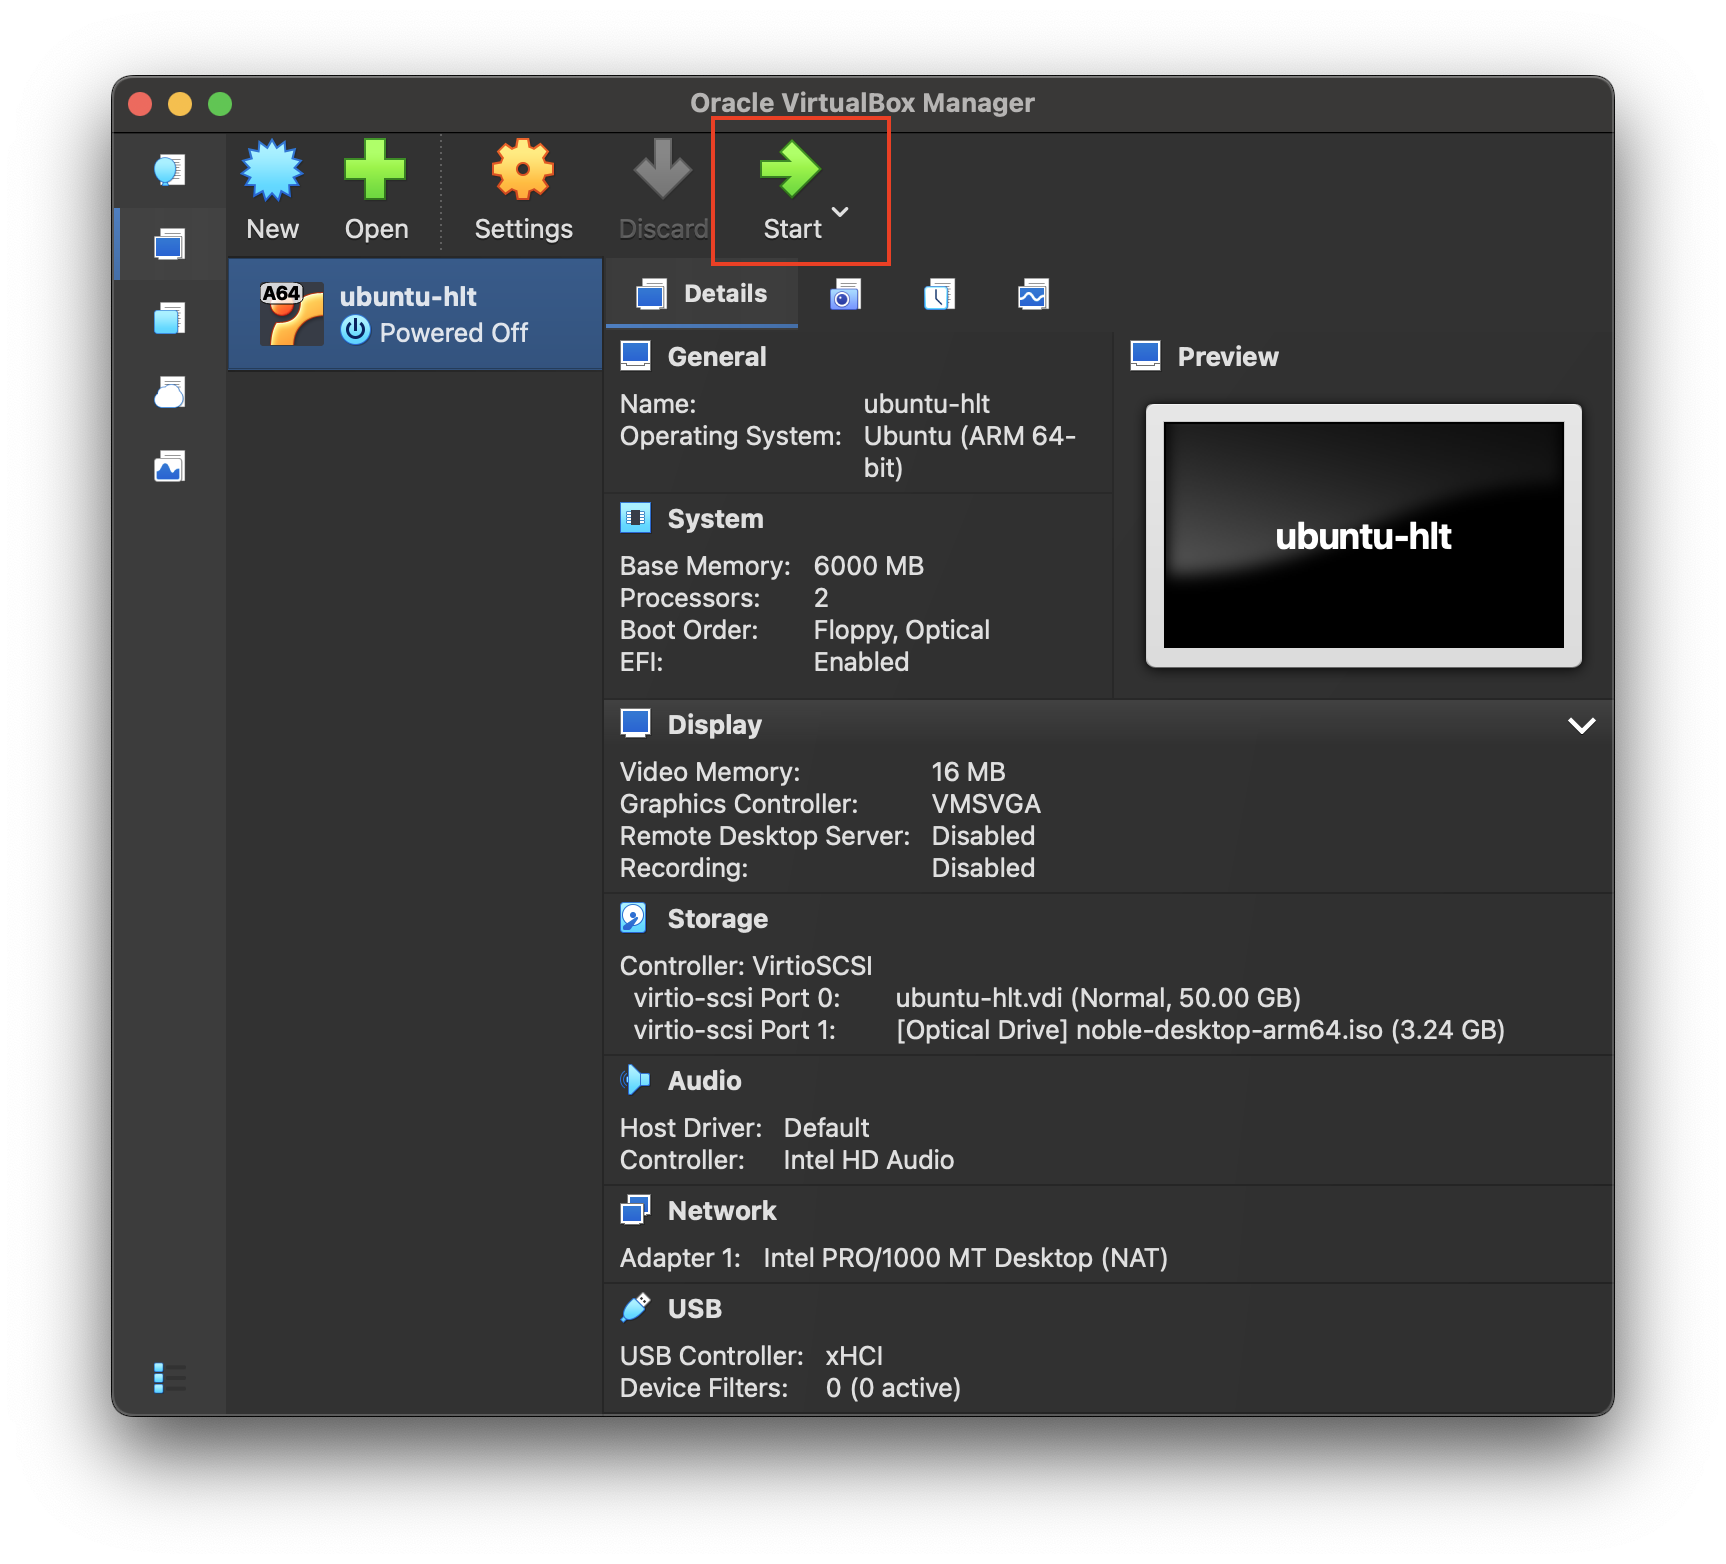
- Select your new VM created in Part 3 and click
Start.
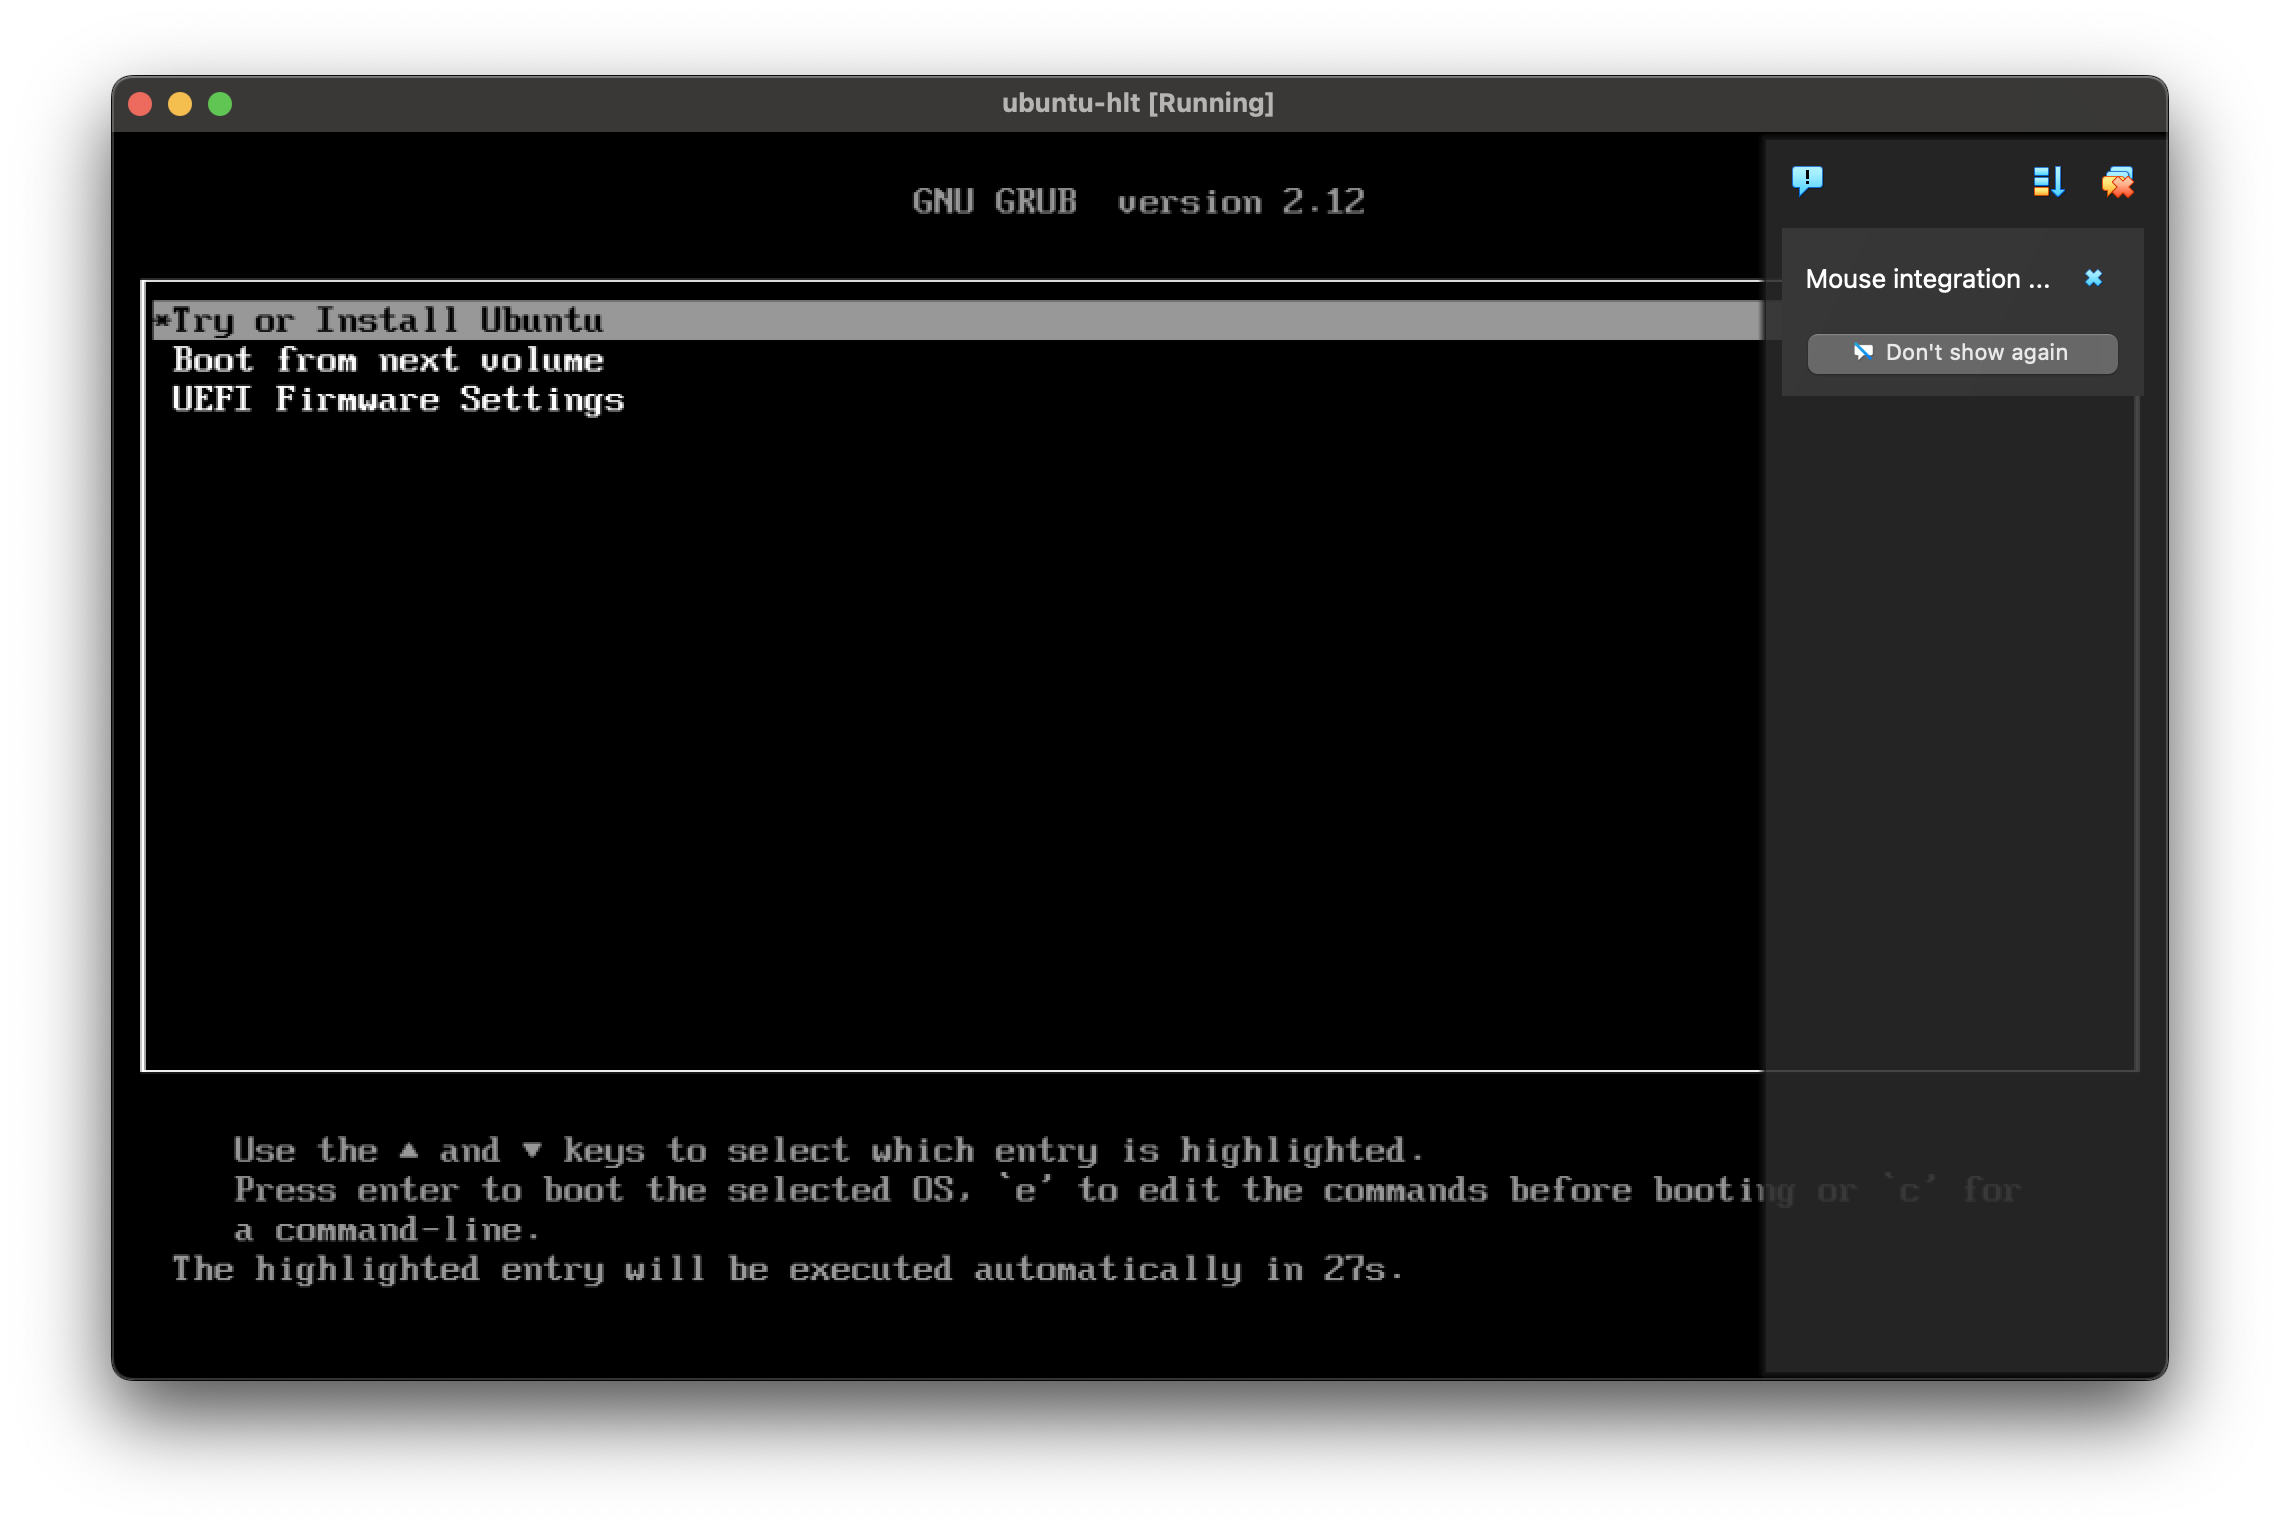
- Using the arrow keys, select, Try or Install Ubuntu and hit Enter.
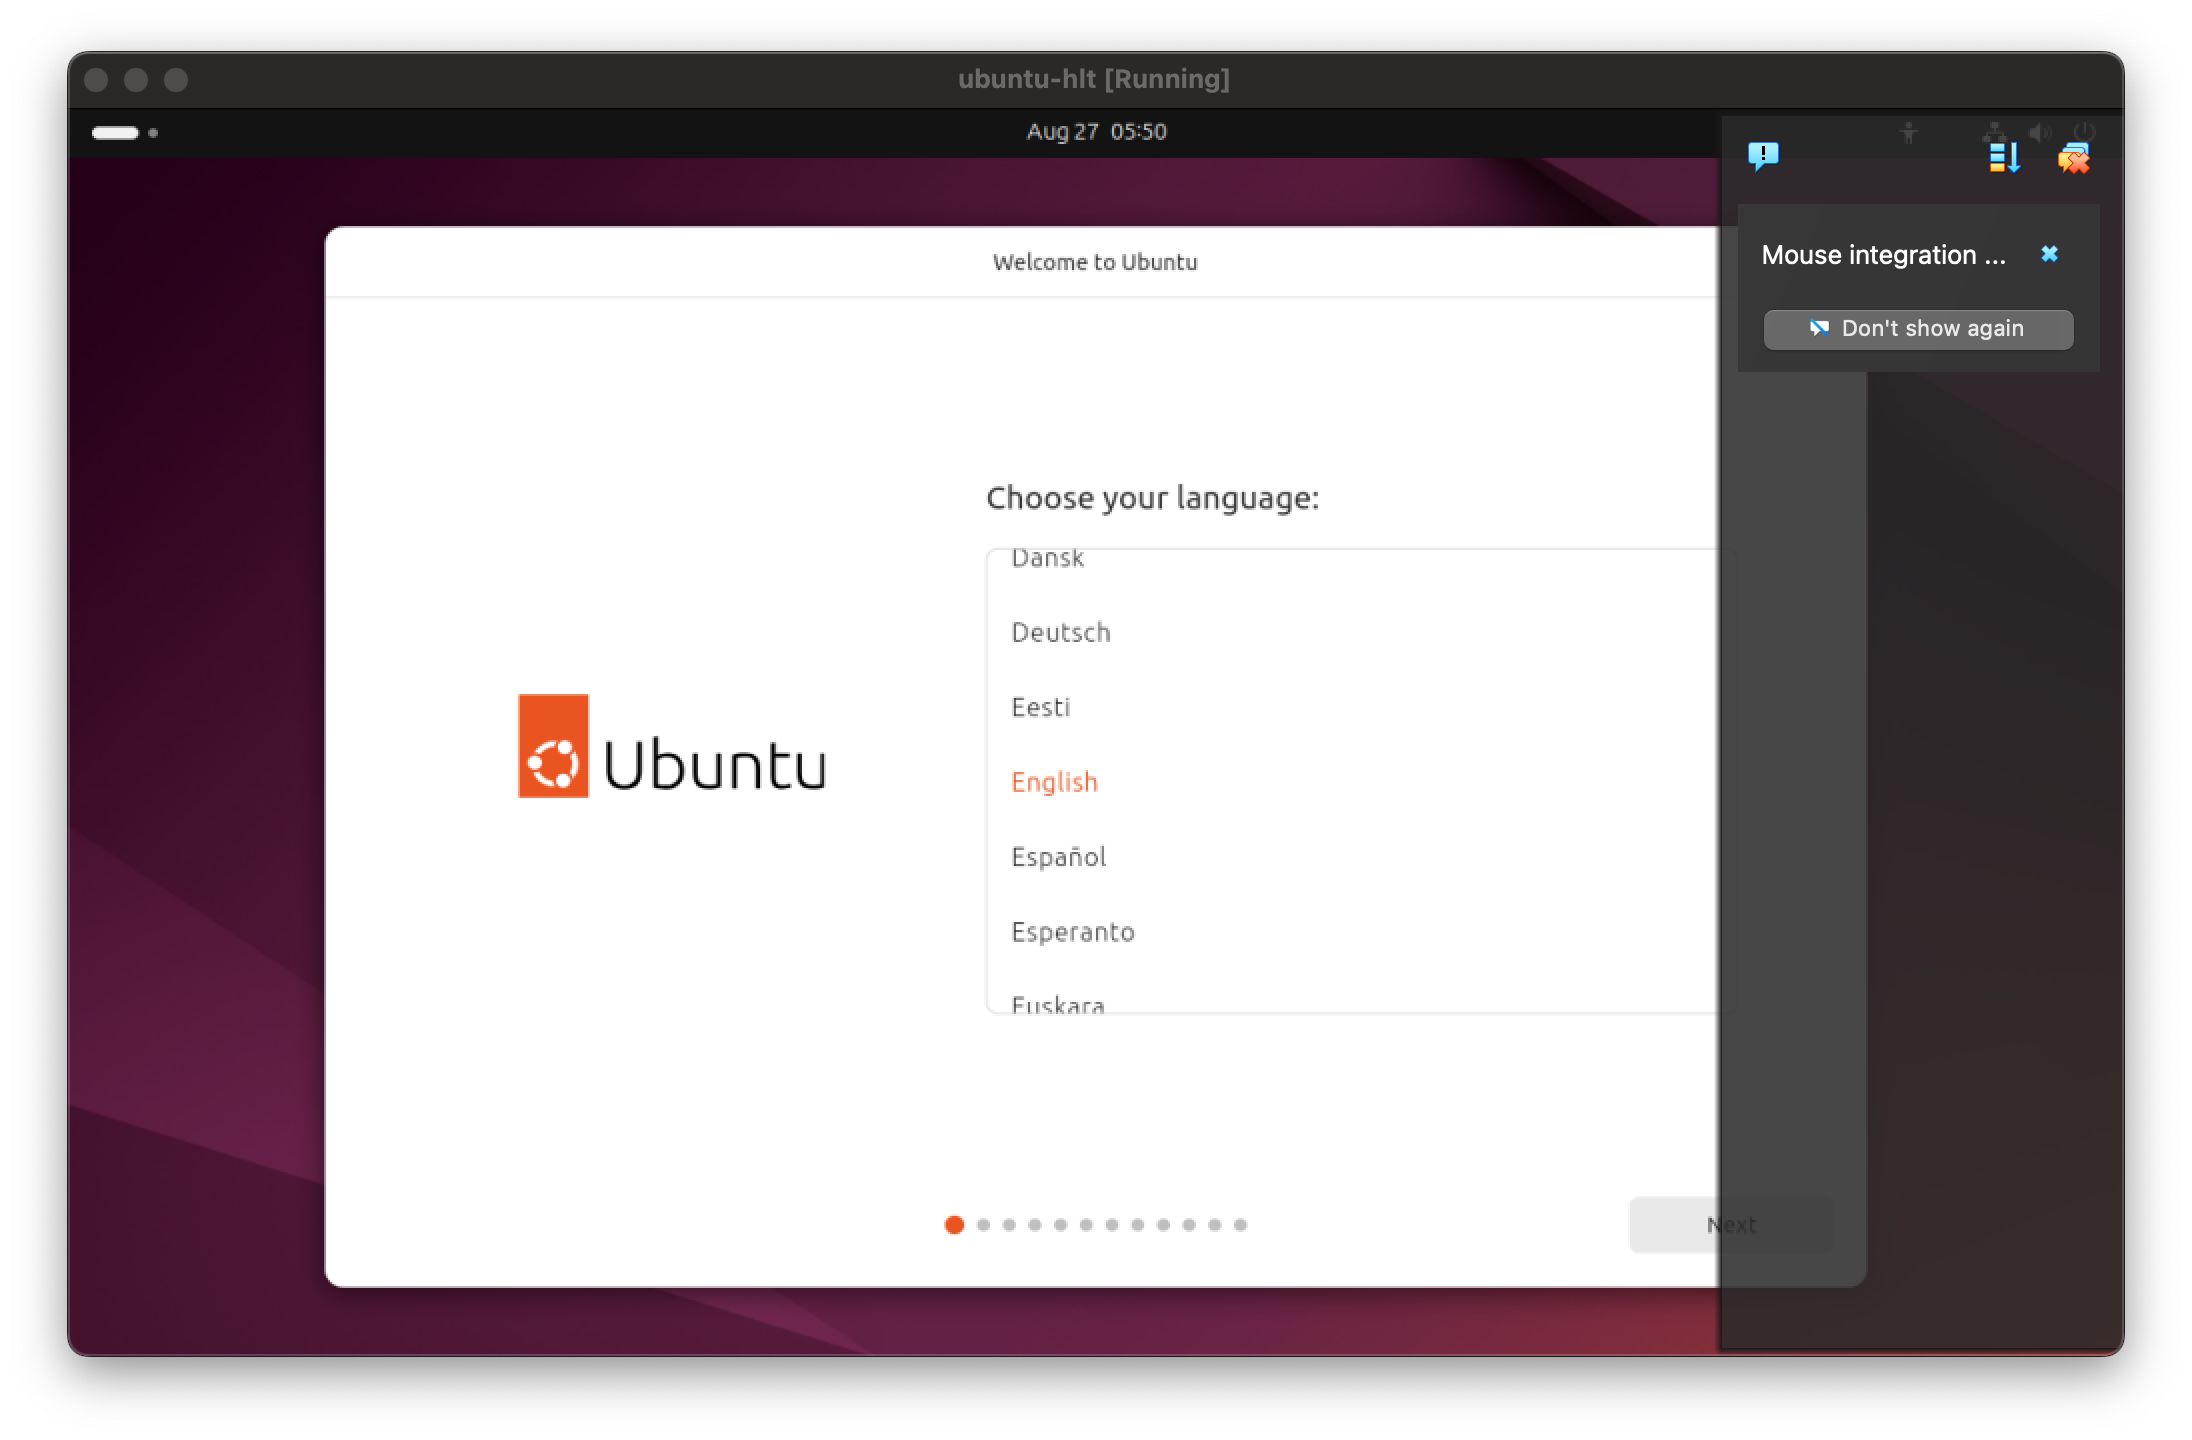
- Select your preferred language and click
Next.
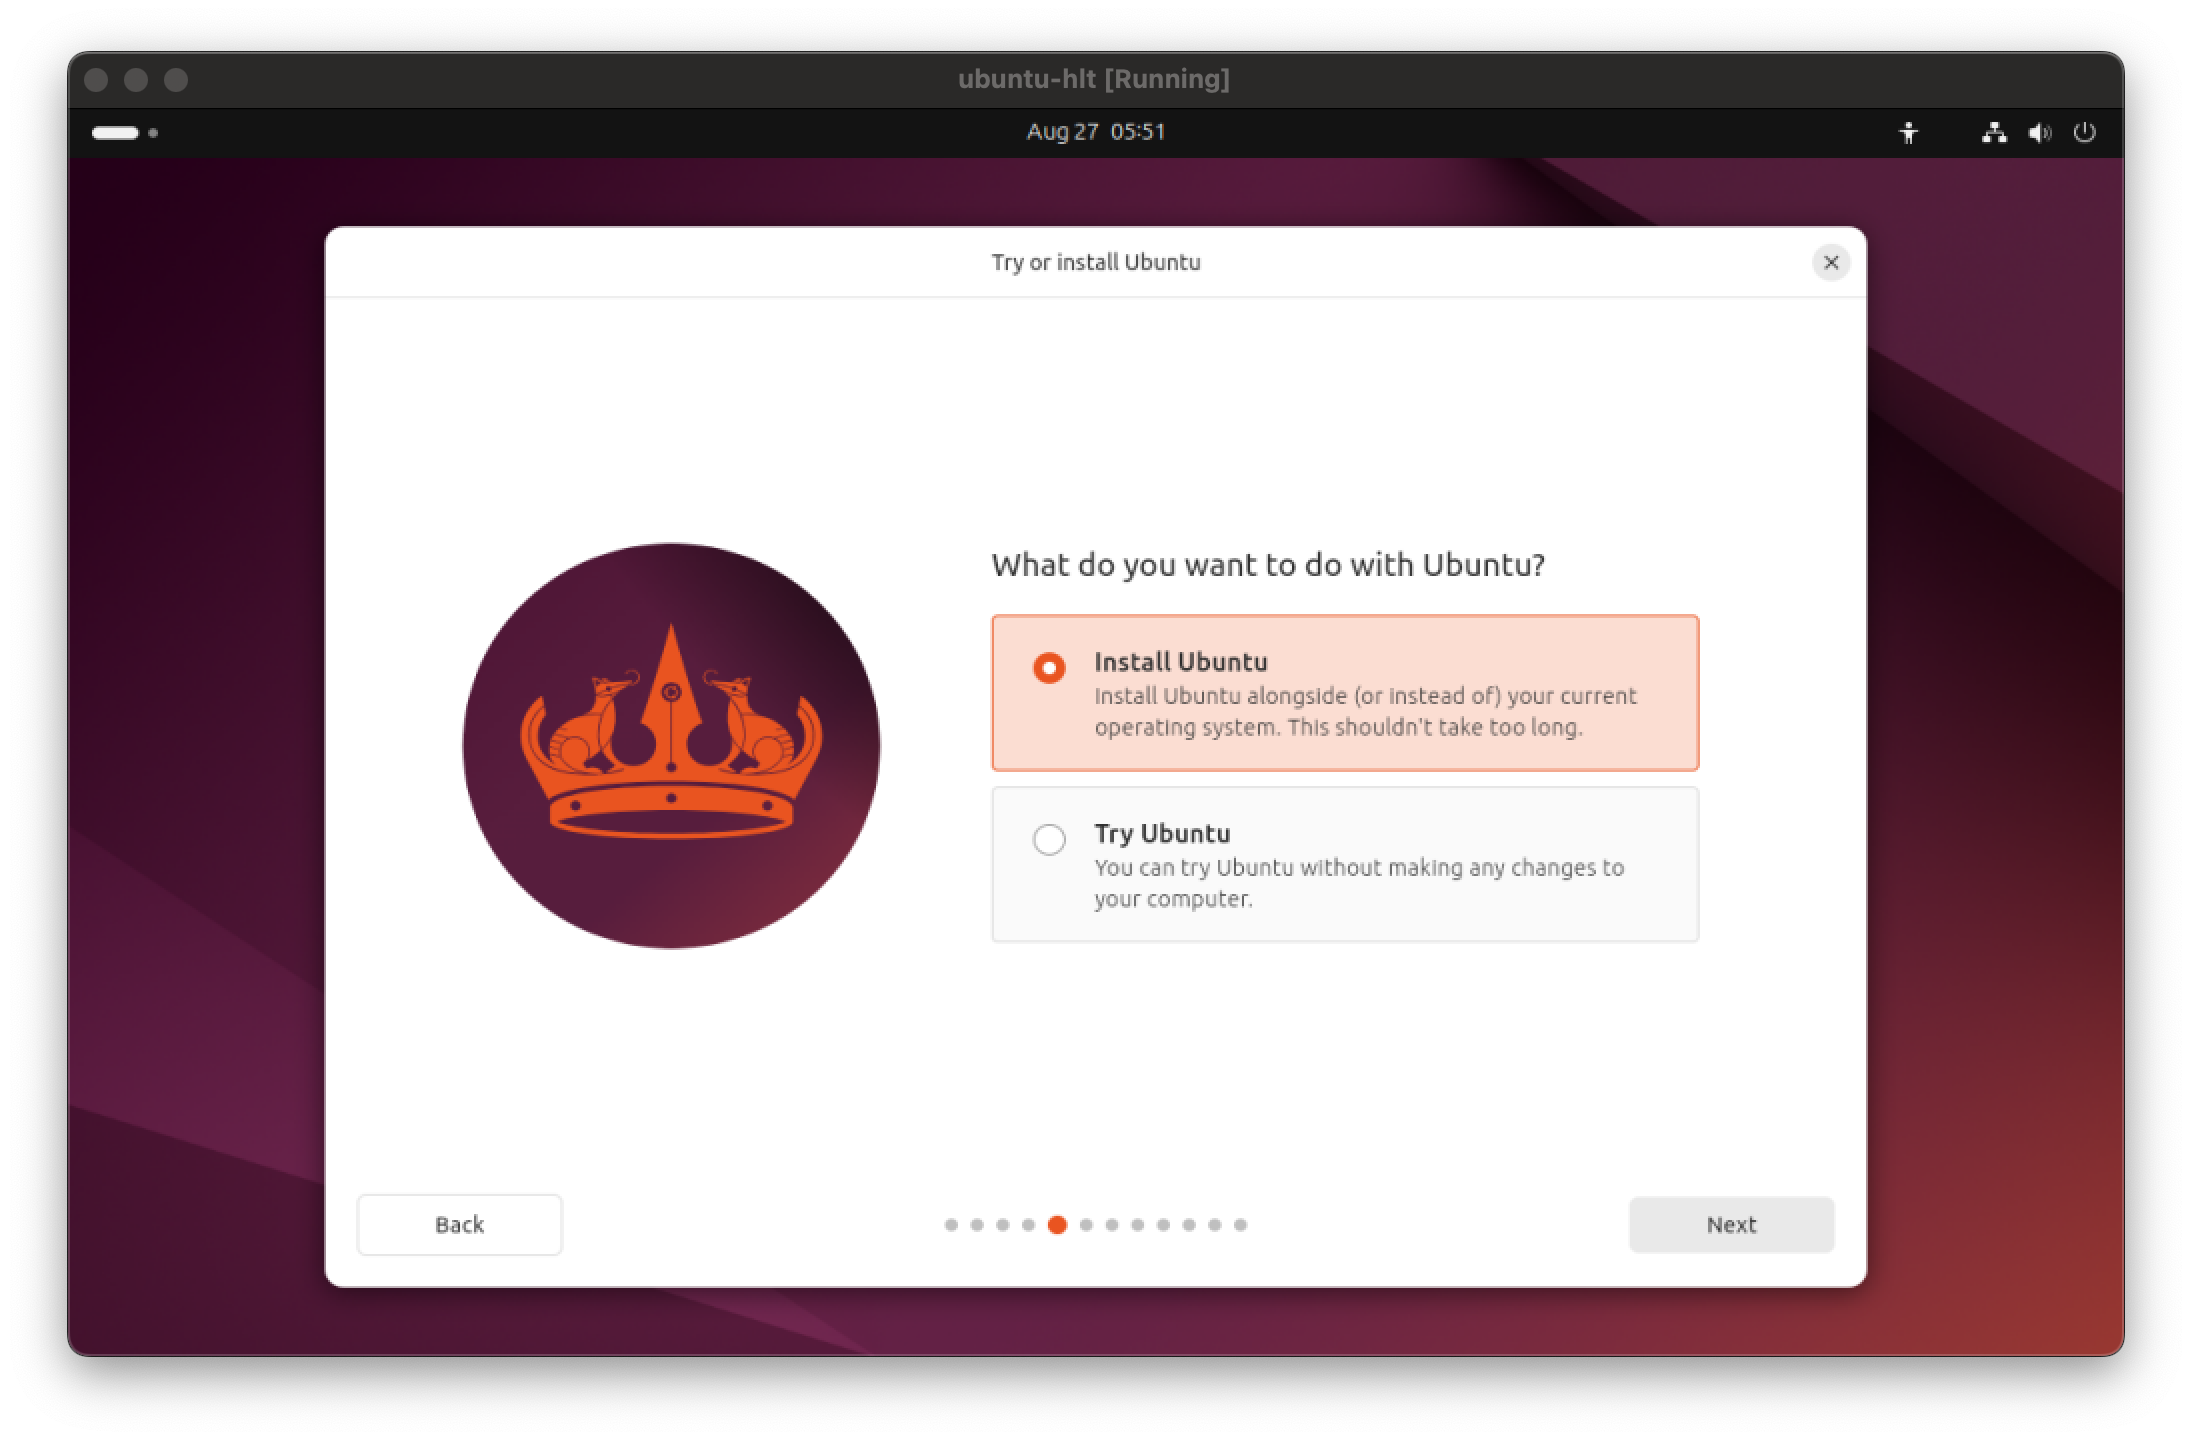
- Select Install Ubuntu and click
Next.
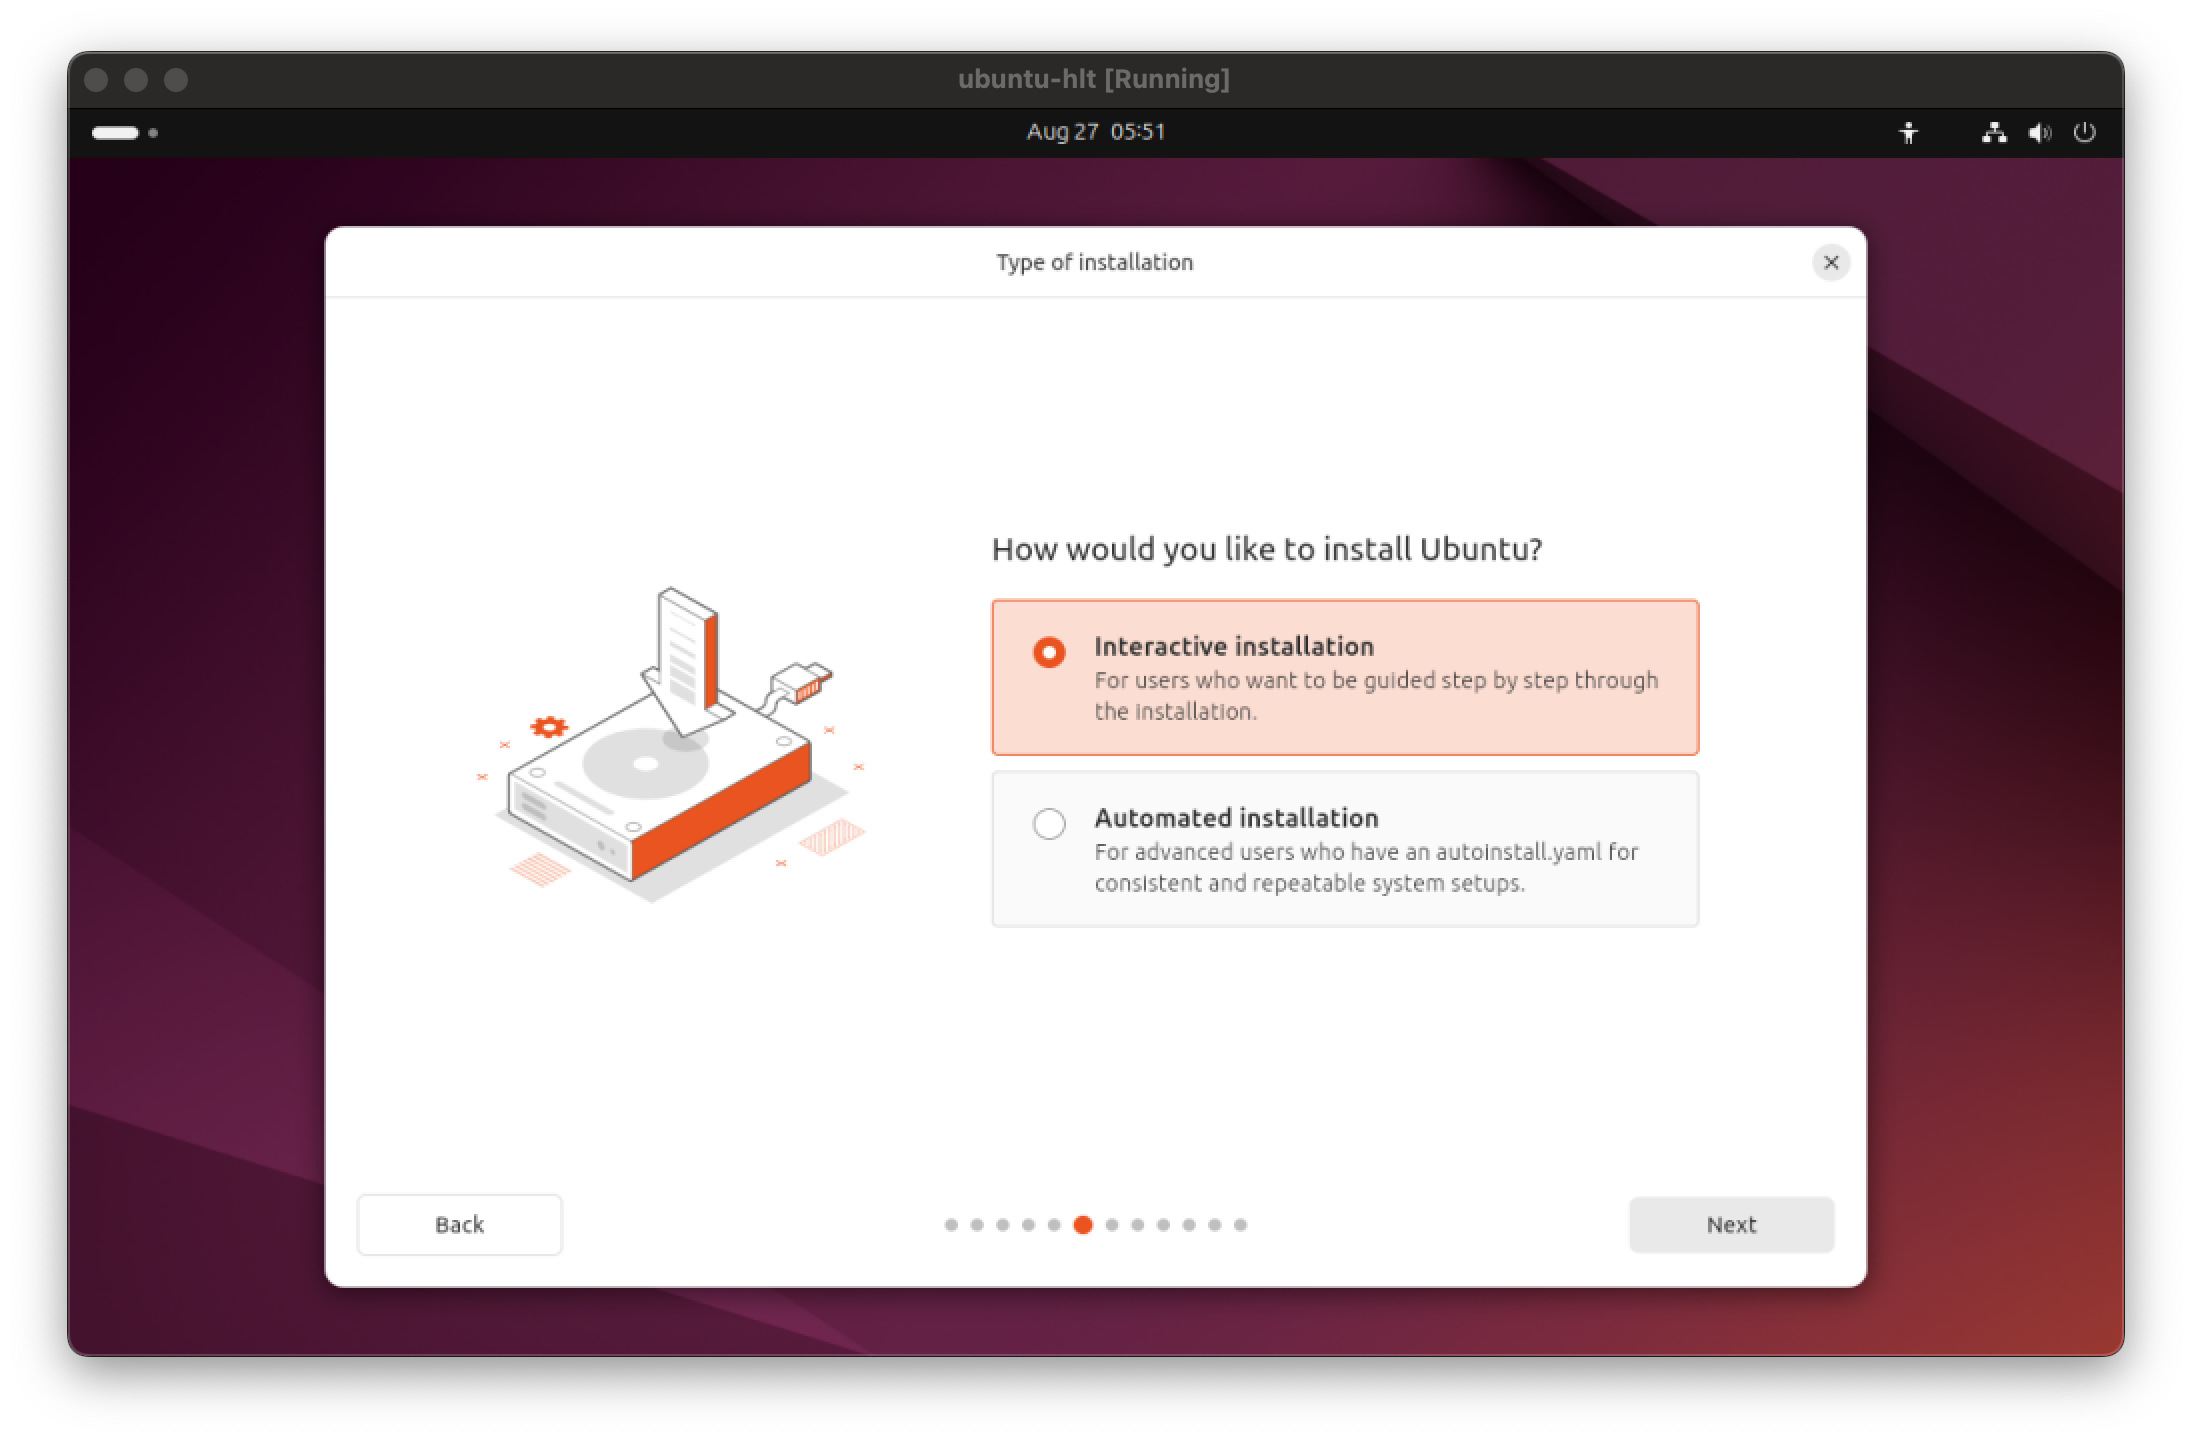
- Select Interactive installation and click
Next.
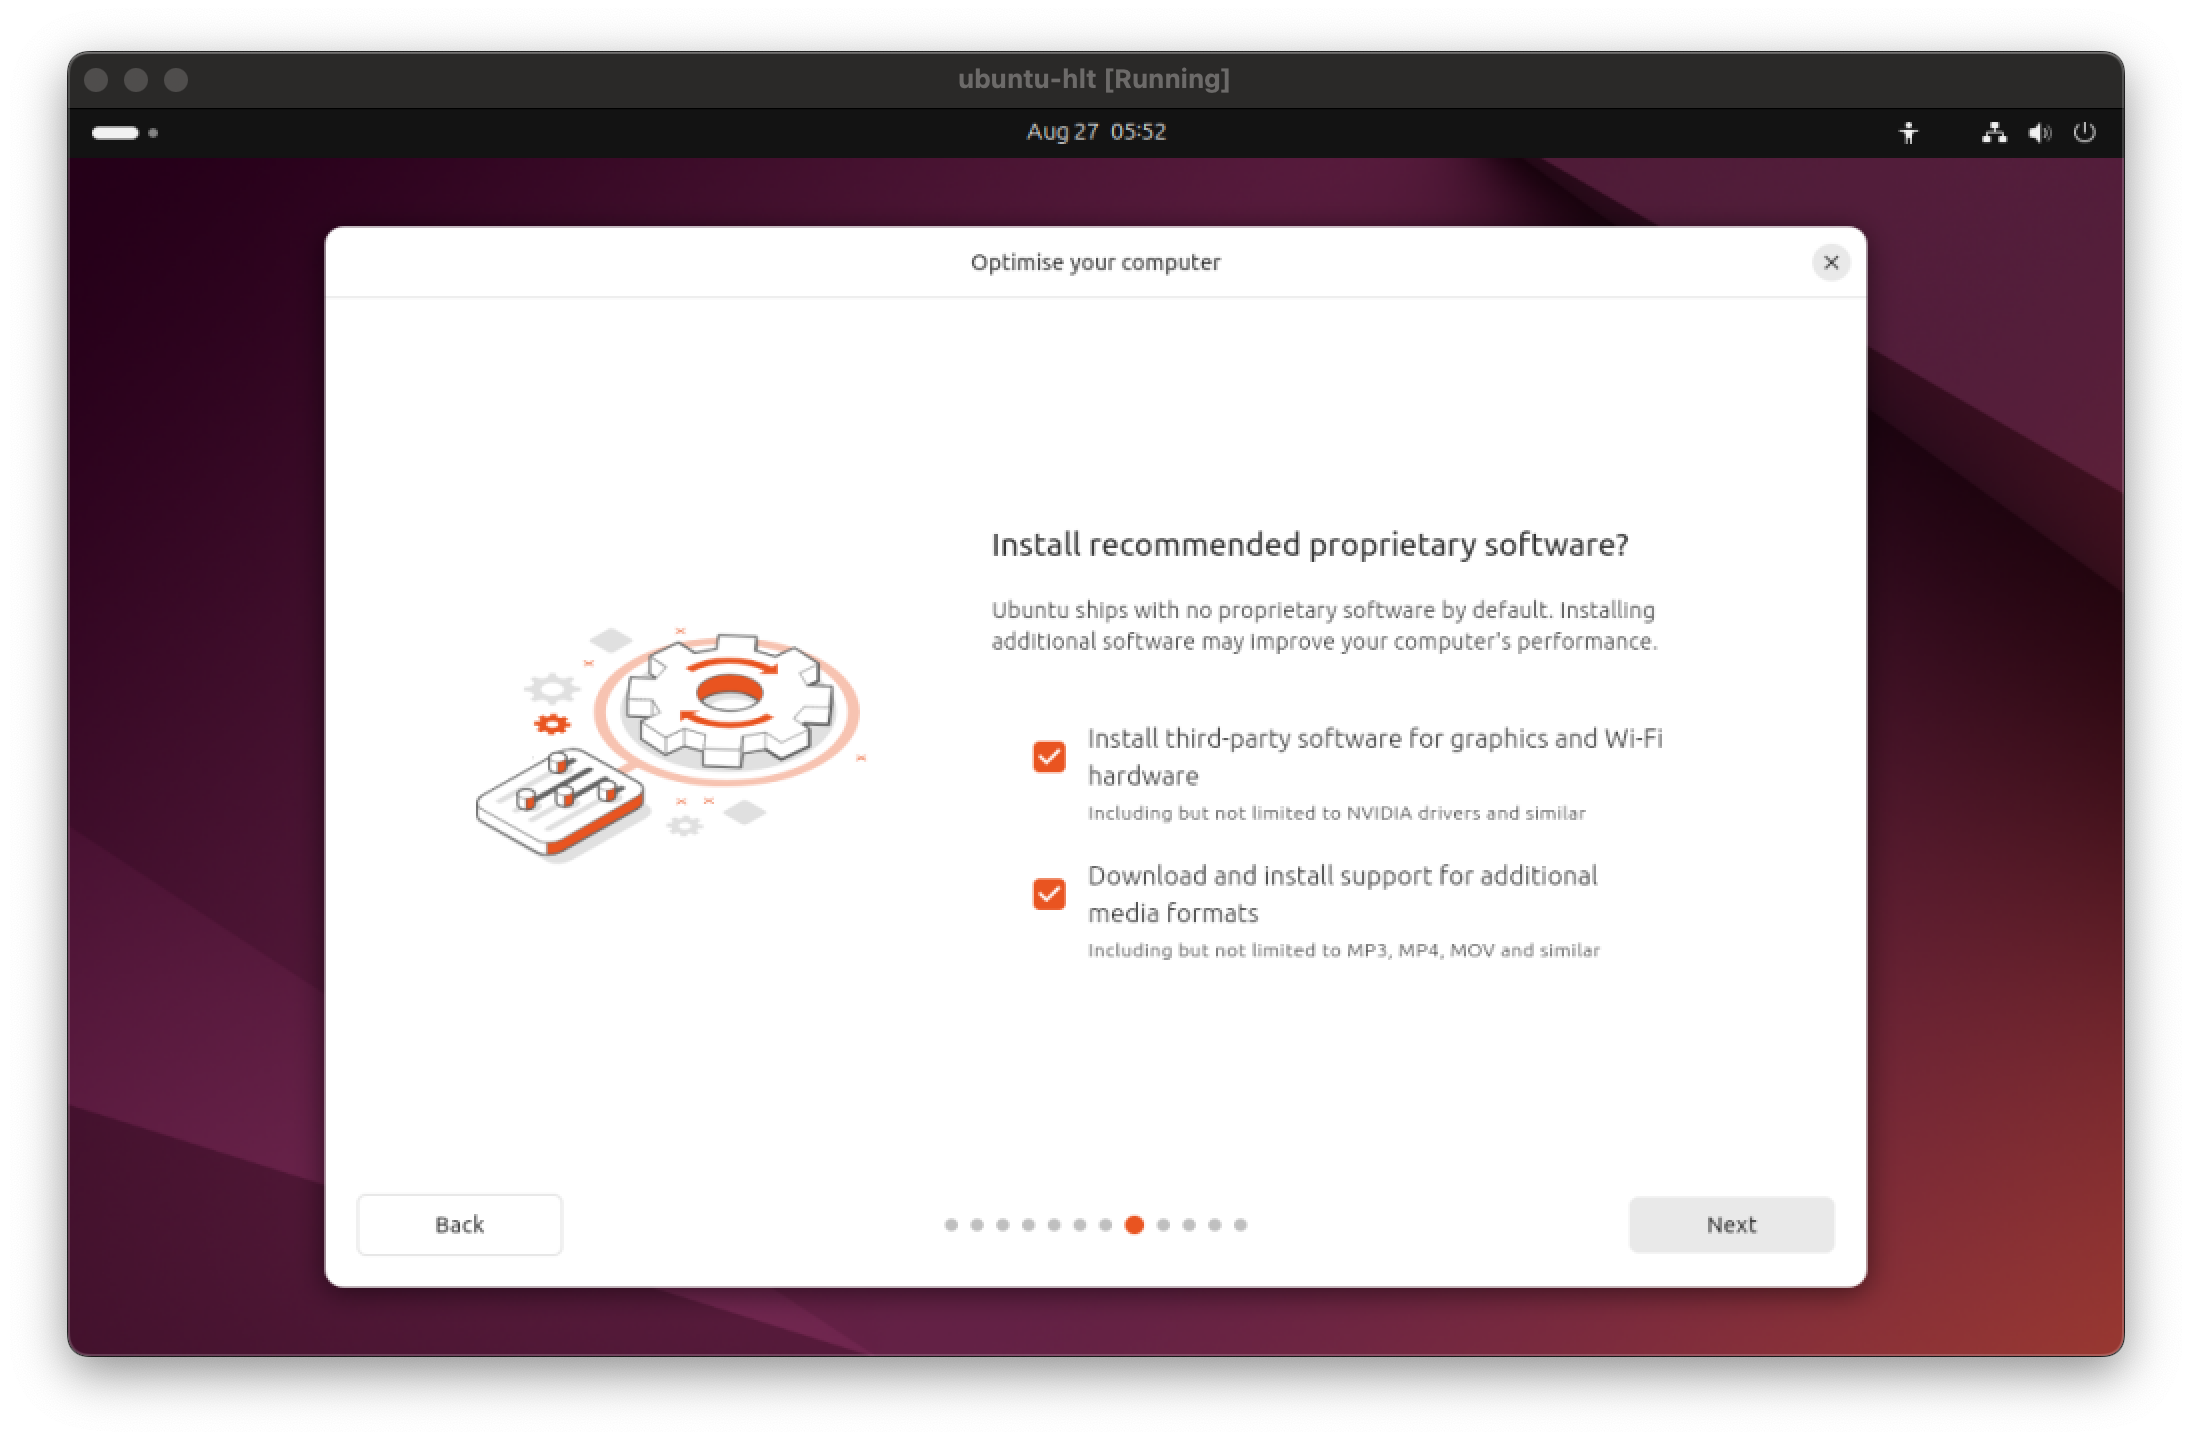
- Check all of the available boxes to install proprietary software and click
Next.
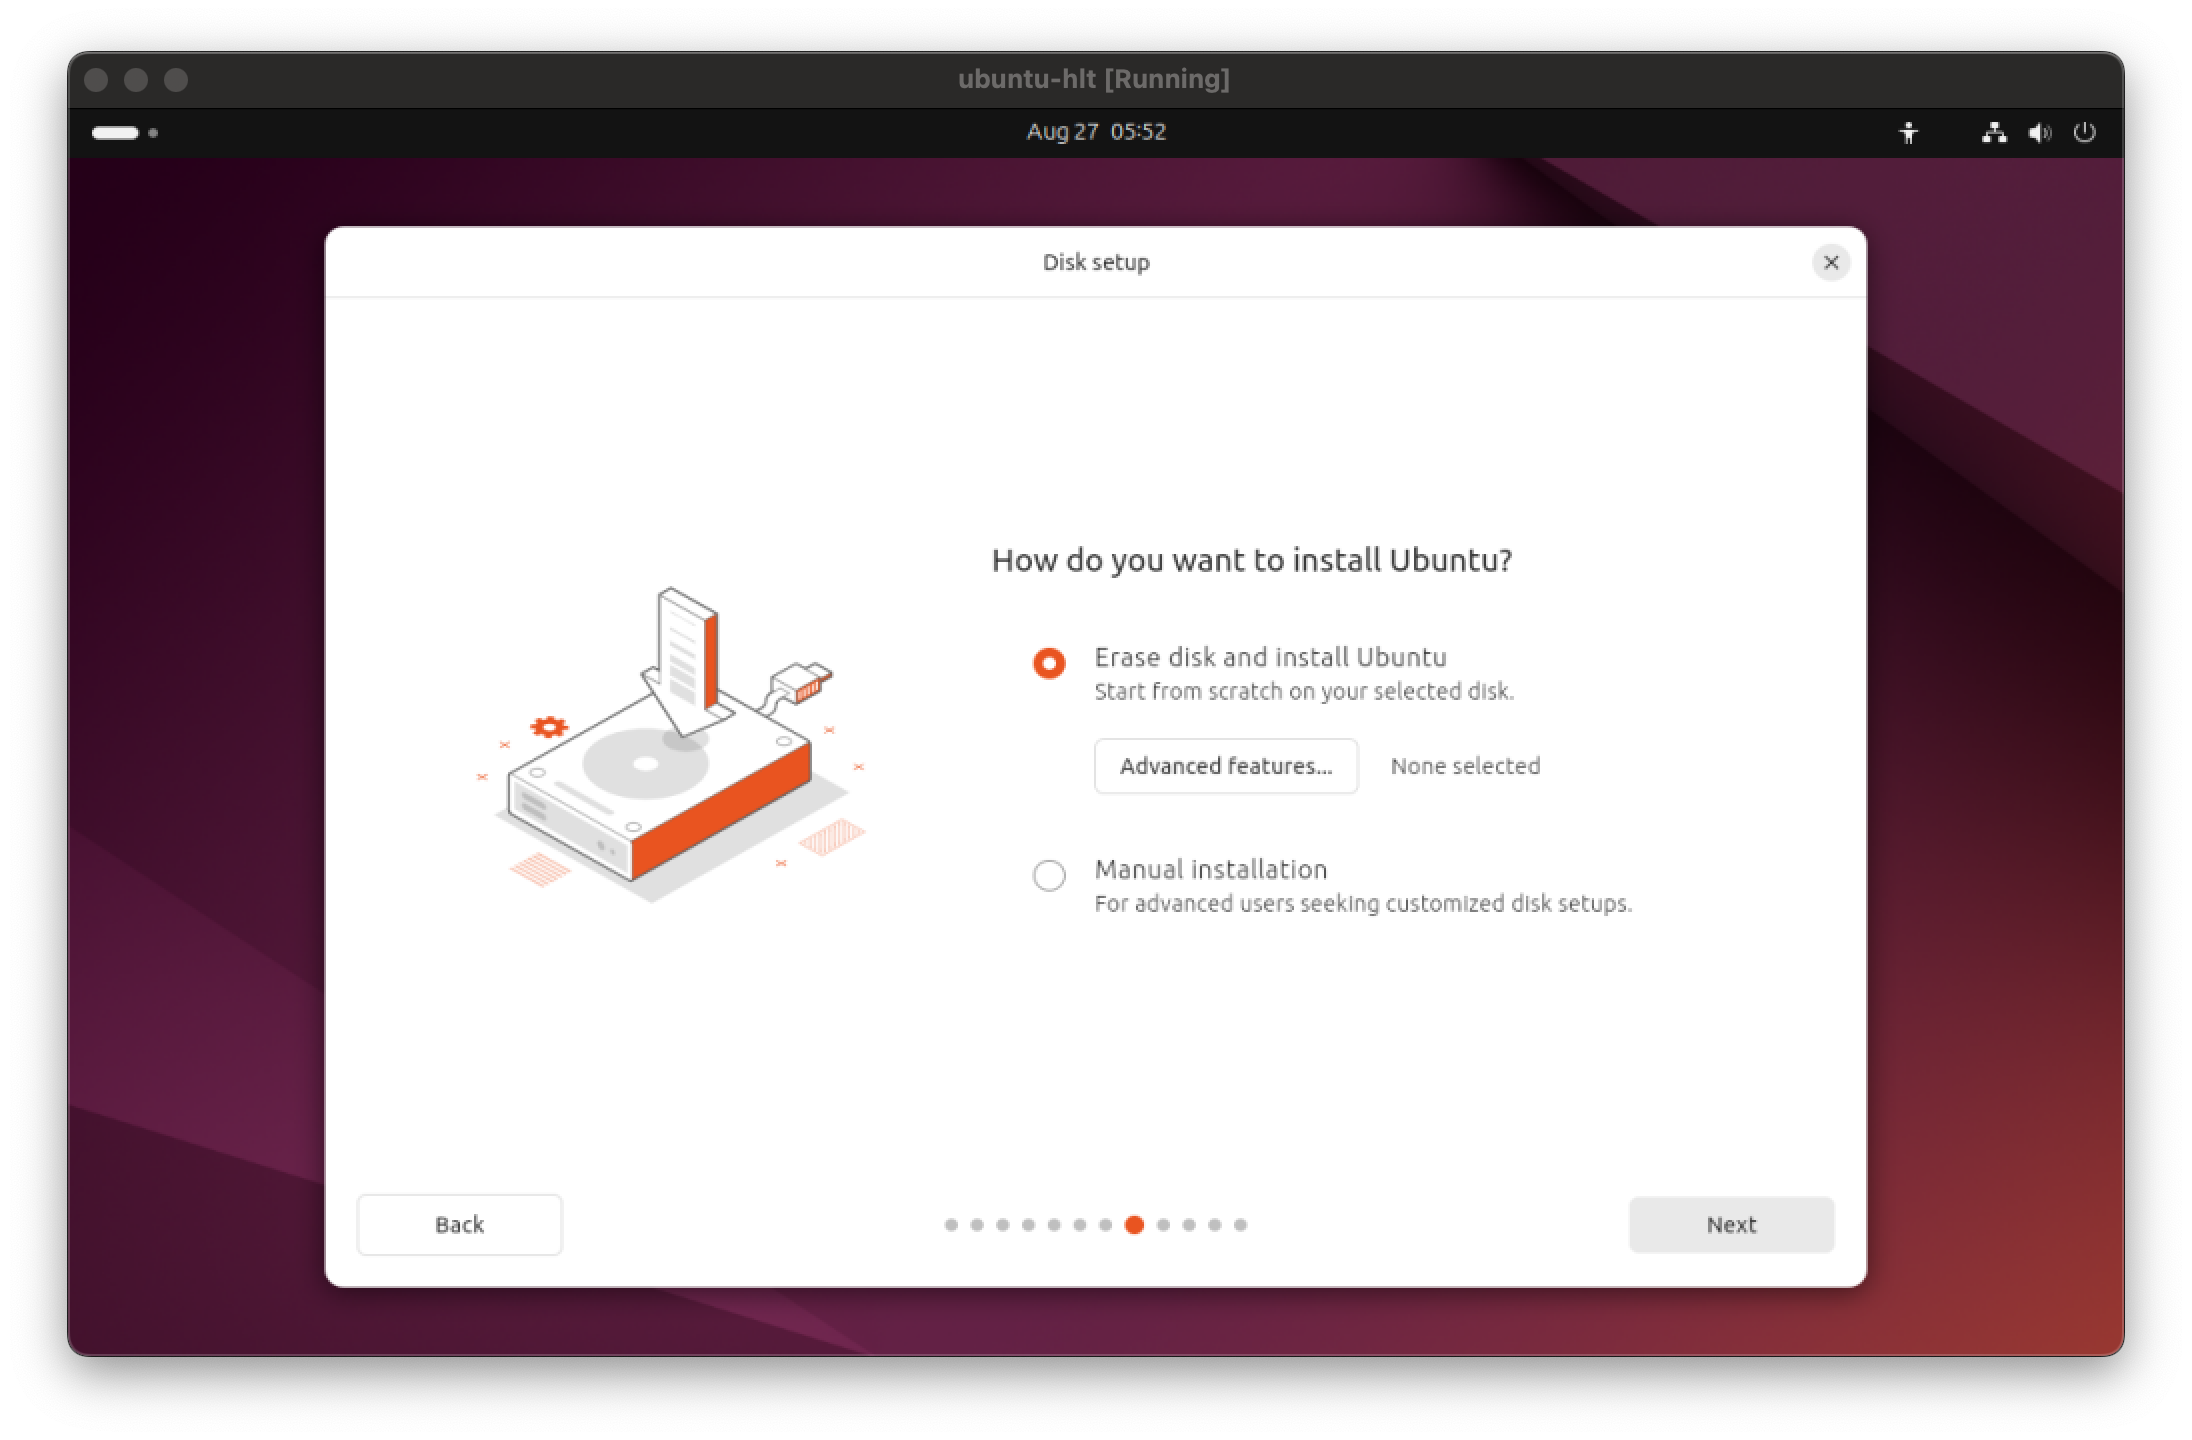
- This one may sound a little scary, but select Erase disk and install Ubuntu and click
Next(No, this won't erase your host OS and all of your favorite cat photos).
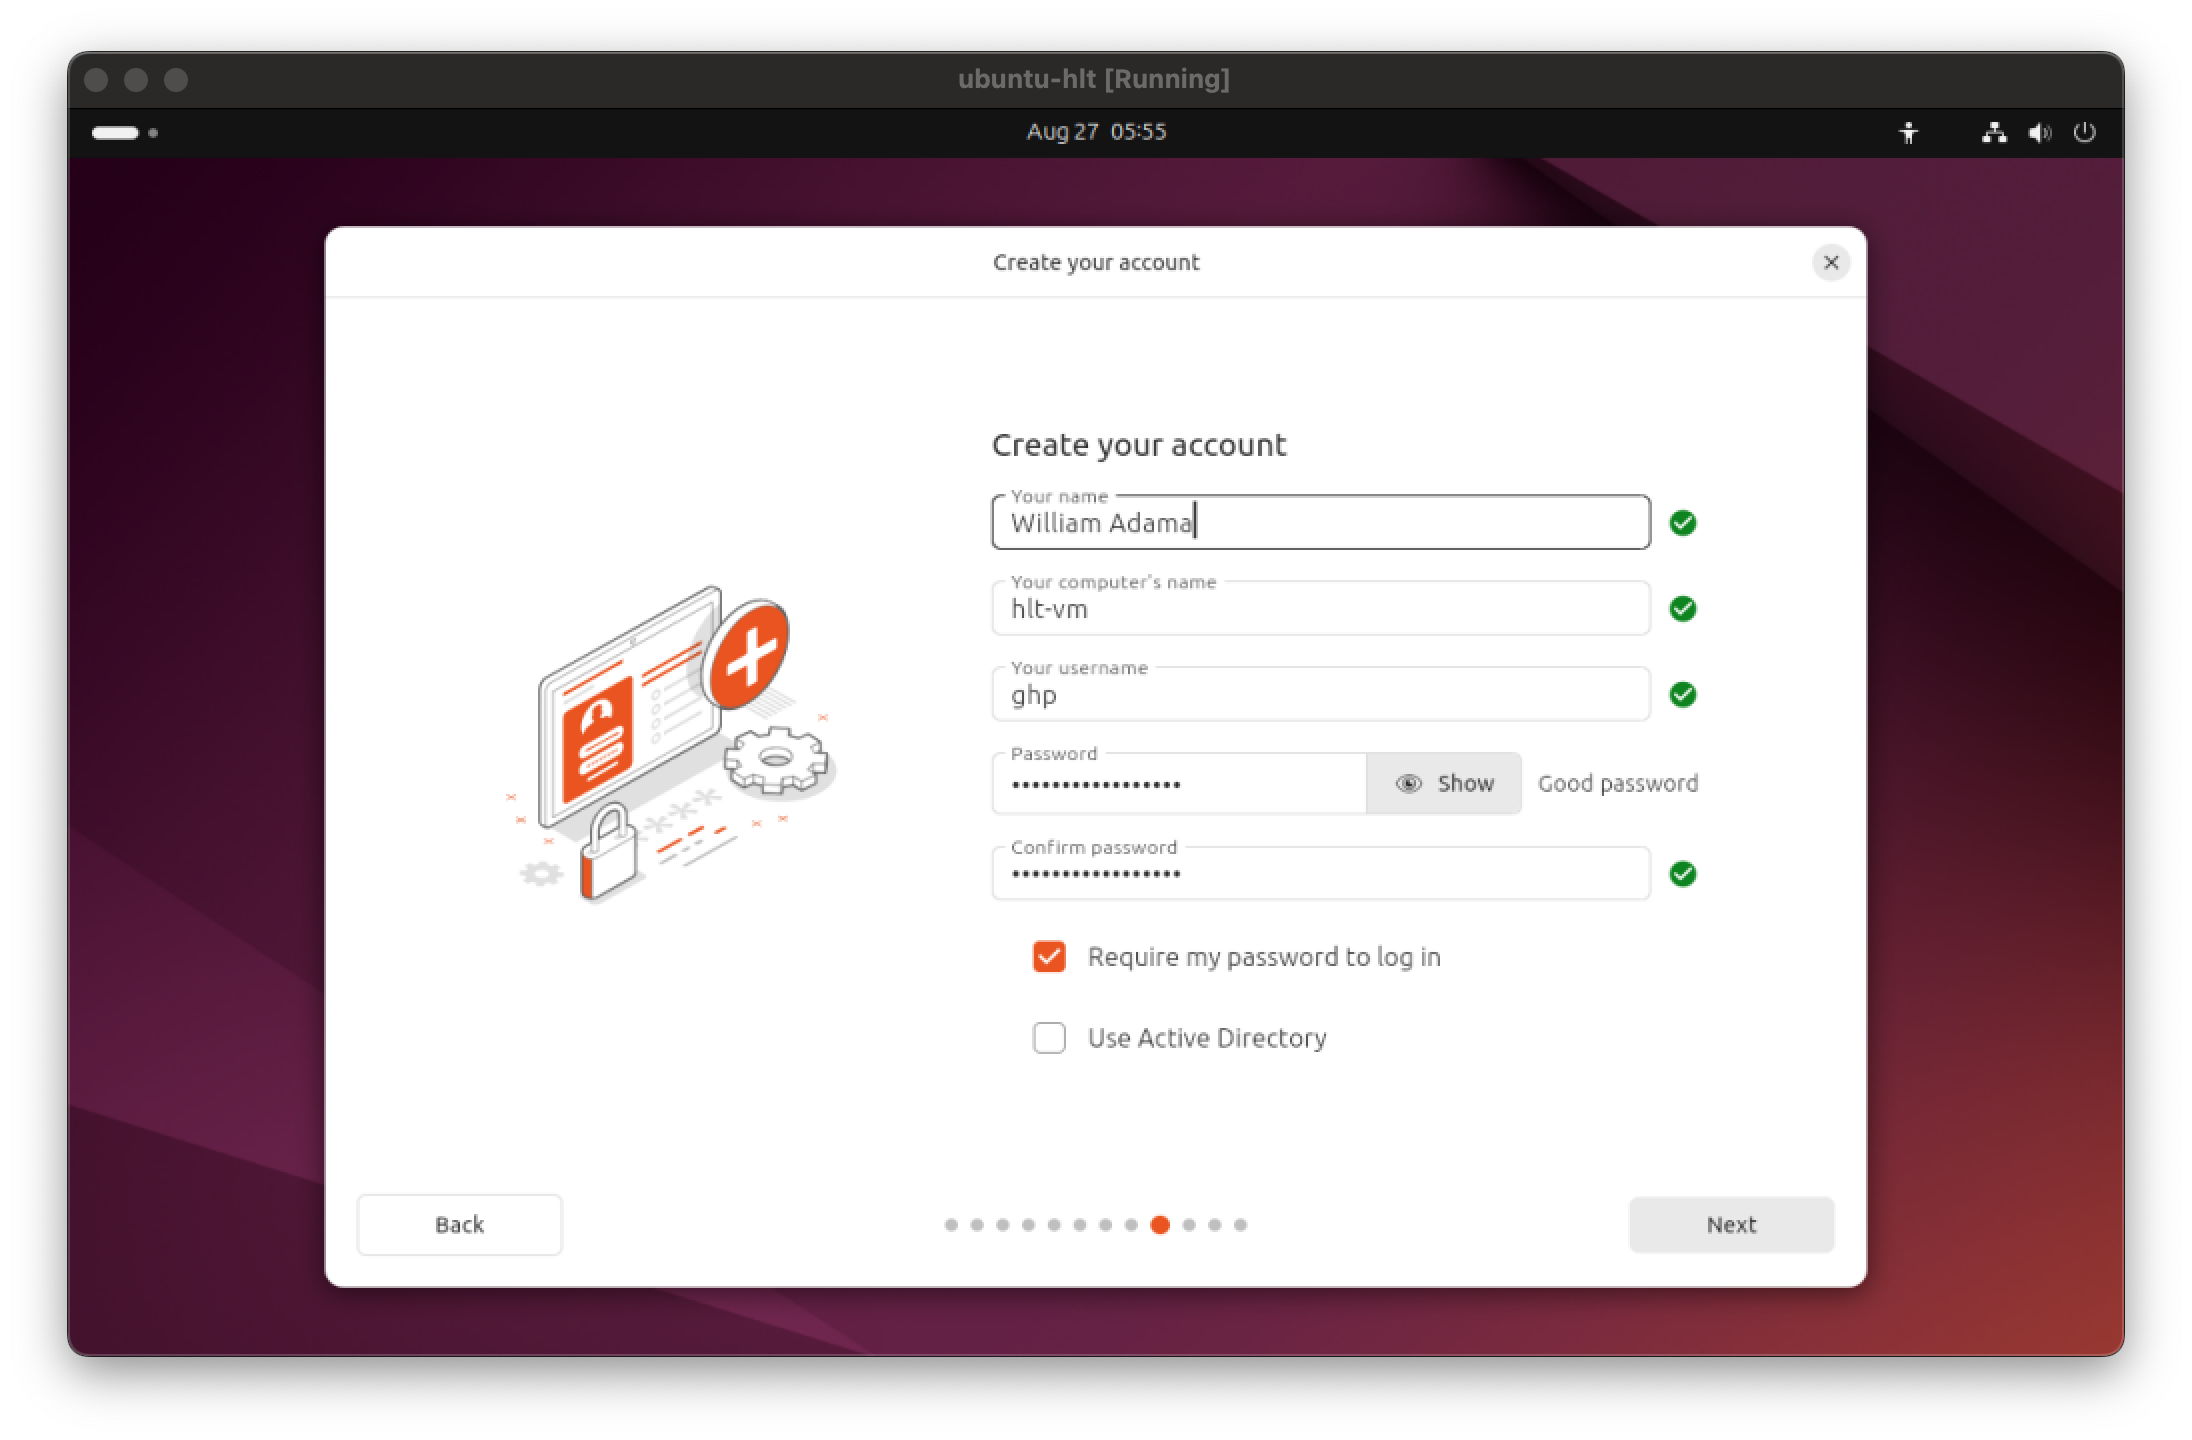
- Enter your preferred name, username, computer name, and password. Note that this user will have root/sudo privilege on your VM. When ready, click
Next.
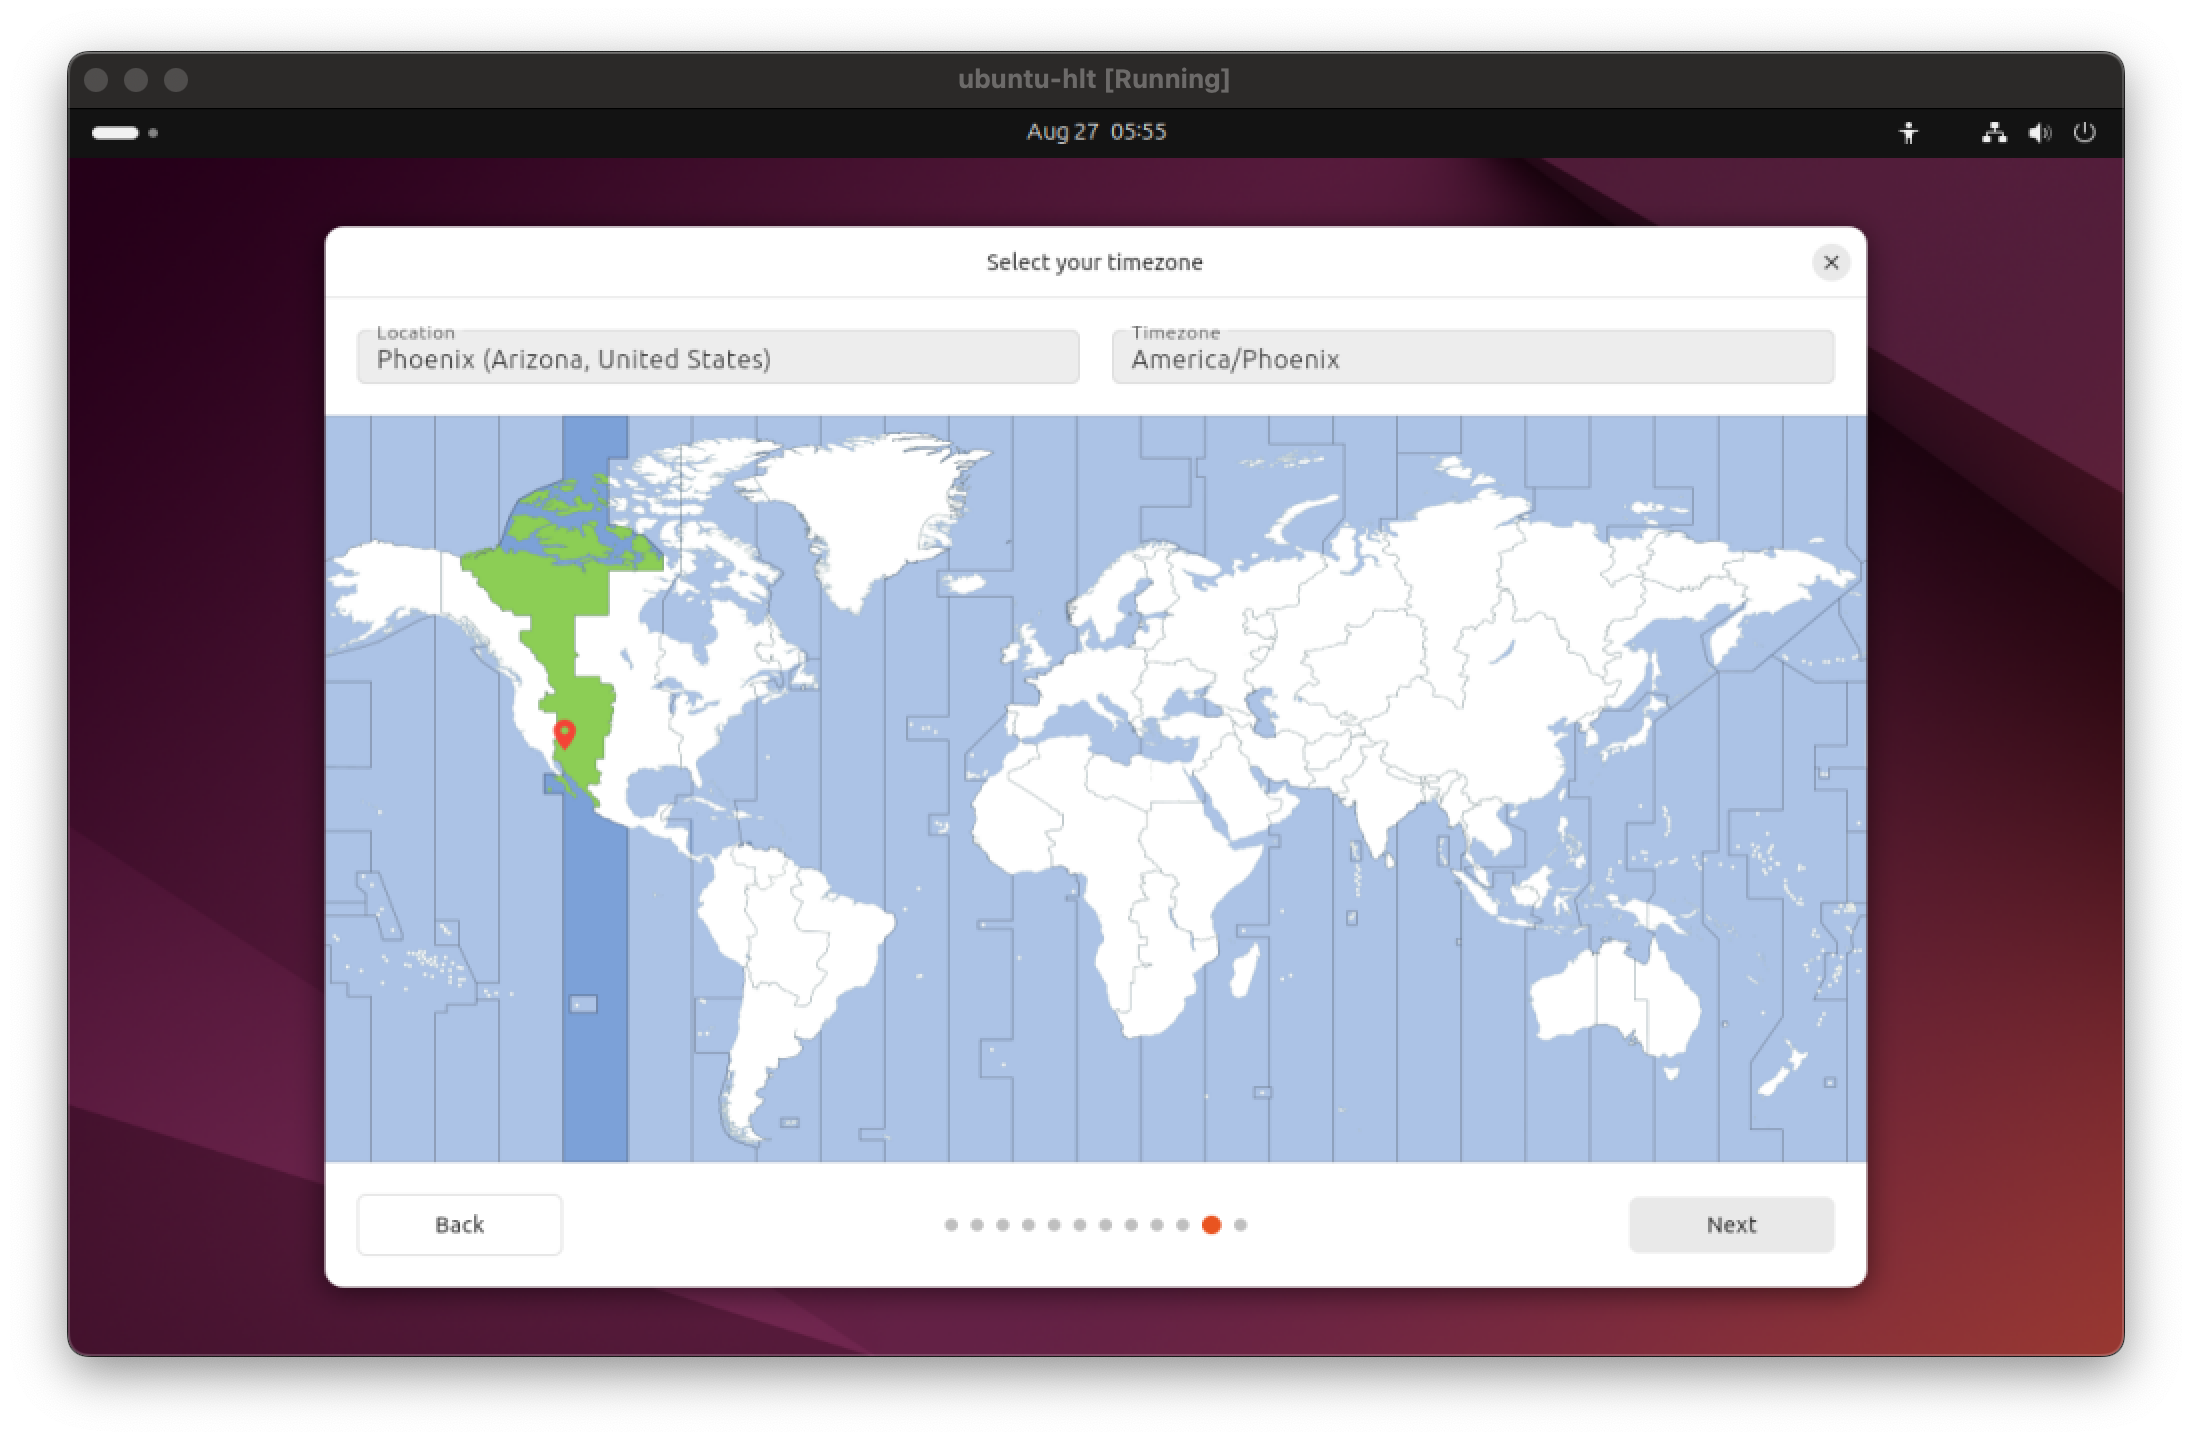
- Select your preferred timezone (dream destination or actual timezone) and click
Next.
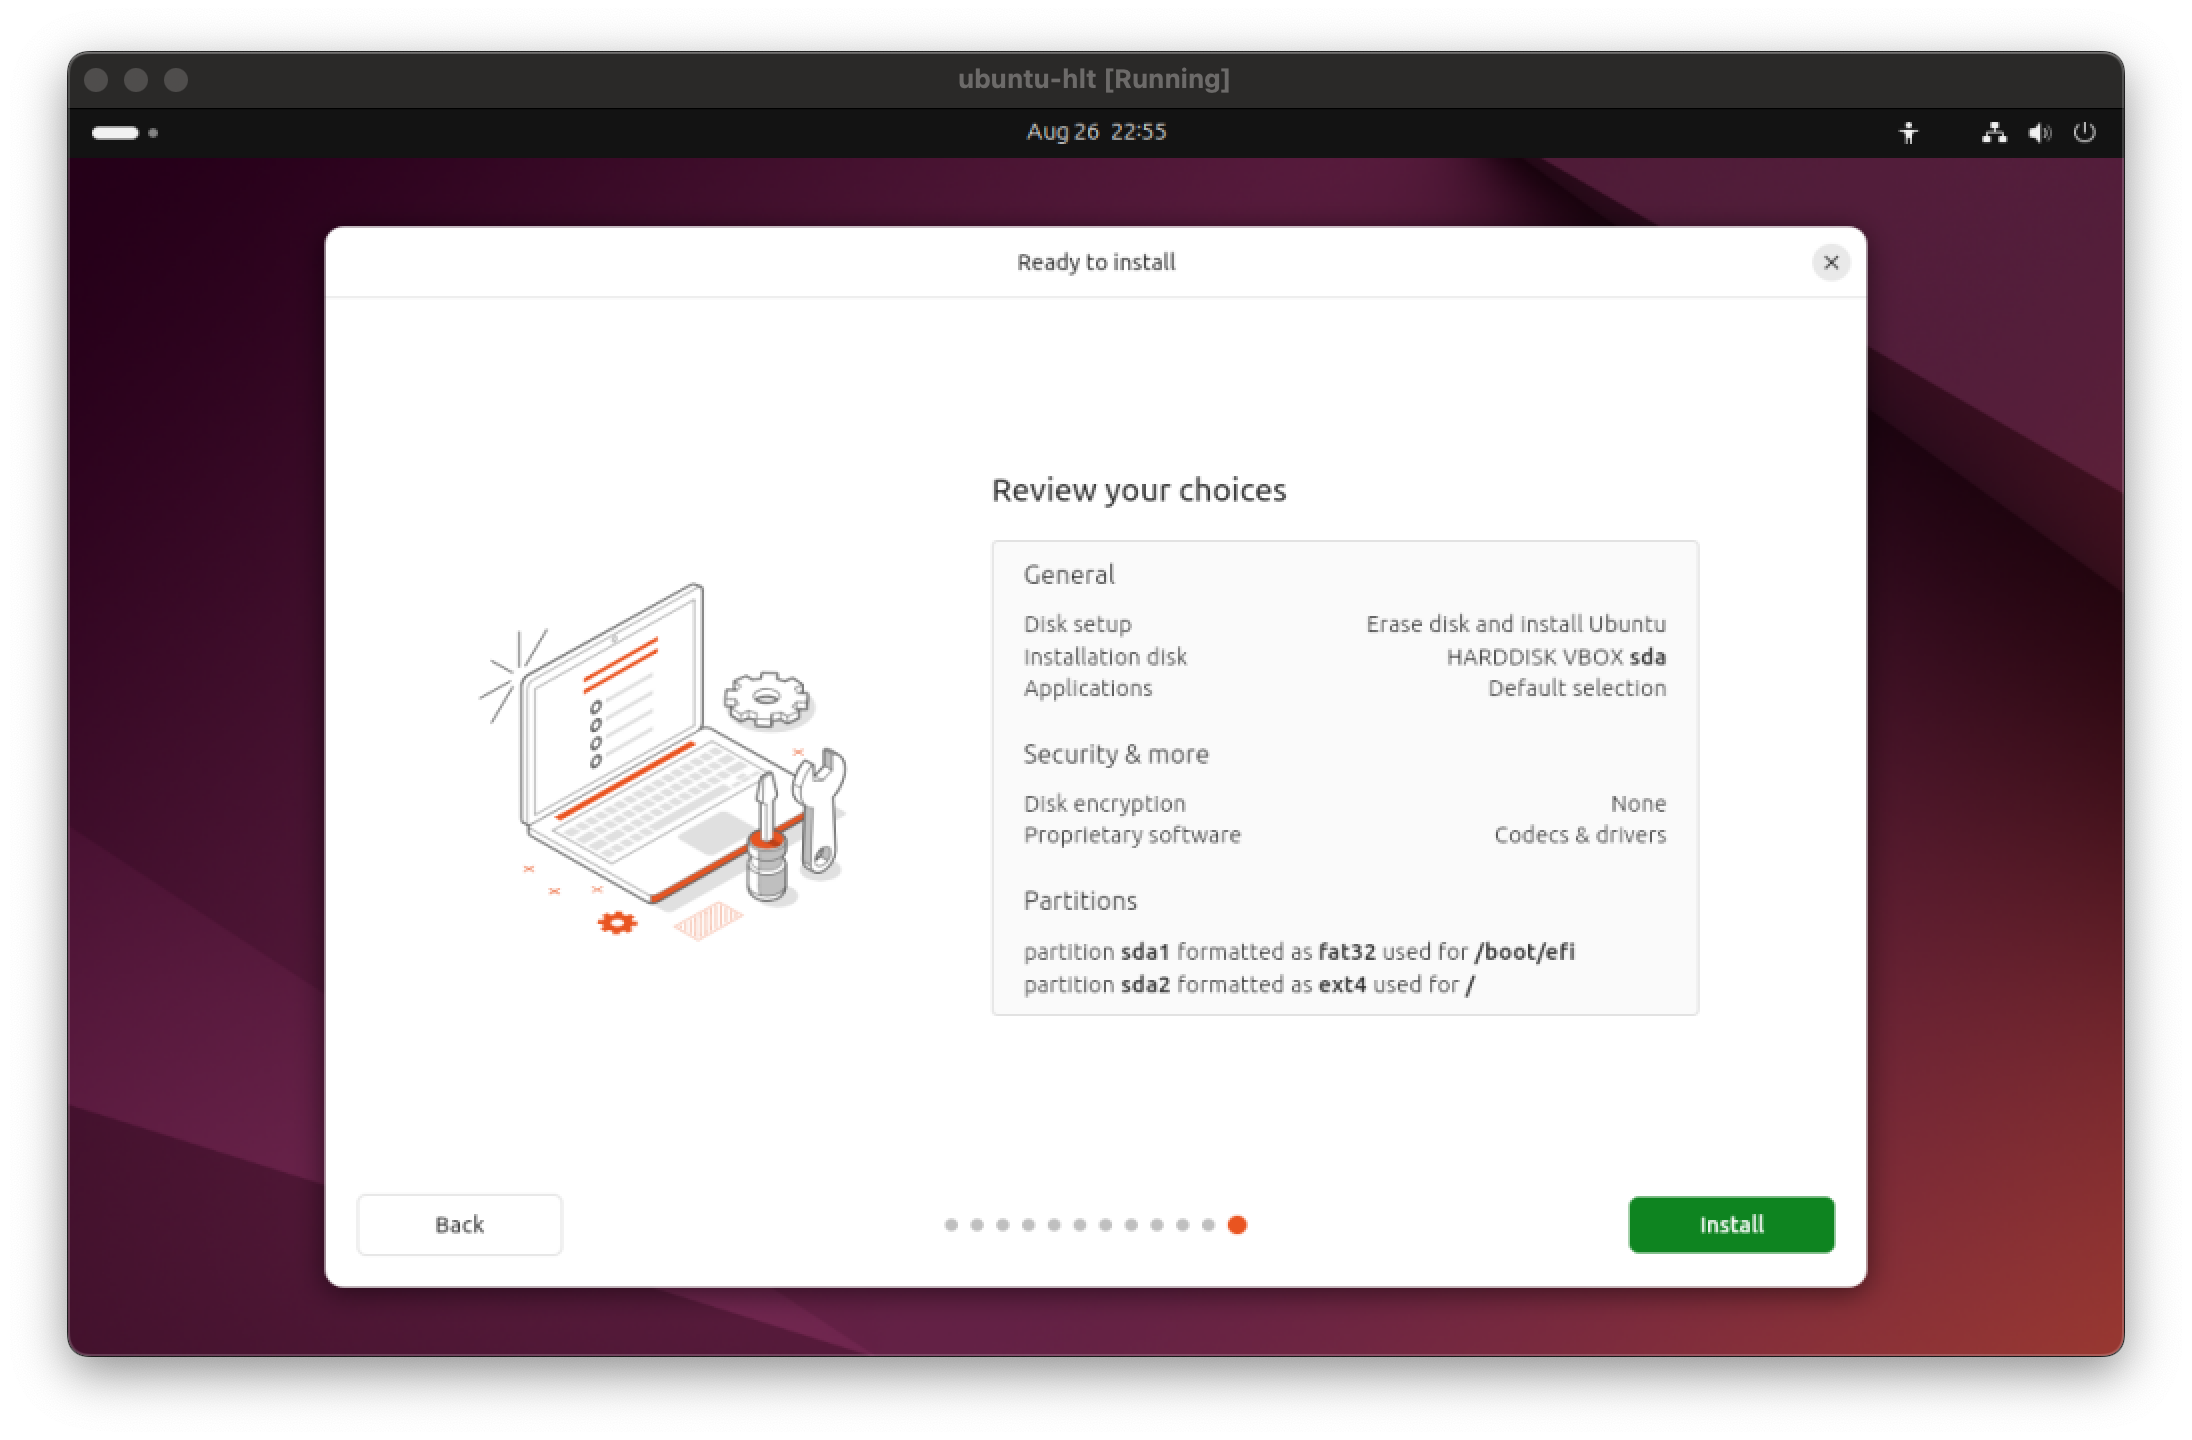
- Review your choices and click
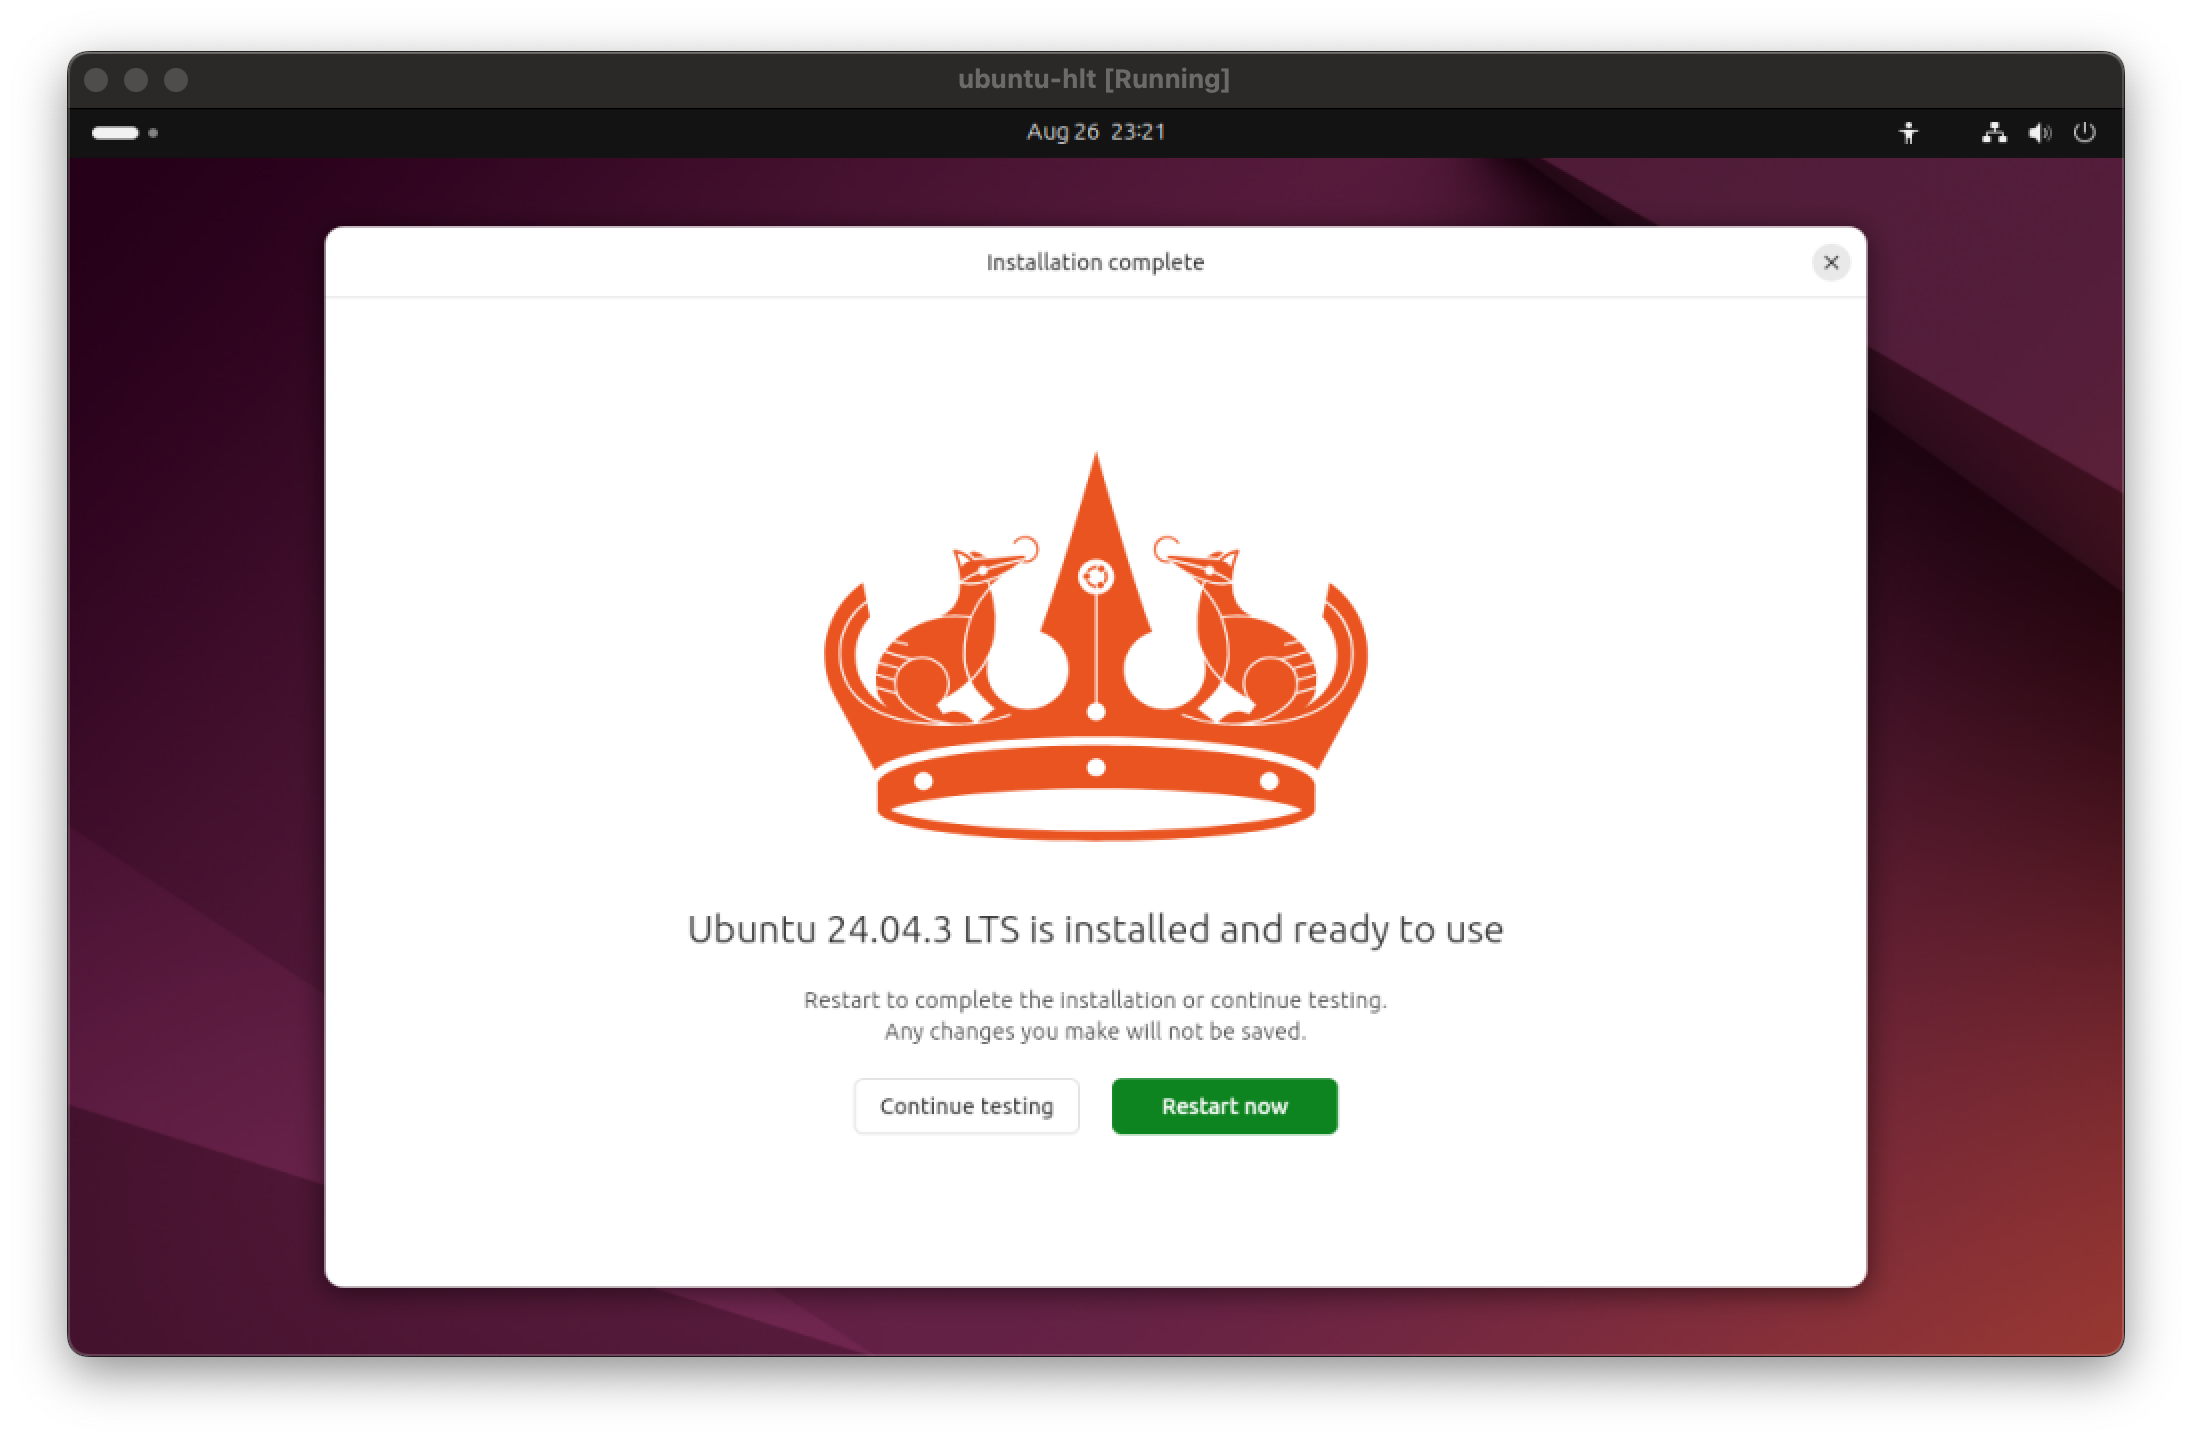
Install. Wait until the installation is finished. After the installation is complete, click theRestart nowbutton.
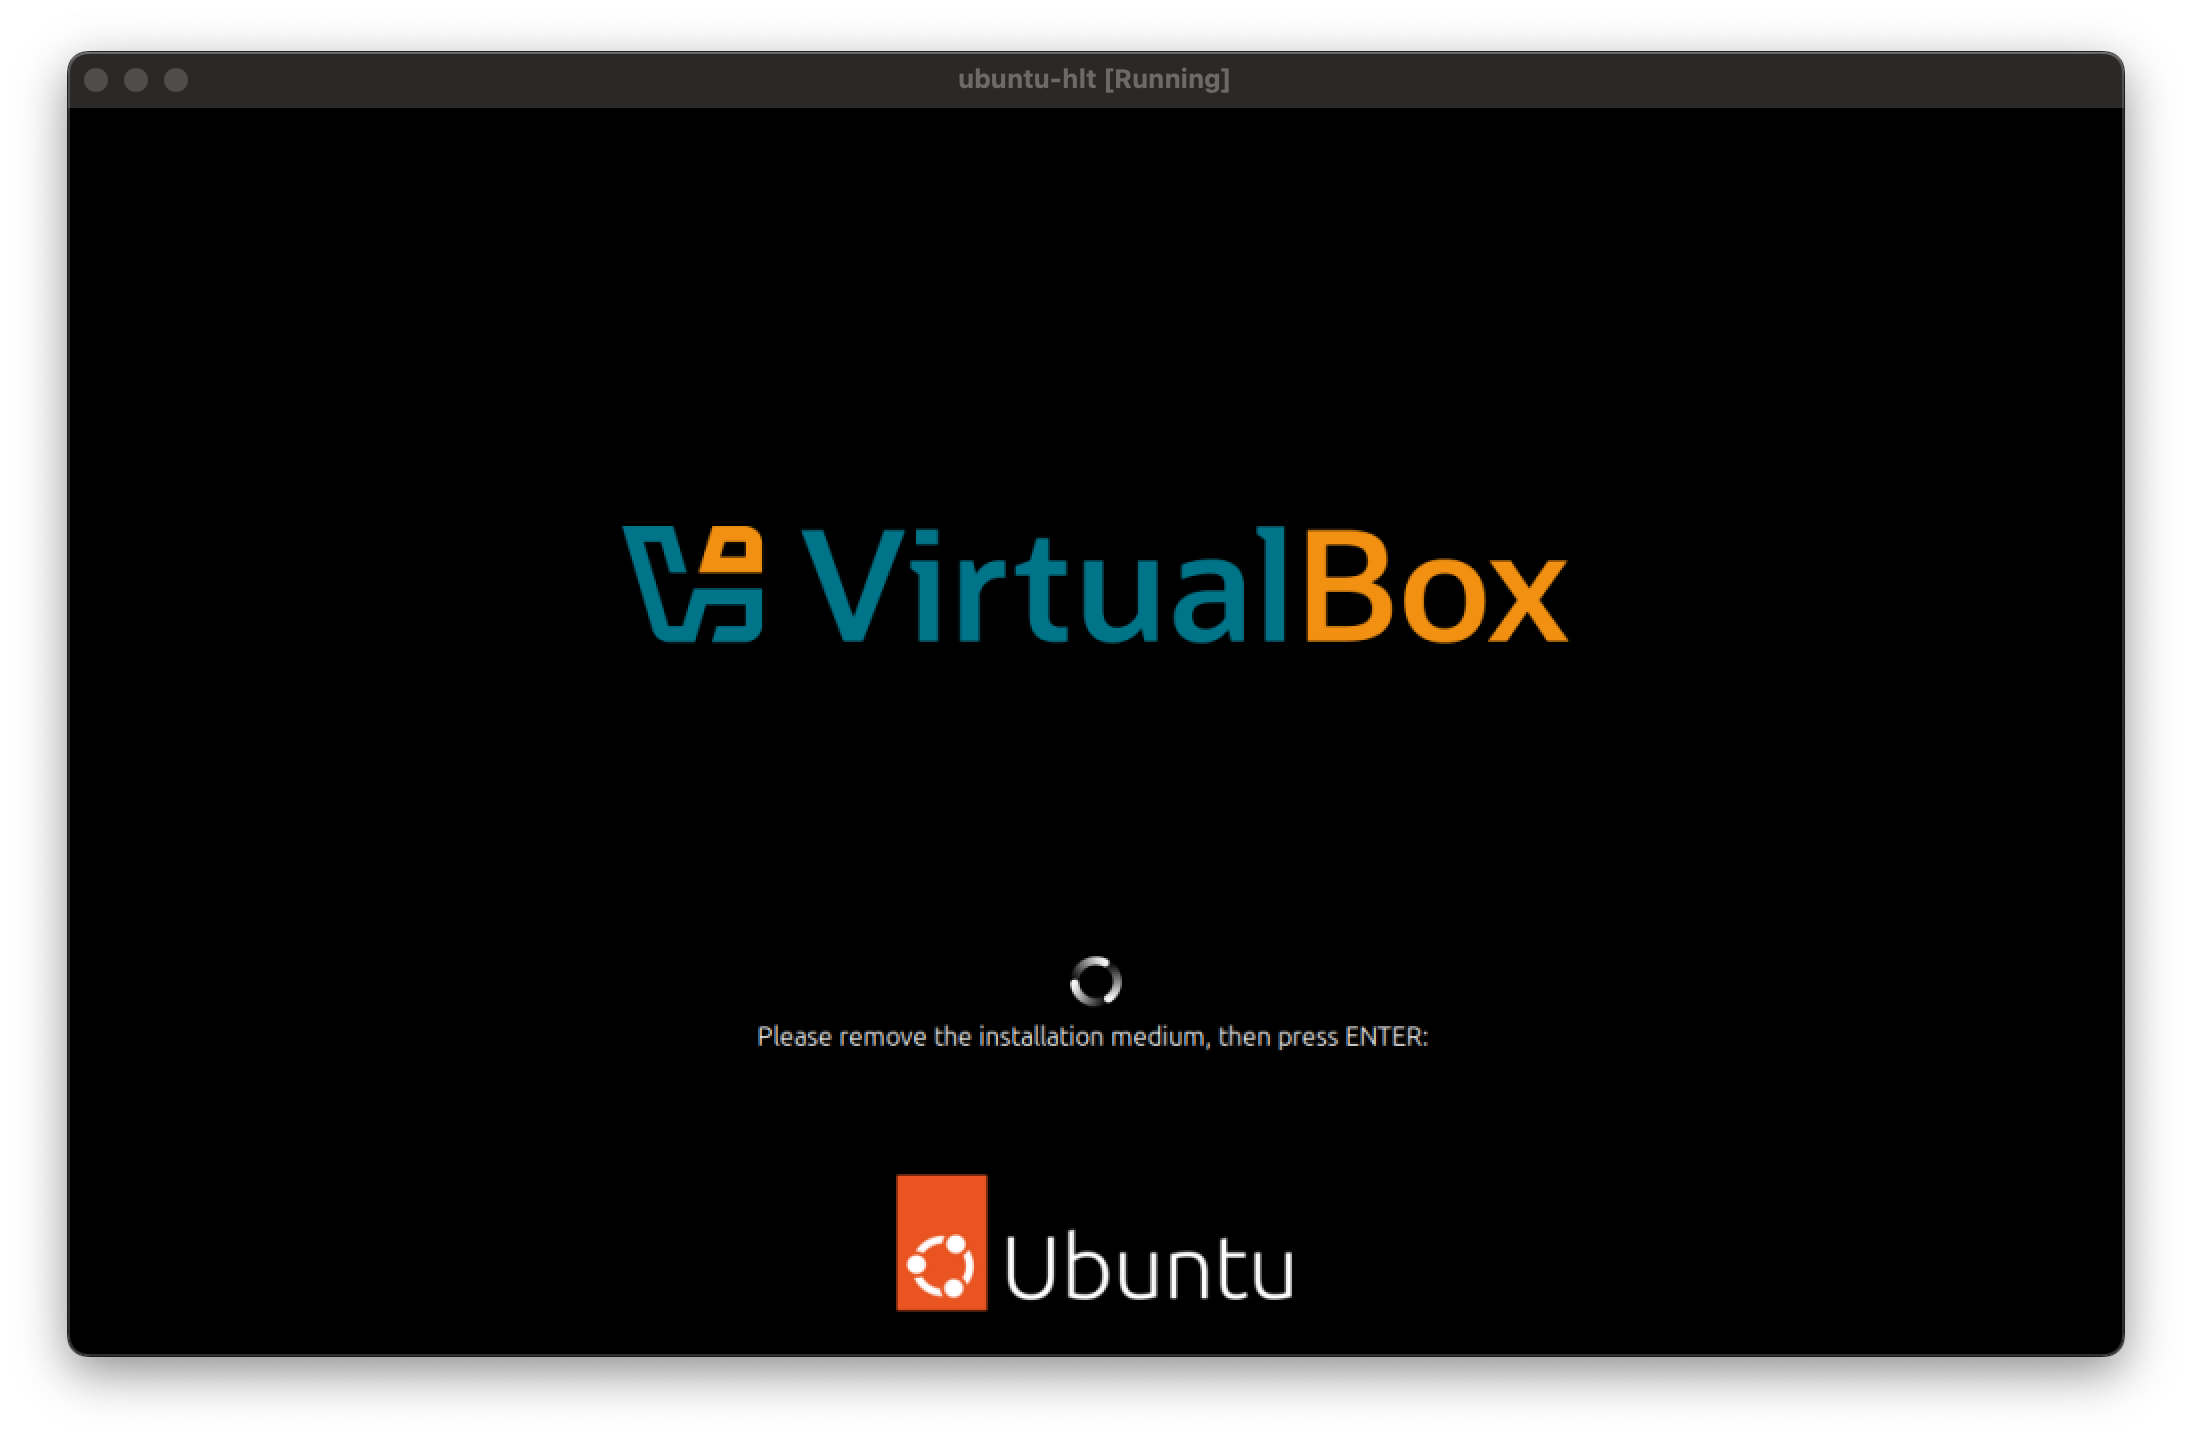
- When you see a screen with a black background saying Please remove the installation medium, then press ENTER:, simply hit the
ENTERkey.
- To log in, enter the password you chose earlier and press
ENTER.
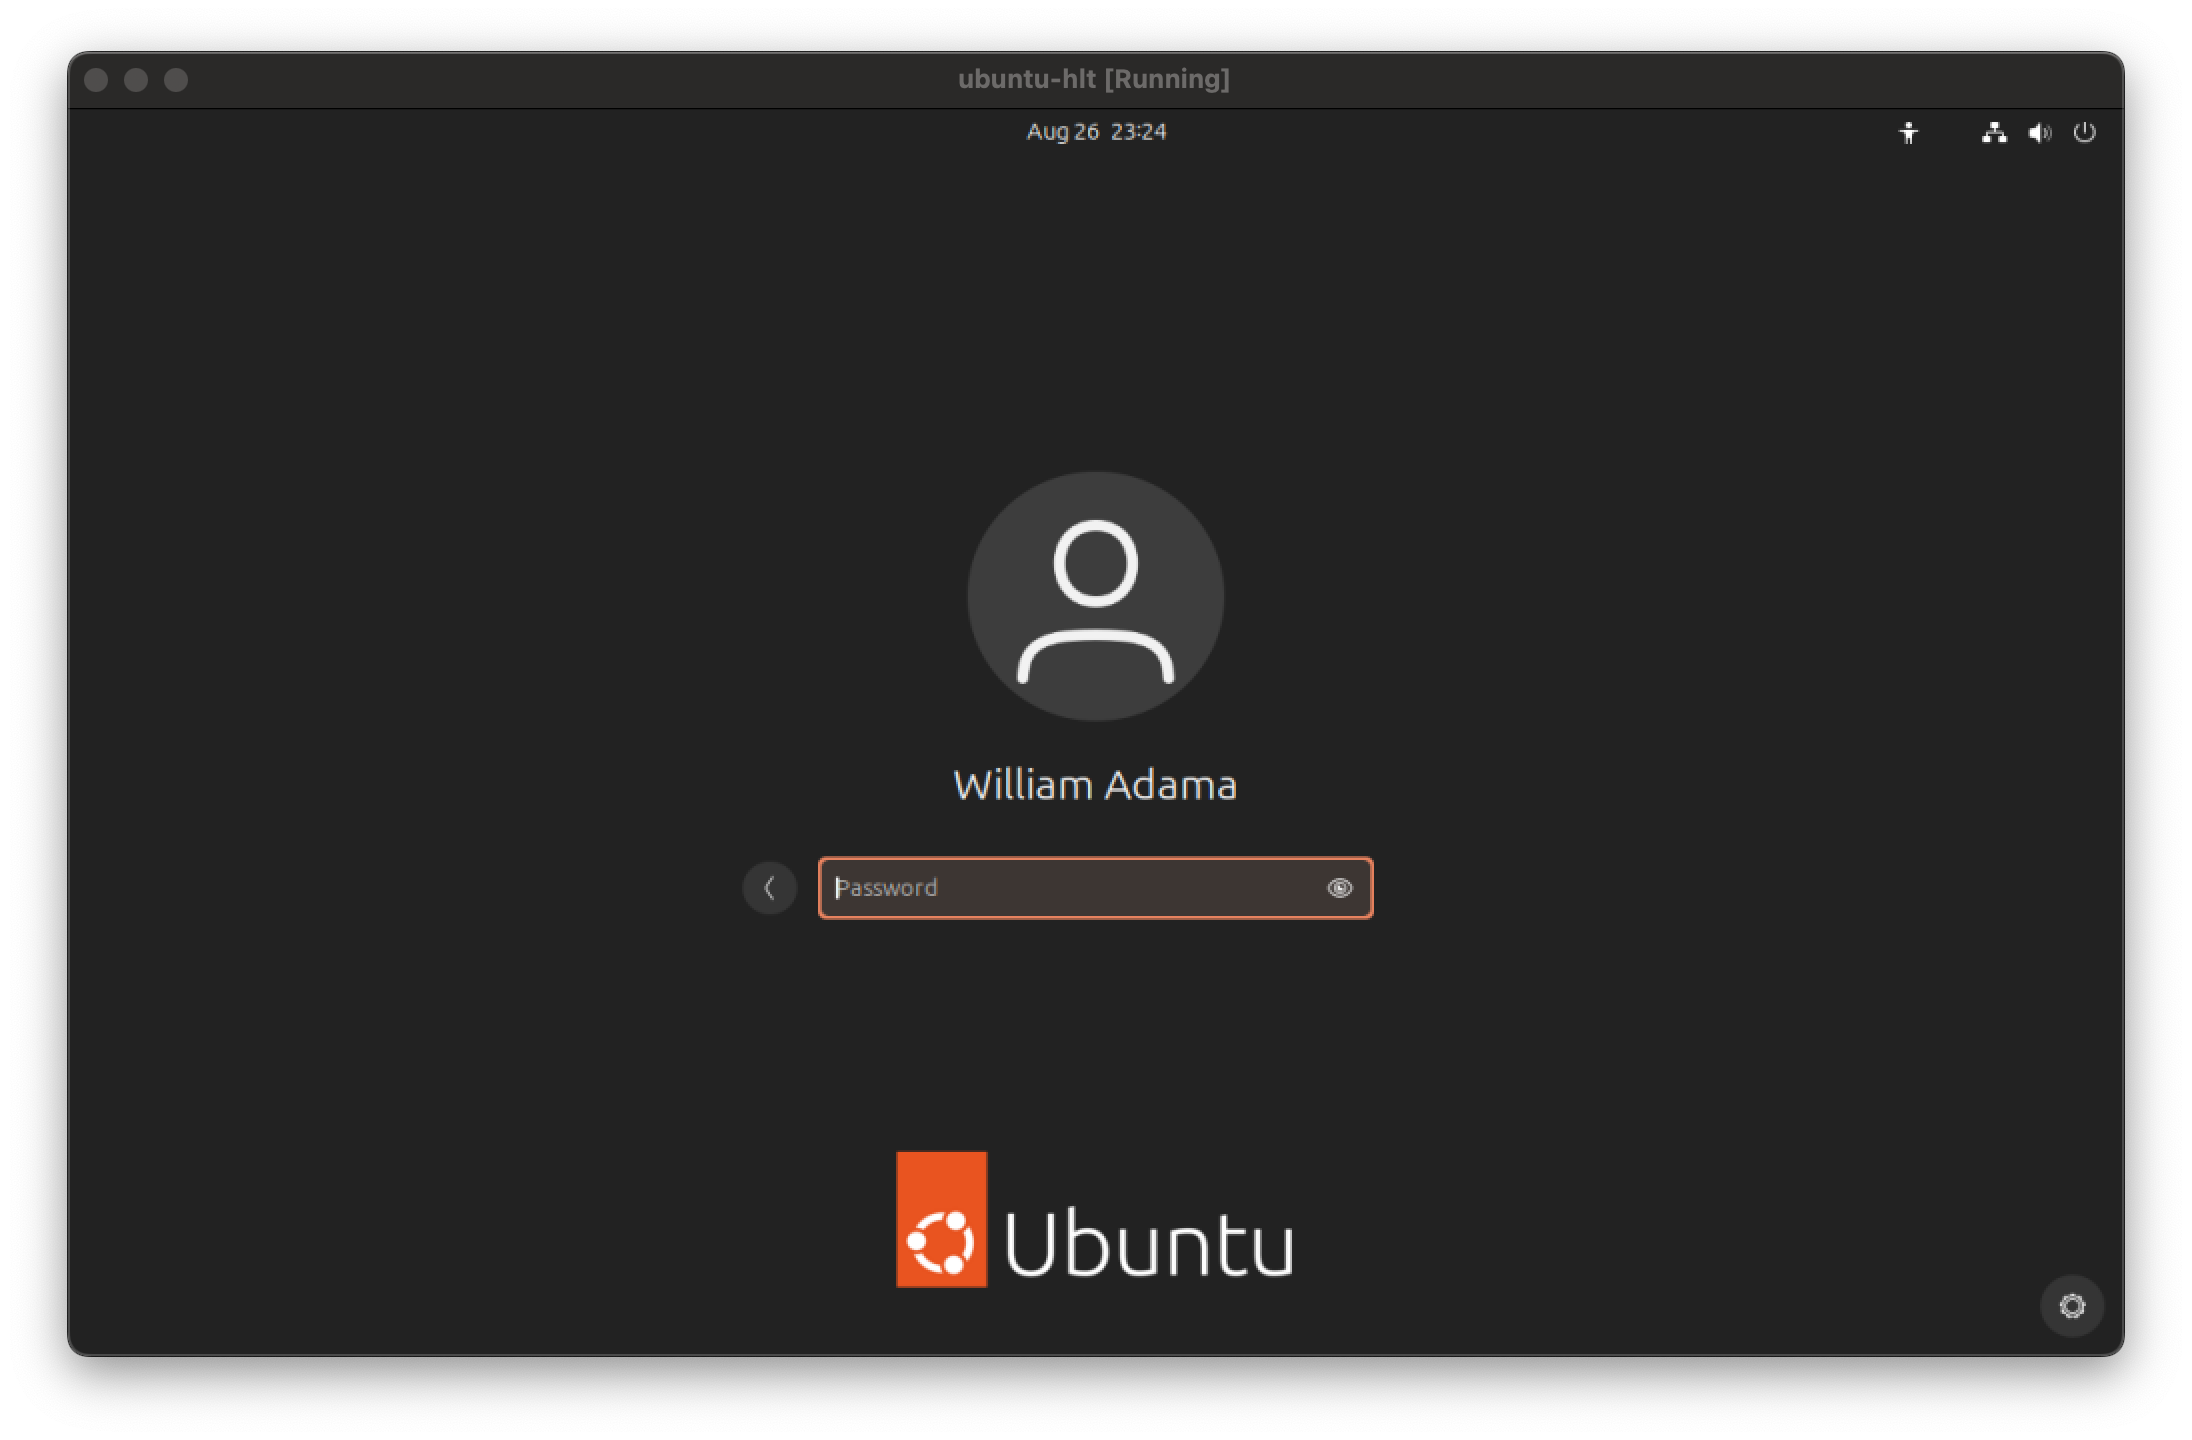
Your Ubuntu Desktop installation is ready. Congratulations!
Part 5: Installing Guest Additions
This step is optional but highly recommended.
Guest Additions extend the capabilities of VirtualBox in several useful ways, including …
- enabling bidirectional host ↔ guest copy / paste support
- sharing folders across host and guest systems
- dragging and dropping files between host and guest
- graphics improvements
- higher resolutions
- full screen
- app windows
- improved mouse integration
1. Install required packages
Open the terminal and run the following command:
If you are not sure how to open the terminal, please refer to the FAQ below.
$ sudo apt install -y bzip2 tar build-essential2. Install Guest Additions
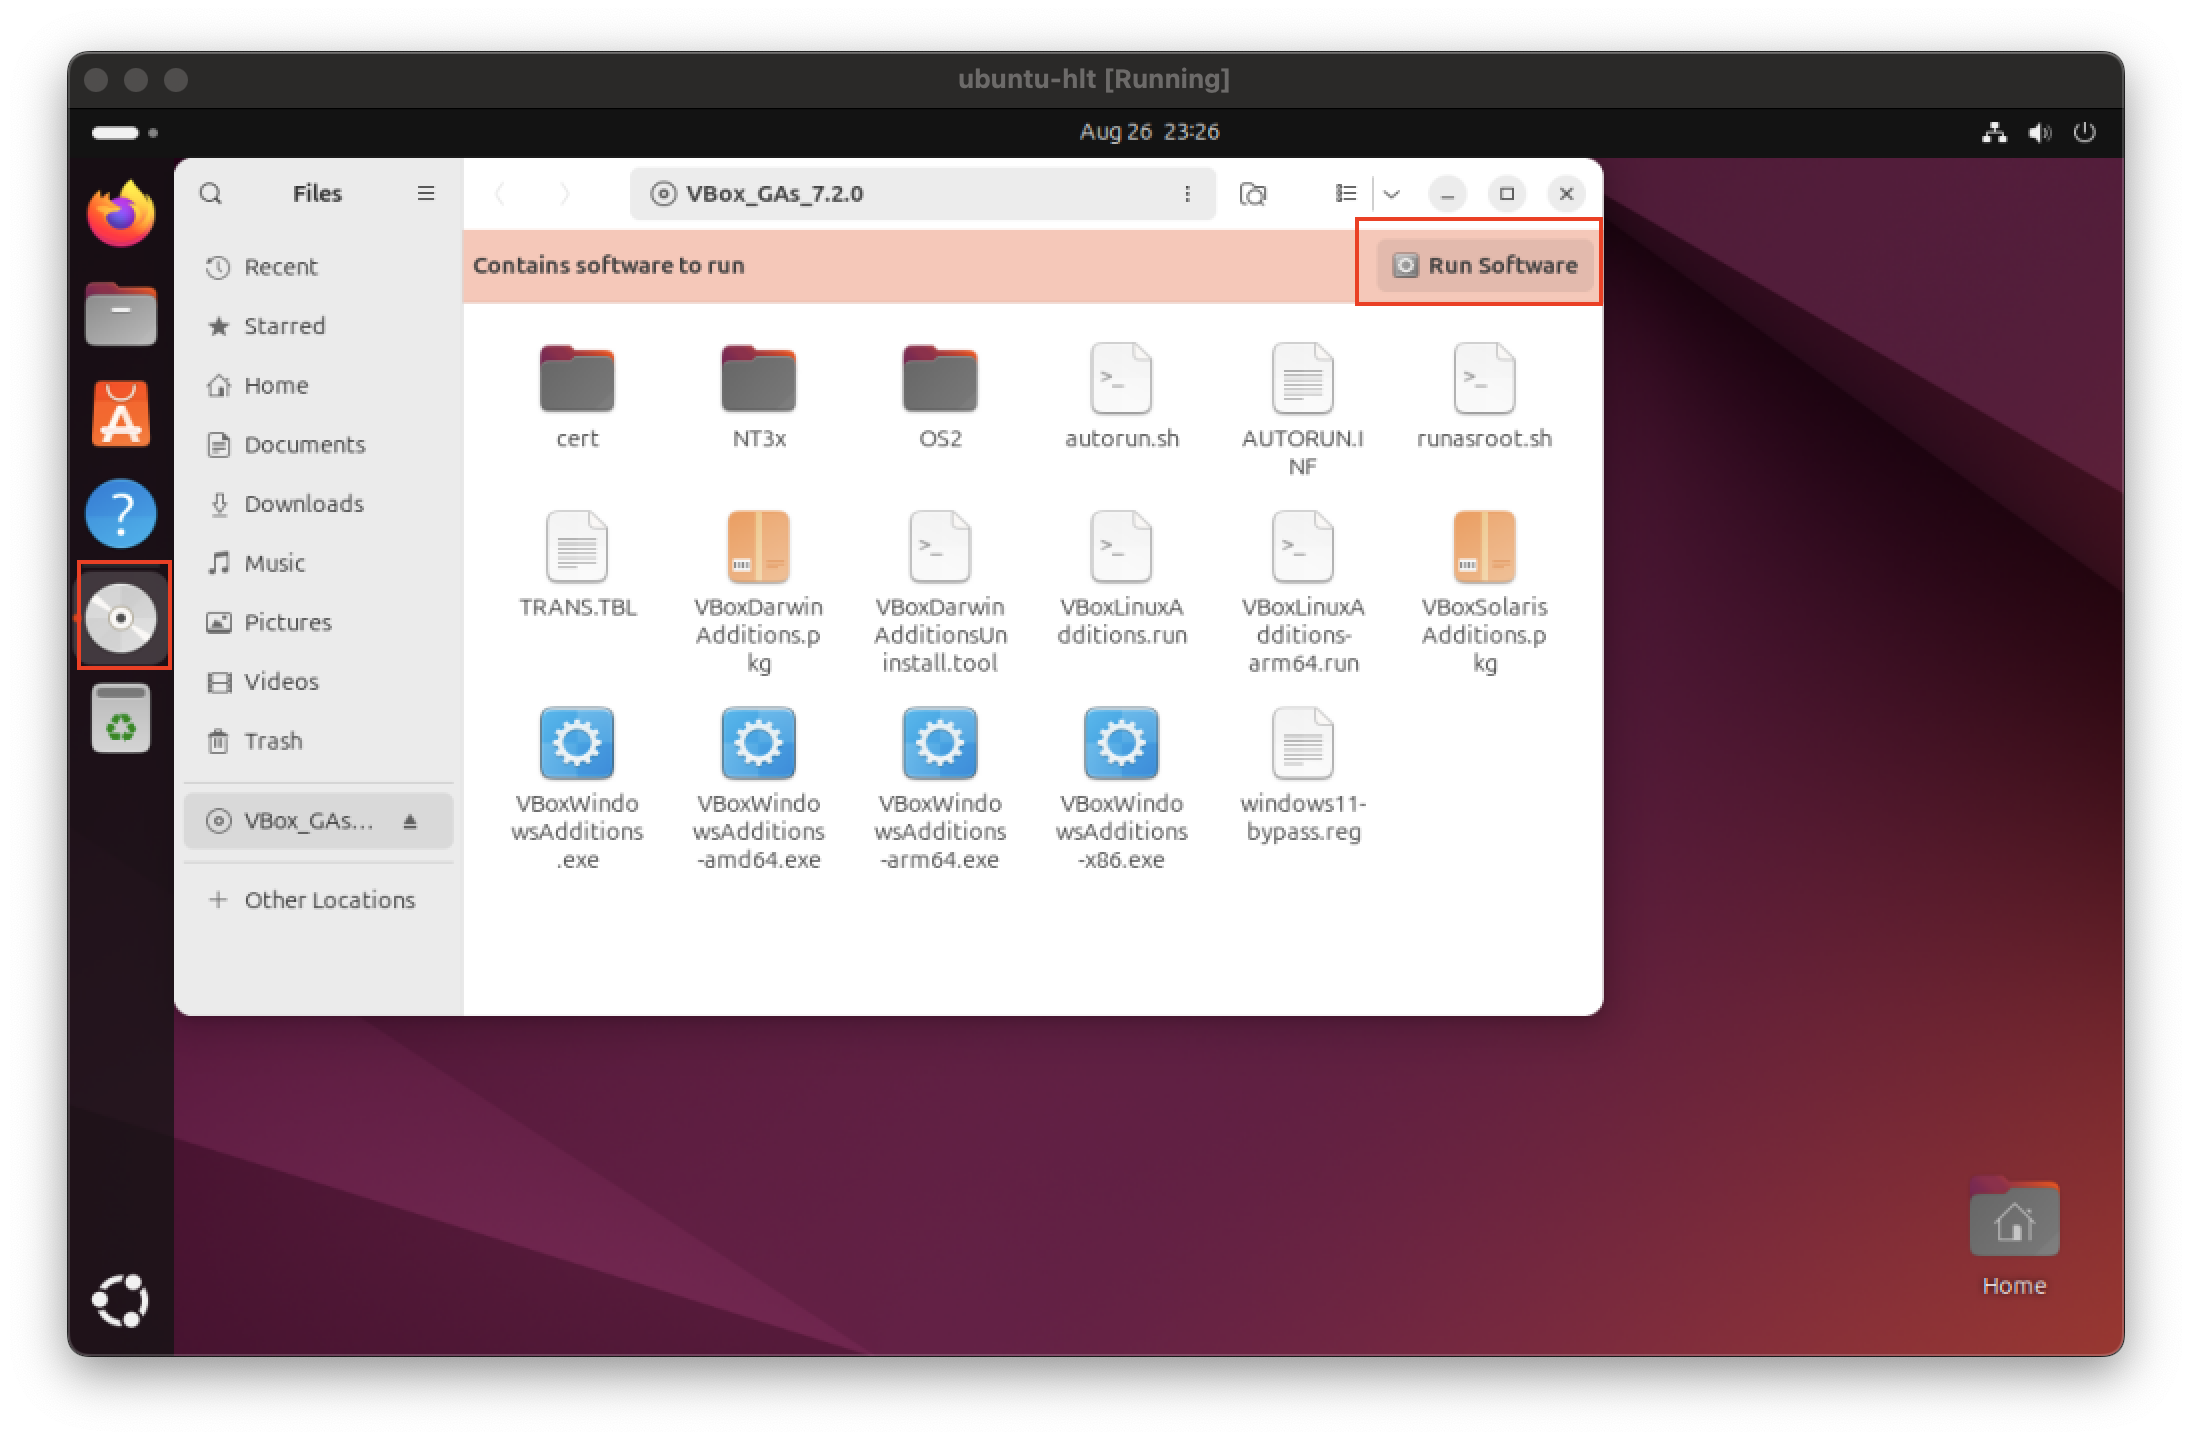
In order to install VirtualBox Guest Additions on your Ubuntu VM, use the menu to select Devices → Insert Guest Additions CD image.
As soon as you attach the Guest Additions image to the VM, click on the CD icon in the menu bar, and then click the Run Software button in Files window. You'll be prompted to enter you password.
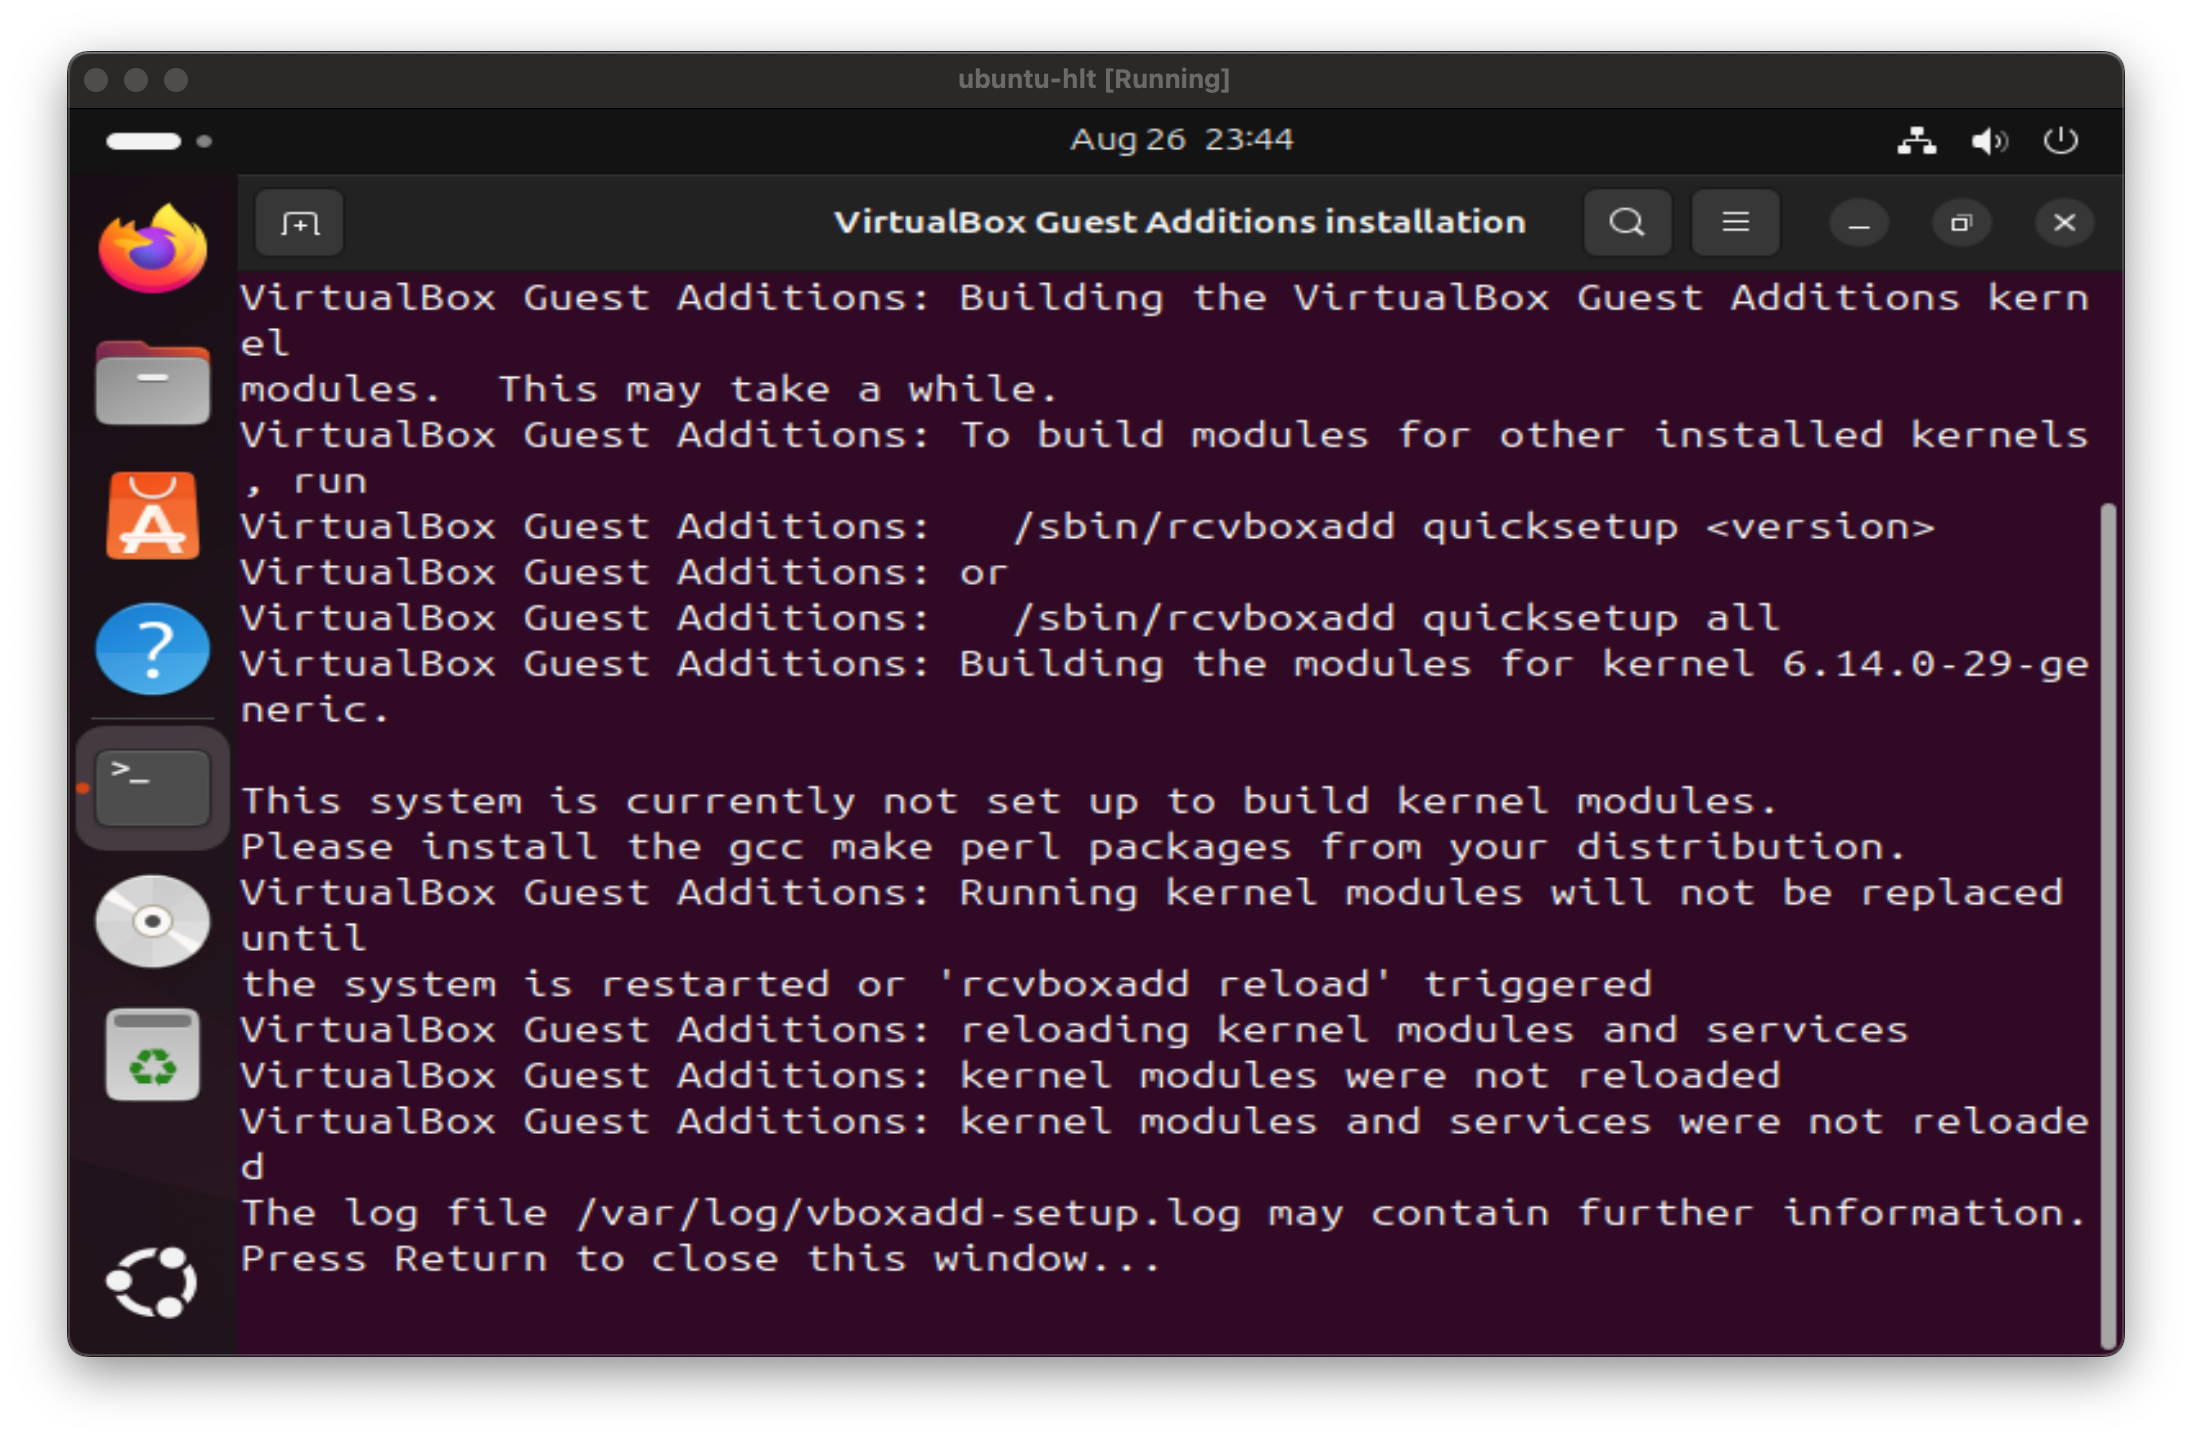
Press Return key to complete the installation.
Reboot your VM. You may need to enter your password in order to restart the VM.
$ sudo rebootFAQ
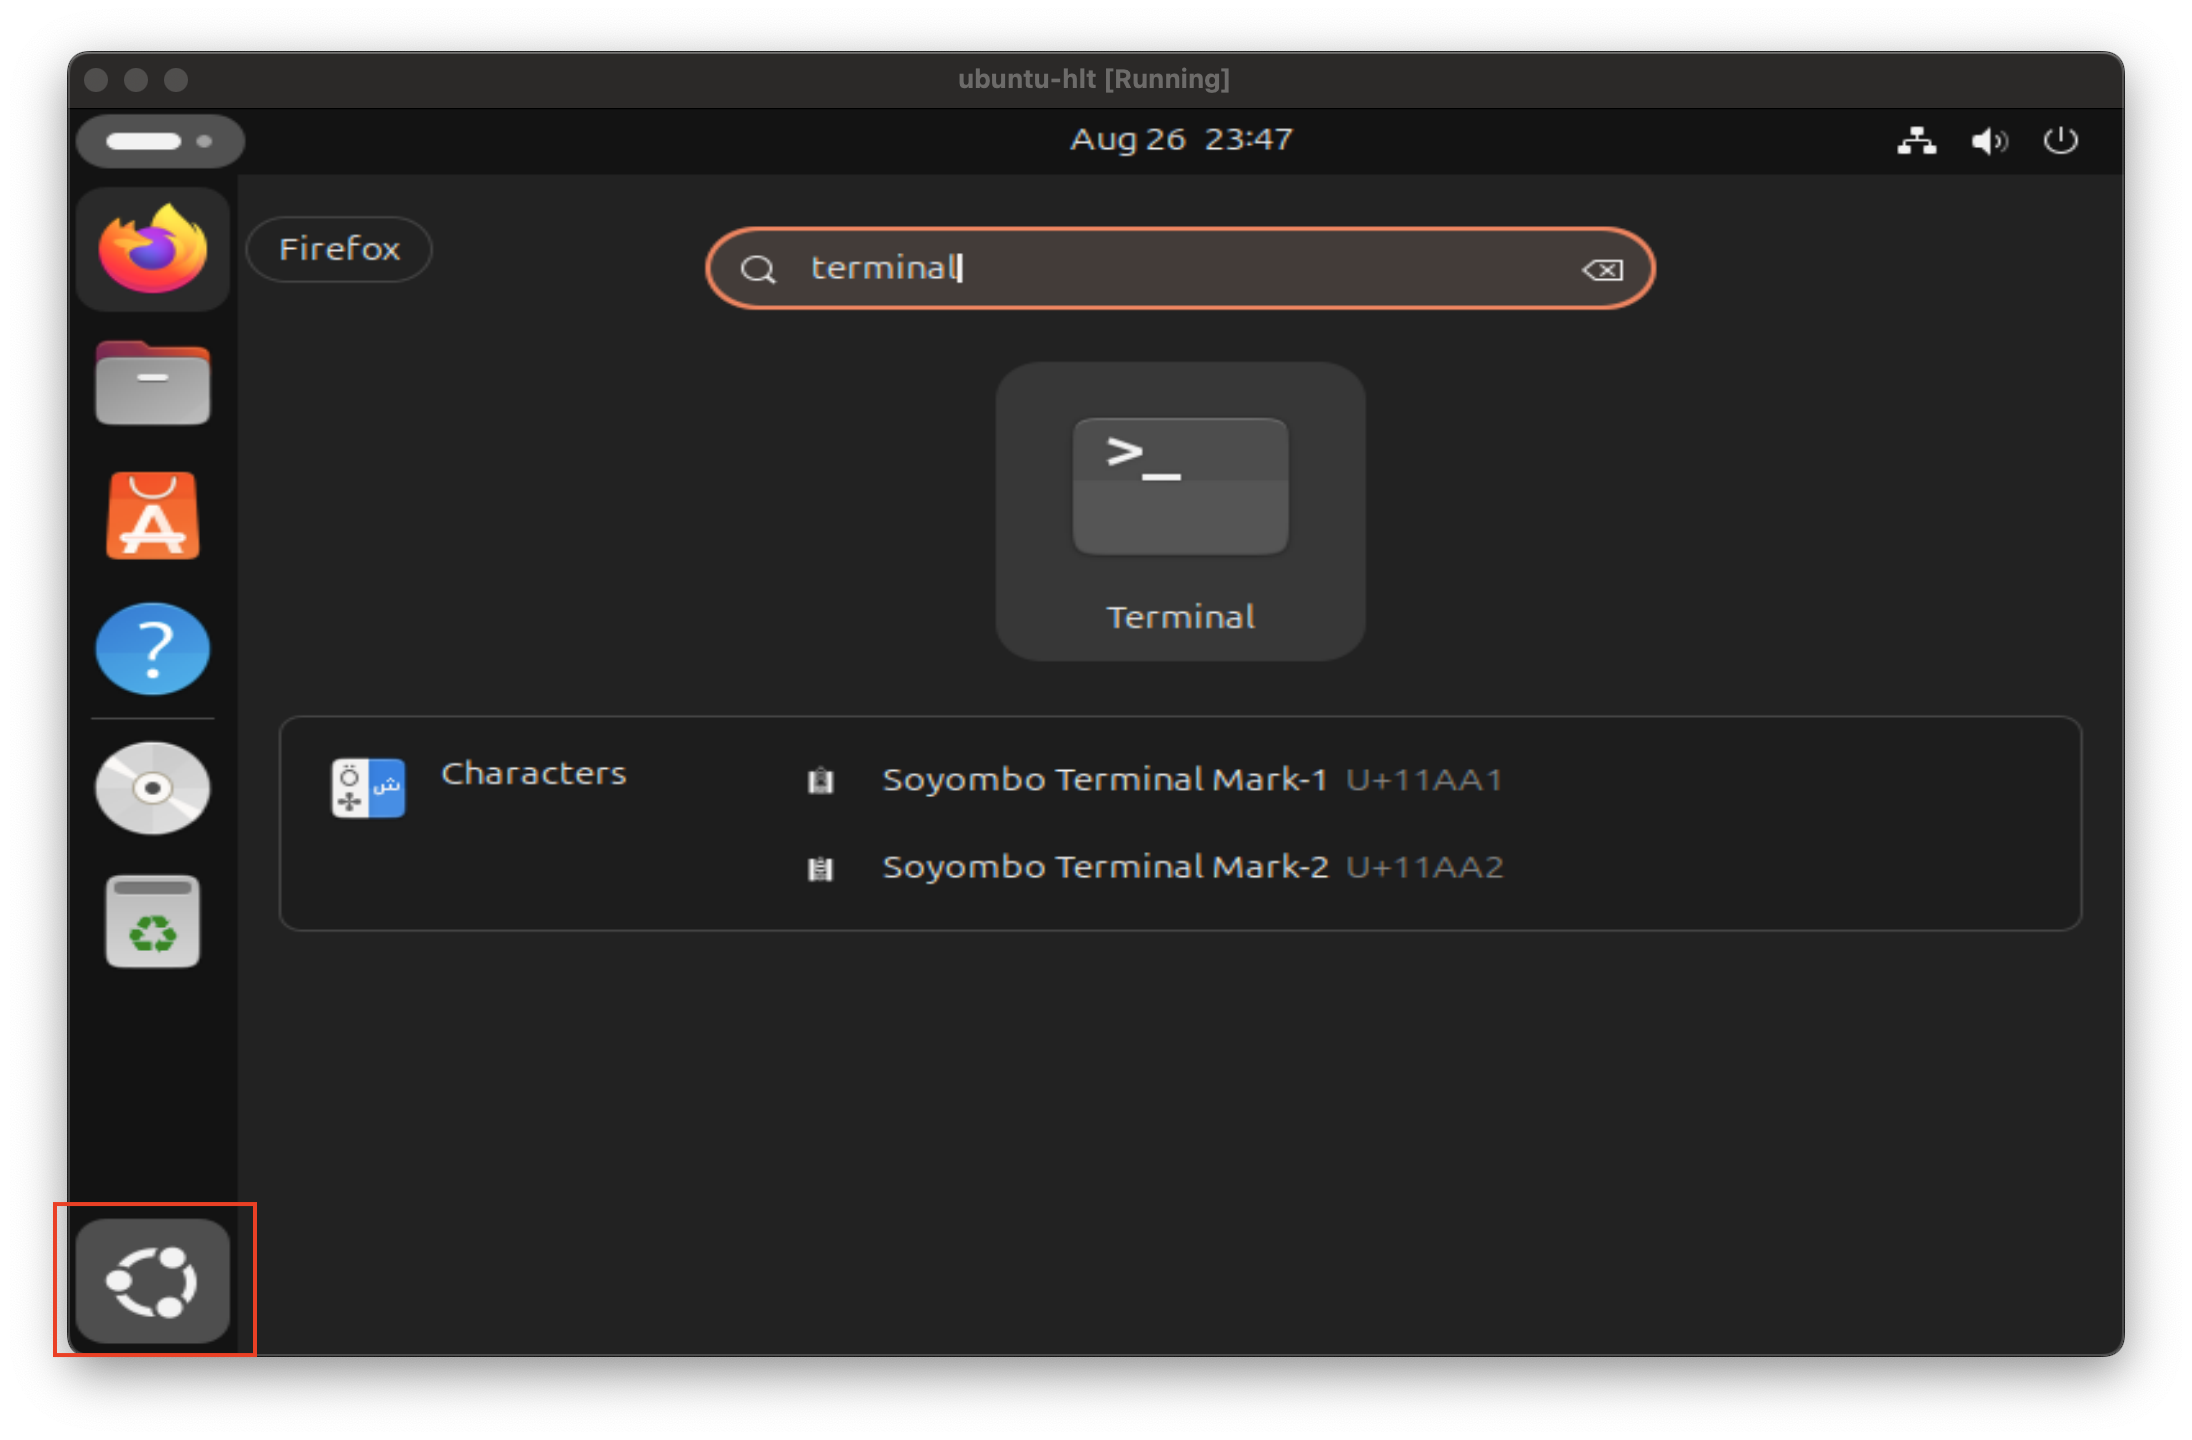
How do I open the terminal?
Open the activity menu (The Show Apps button at the bottom of the menu bar) , type terminal, and hit Enter key (or select the terminal icon).
How do I copy and paste in Ubuntu?
The keyboard shortcuts for copying and pasting differ depending on whether there are executed within the terminal elsewhere.
Terminal
To copy text from the terminal/CLI prompt, use SHIFT+Ctrl+c. To past into the terminal, use SHIFT+Ctrl+v
Everywhere else
To copy text elsewhere (VM's web browser, code editor, etc.), use Ctrl+c
To paste text anywhere other than the terminal, use Ctrl+v.
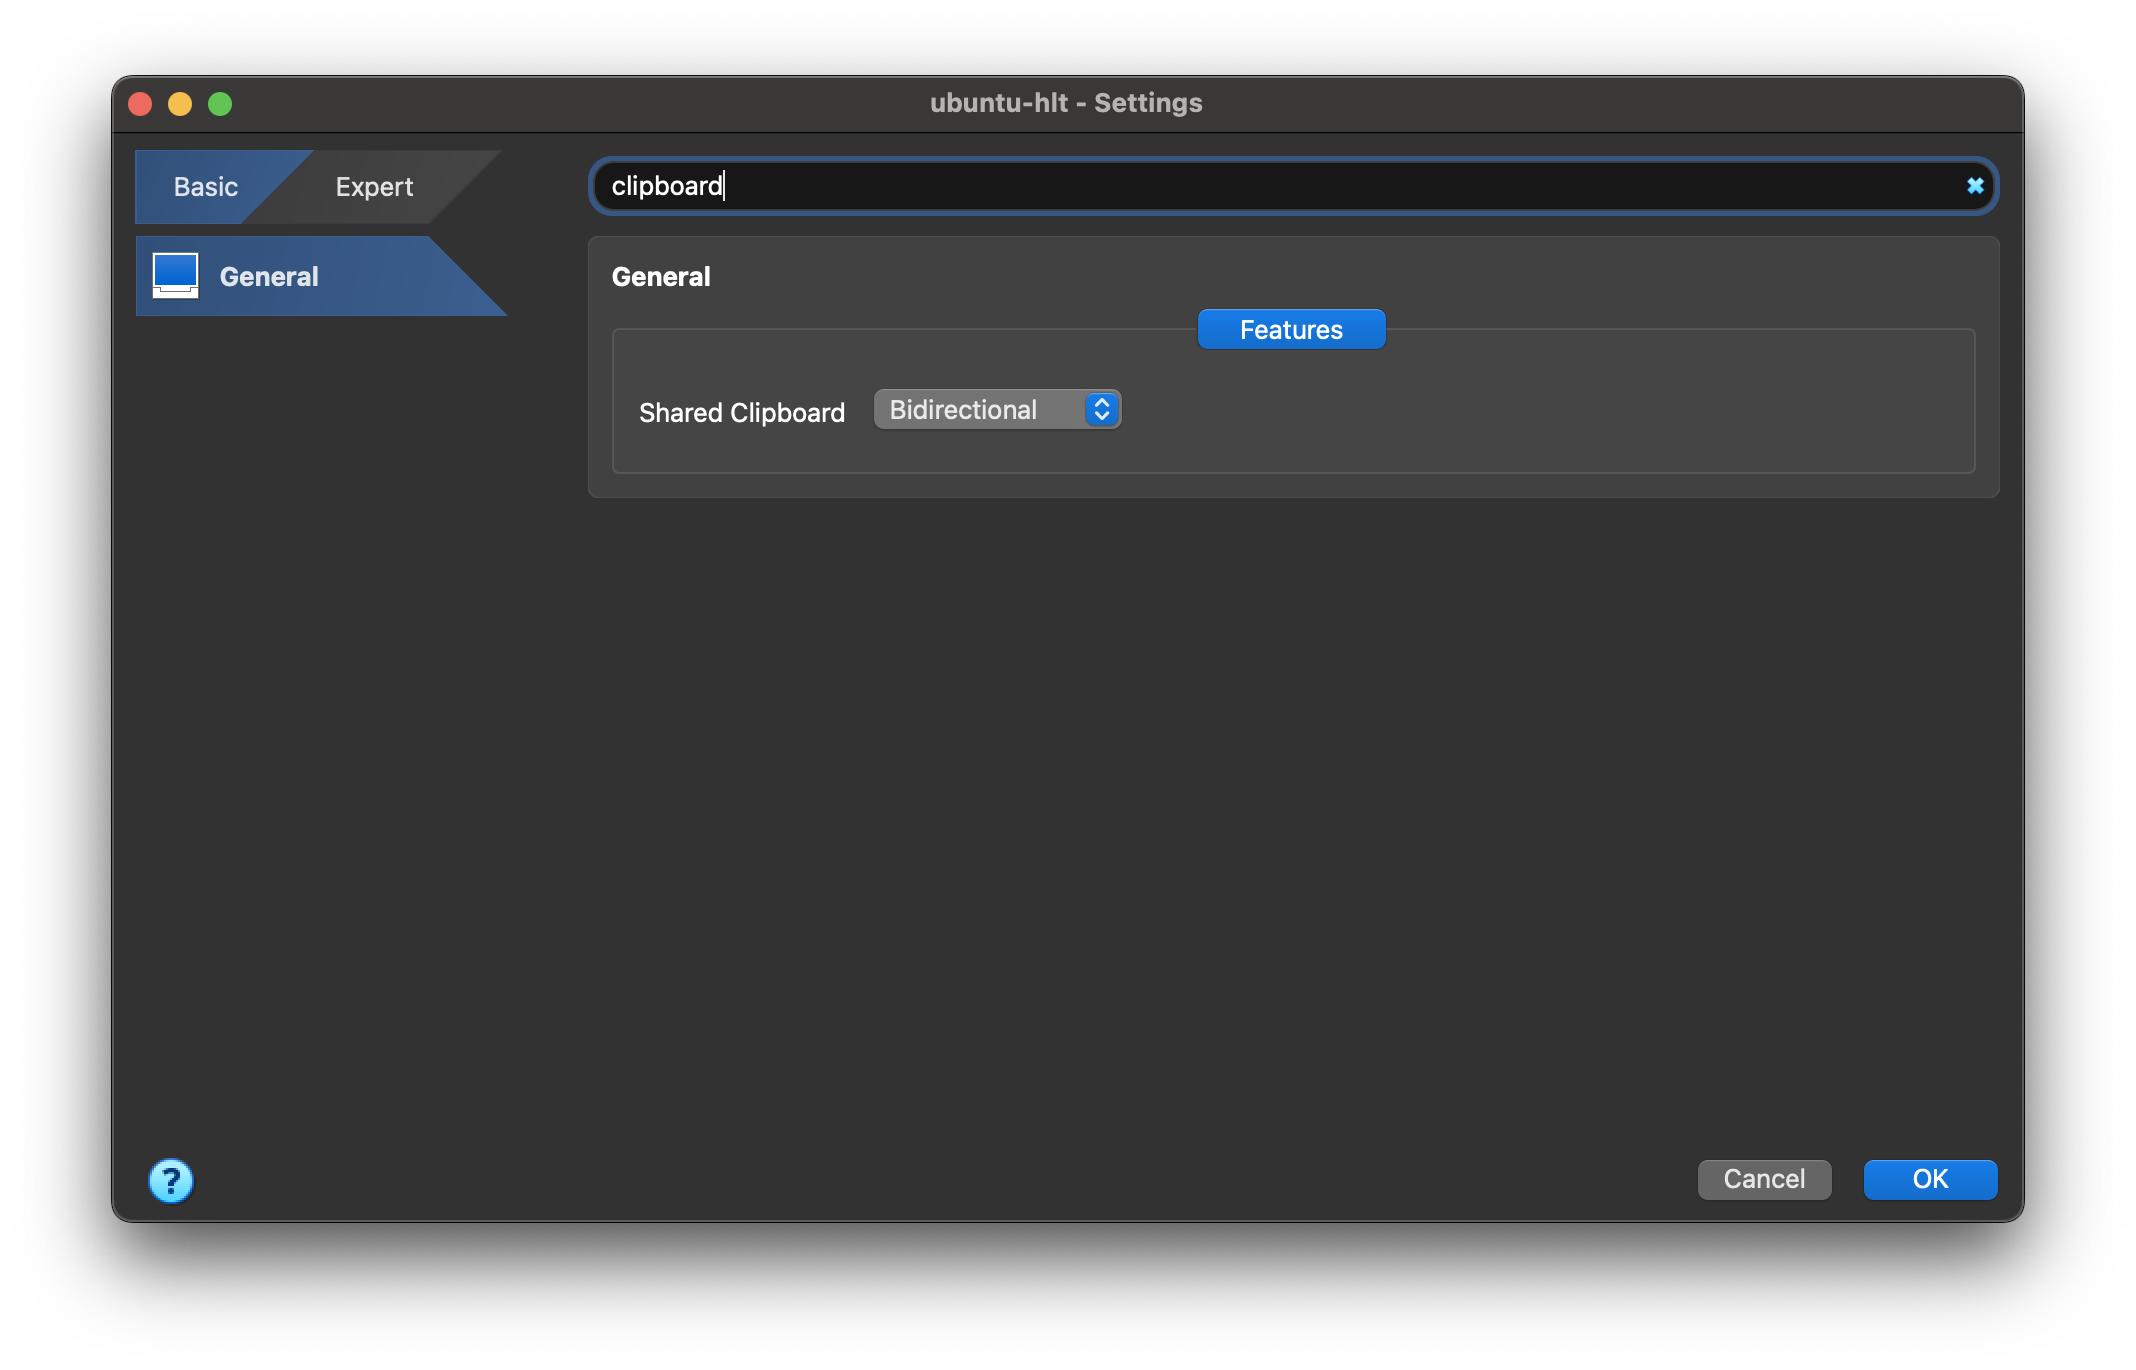
How do I copy and paste from host to guest and guest to host?
To enable bidirectional copy / paste, you must first install Guest Additions. From the VM menu, navigate to Settings → General → Advanced and select Bidirectional from the Shared Clipboard dropdown.
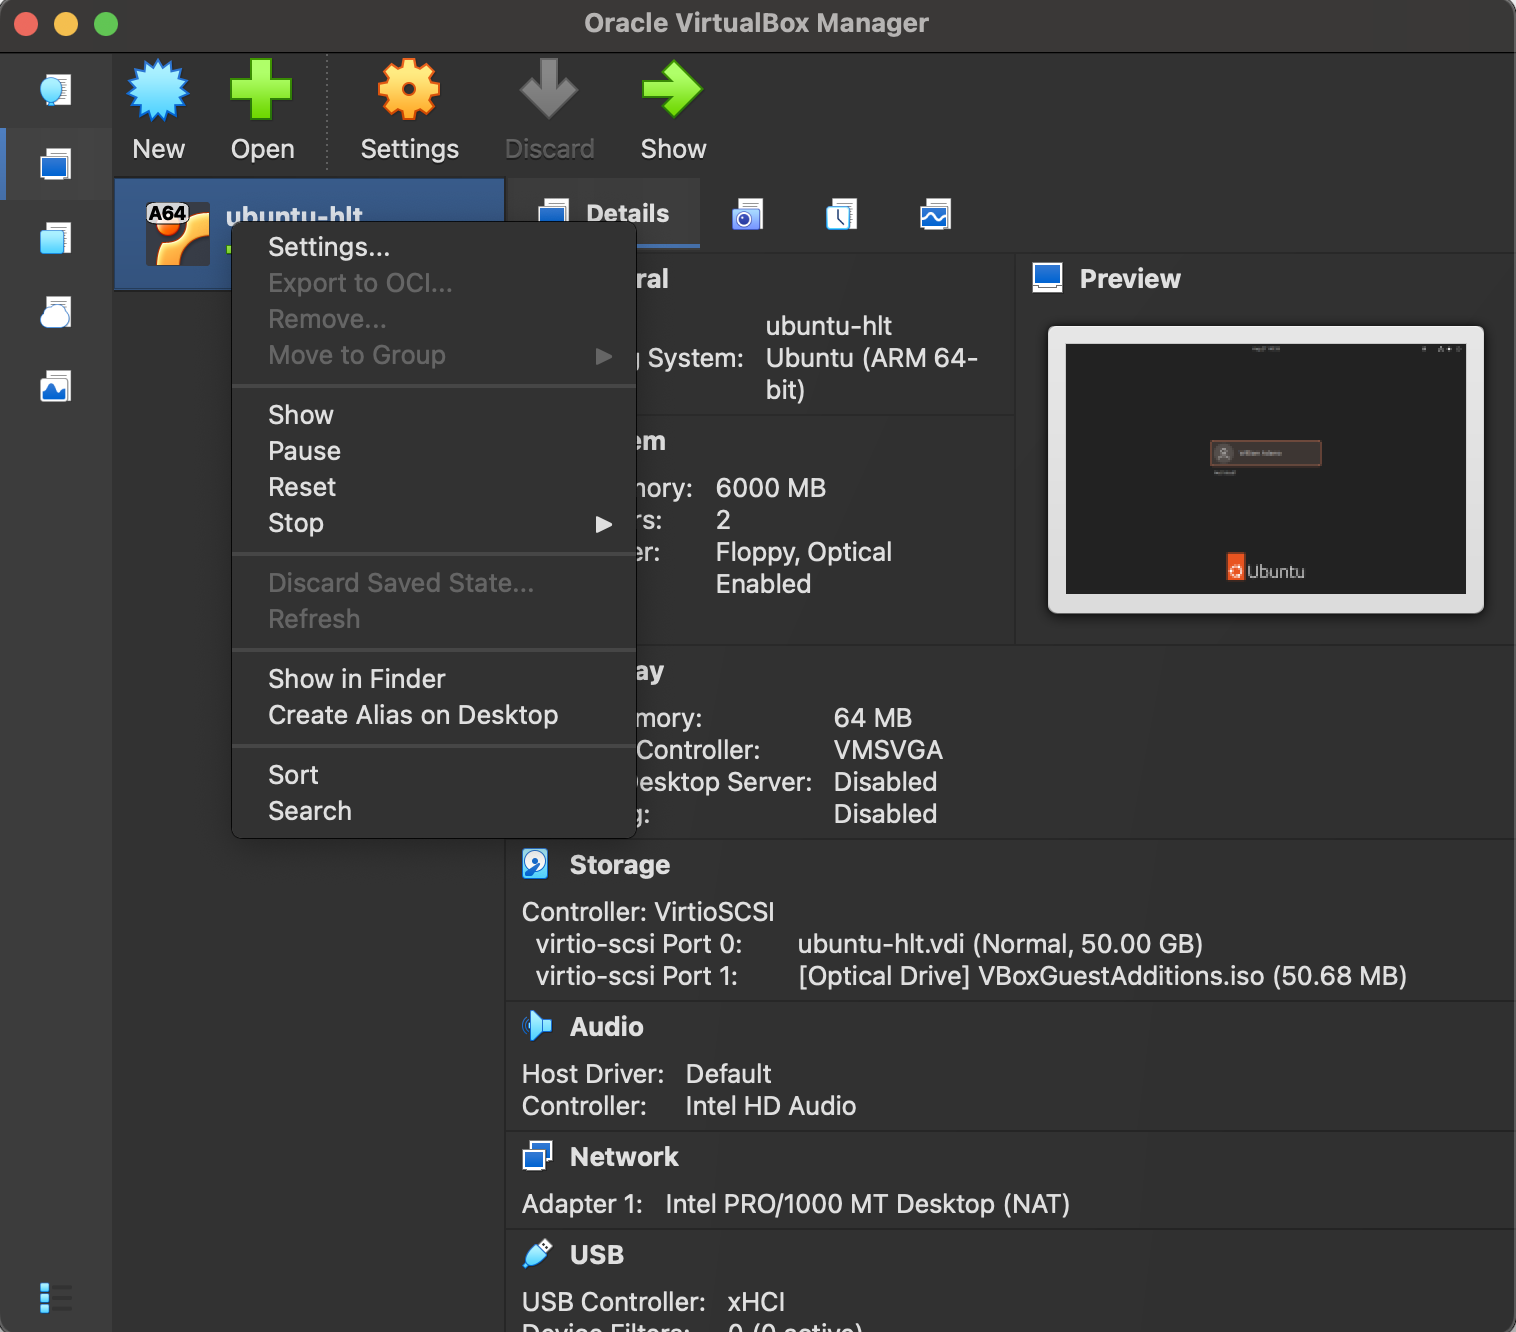
How do I restart a VM?
If your VM is unresponsive, you can force it to reset by right-clicking the entry for the VM in left pane of the VirtualBox window and selecting Restart.
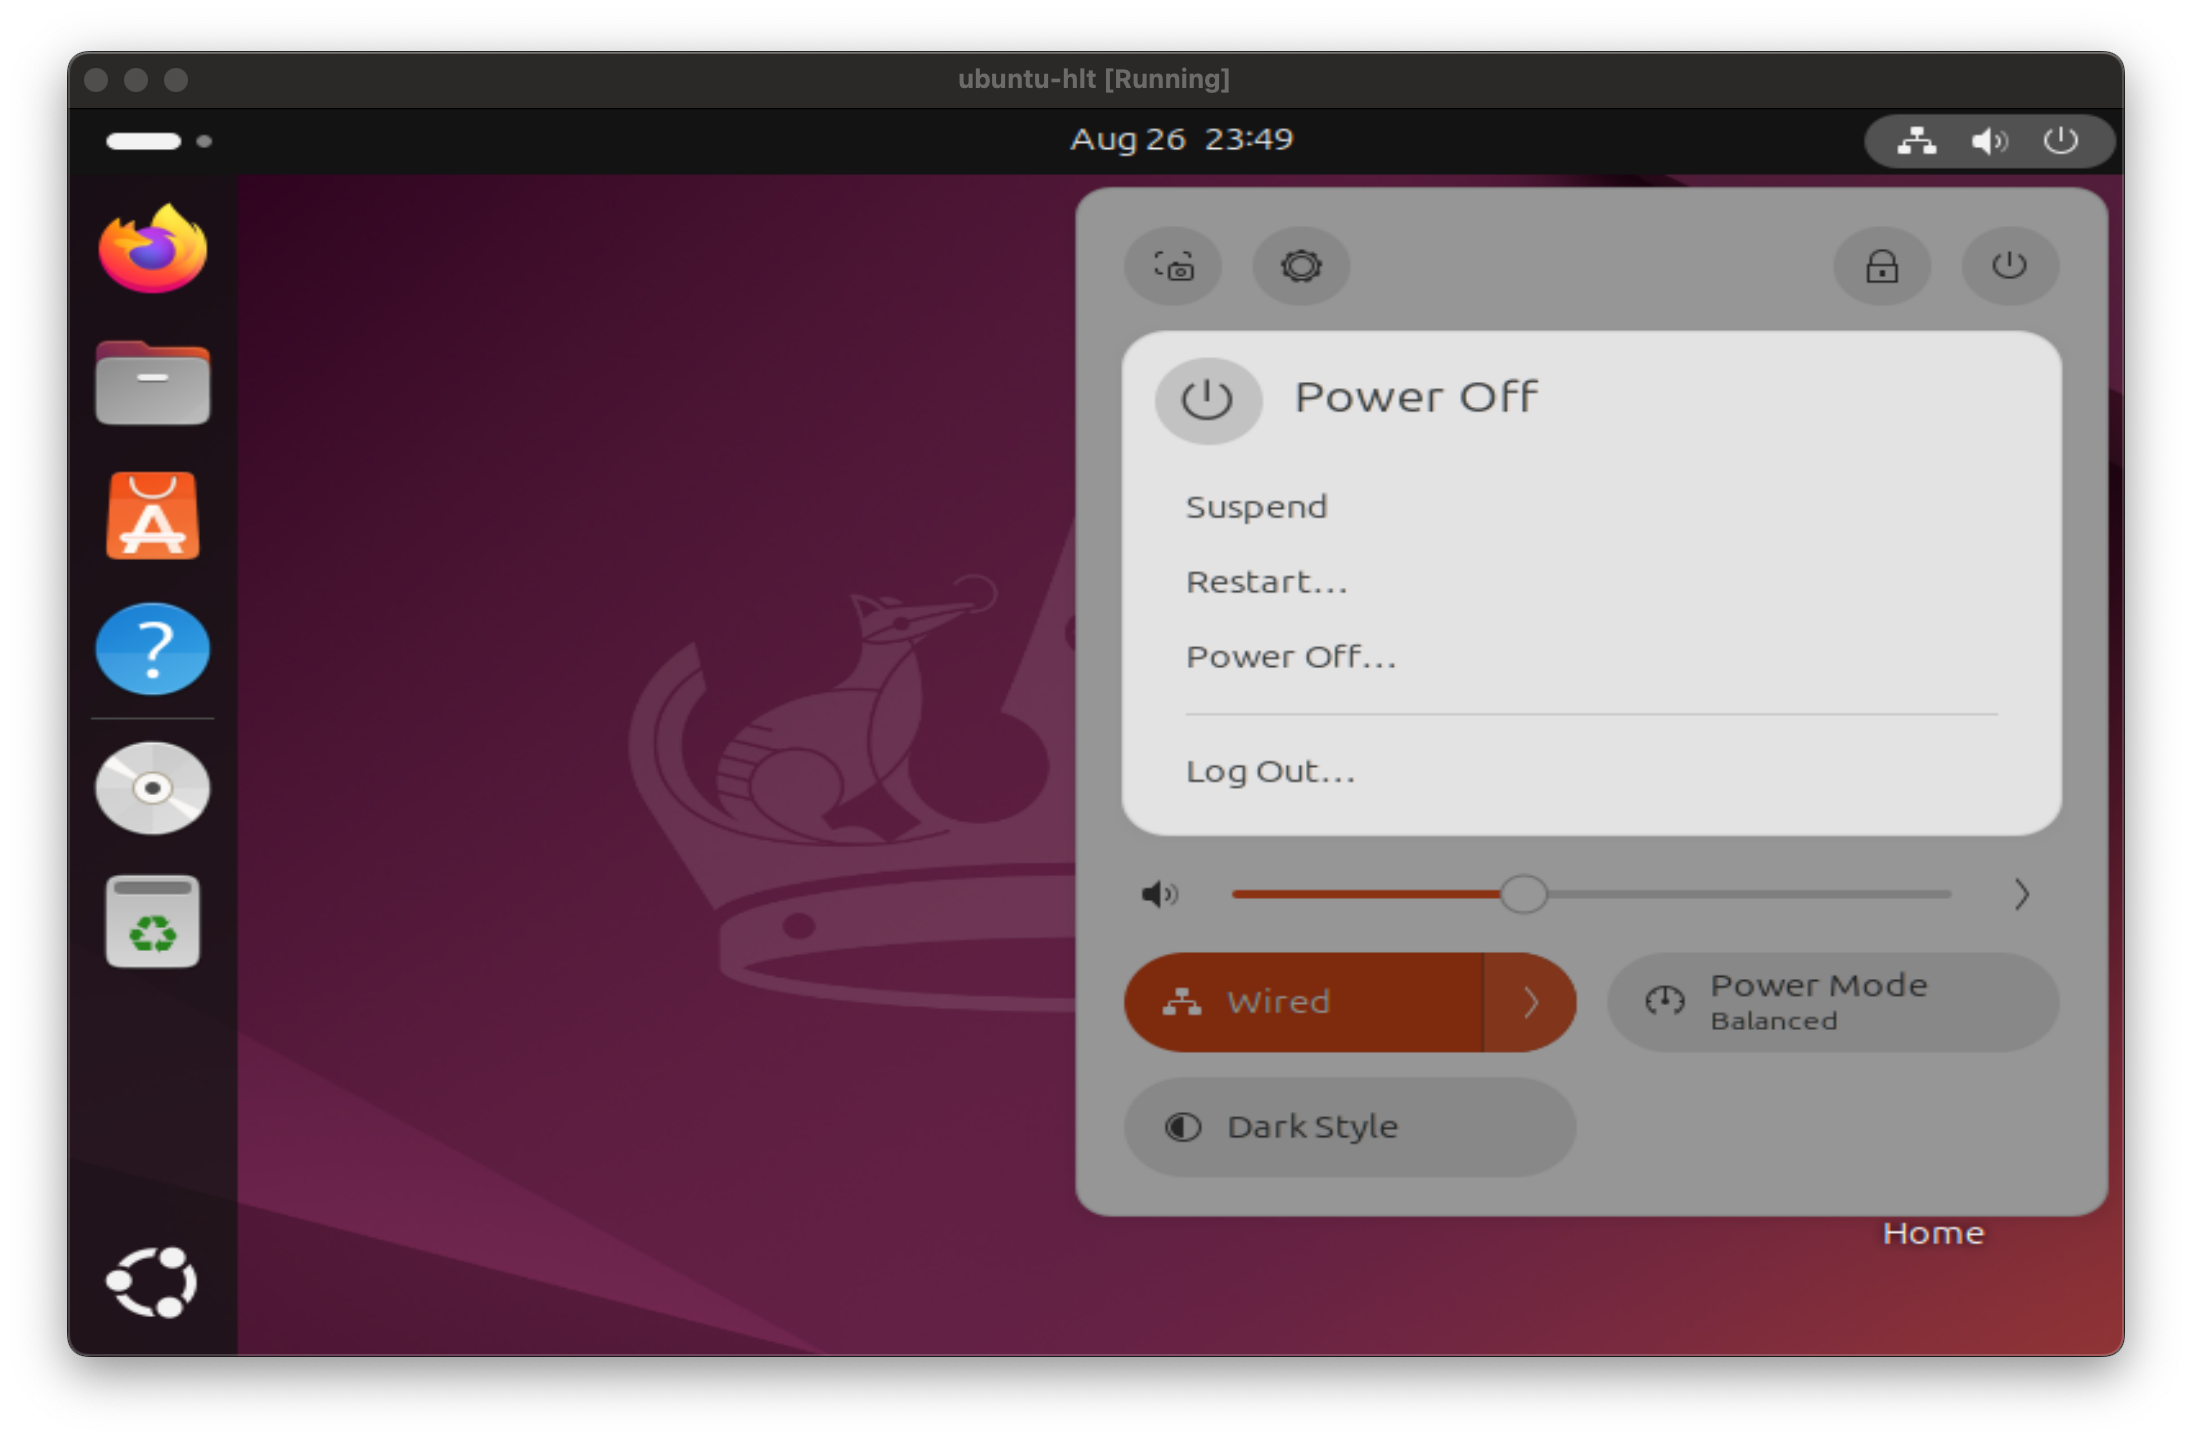
How do I shut down a VM?
If you are running an Ubuntu LTS VM, click the power icon in the upper righthand corner of your screen, click the power icon that appears, and select Power Off → Power Off.
Next Steps
For an introduction to the Linux command line, see this tutorial.