tutorials
Installing VS Code on Ubuntu
Overview
This tutorial provides instructions for installing Visual Studio Code on Ubuntu. While the steps outlined here may work for other versions of Ubuntu (and some non-Ubuntu Linux distributions), these instructions were tested against Ubuntu 24.04 LTS.
Outcomes
- A working
codeinstallation
Prerequisites
Before starting this tutorial, ensure that …
- You have a working Ubuntu LTS installation
- You are comfortable with the basics of the Linux command line
Background
Visual Studio Code (VS Code) is a free and extensible cross-platform code editor released by Microsoft.
Installation
Step 1: Installing Visual Studio Code
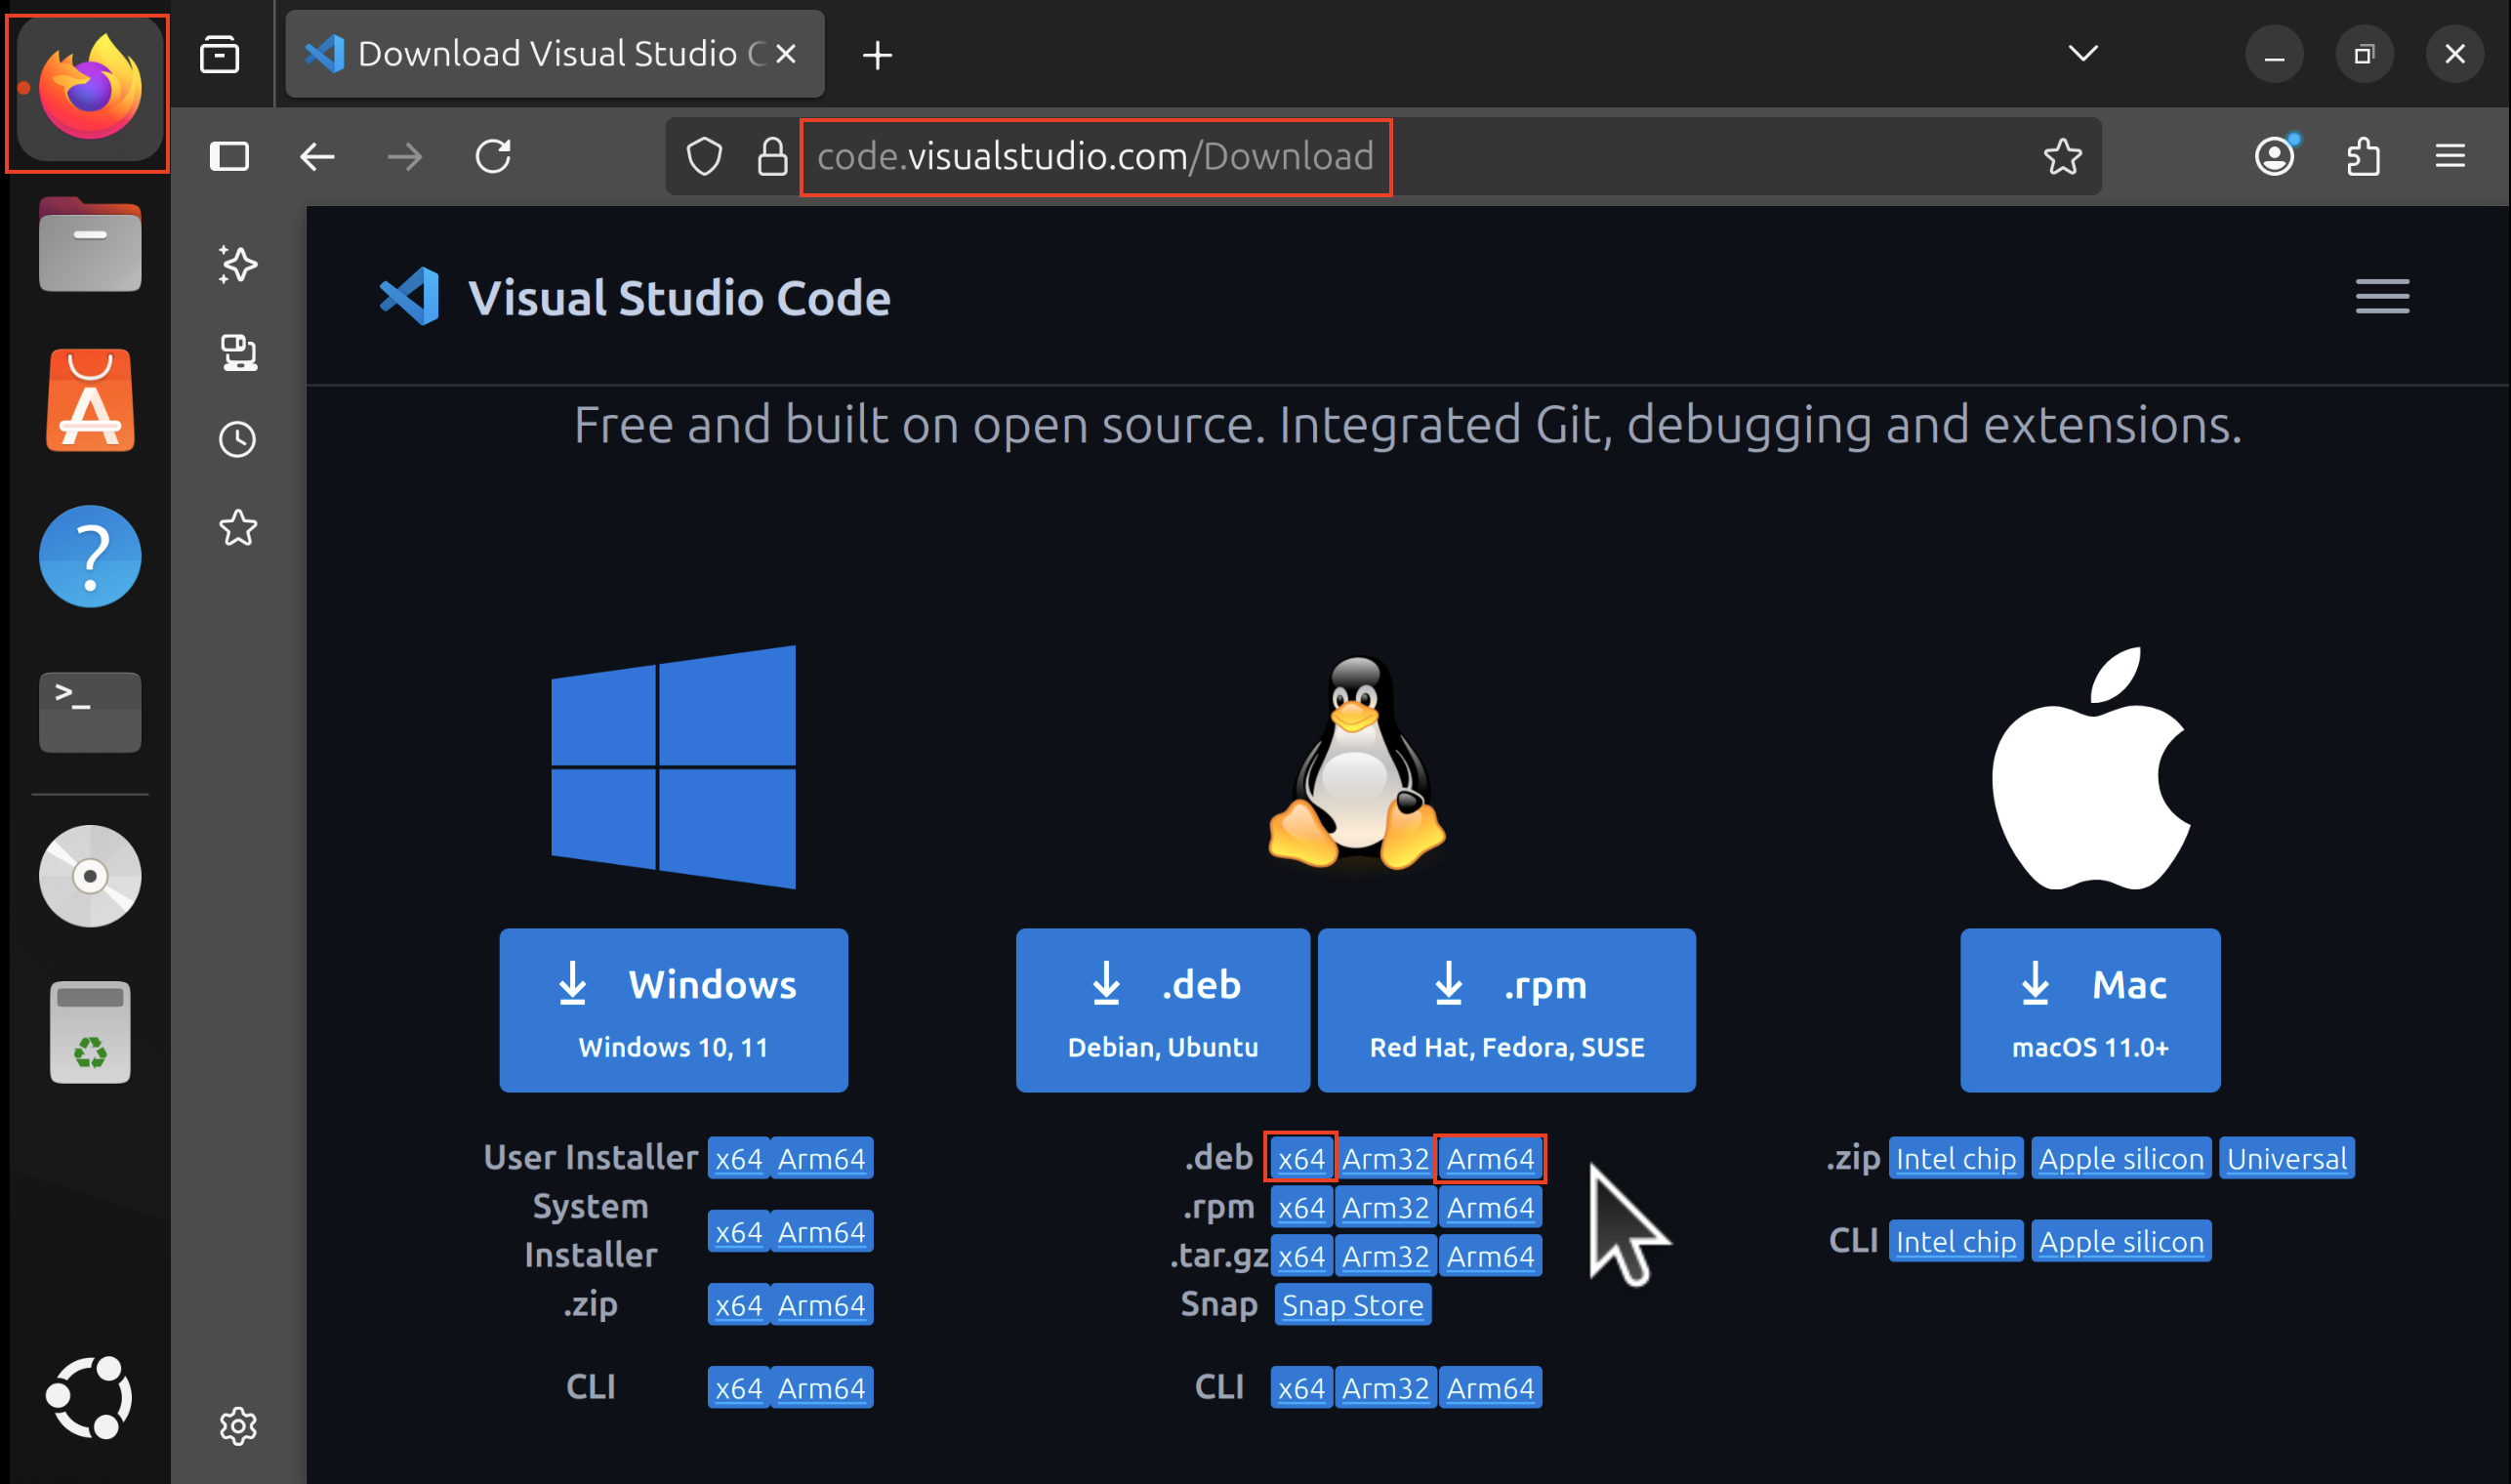
- In your VM, open your web browser (ex. Firefox), and paste the following link:
- Click on the appropriate option to the right of
.deb(either x64 for AMD64 or Arm64 for ARM64).arm64` (ARM64) to download VS Code.
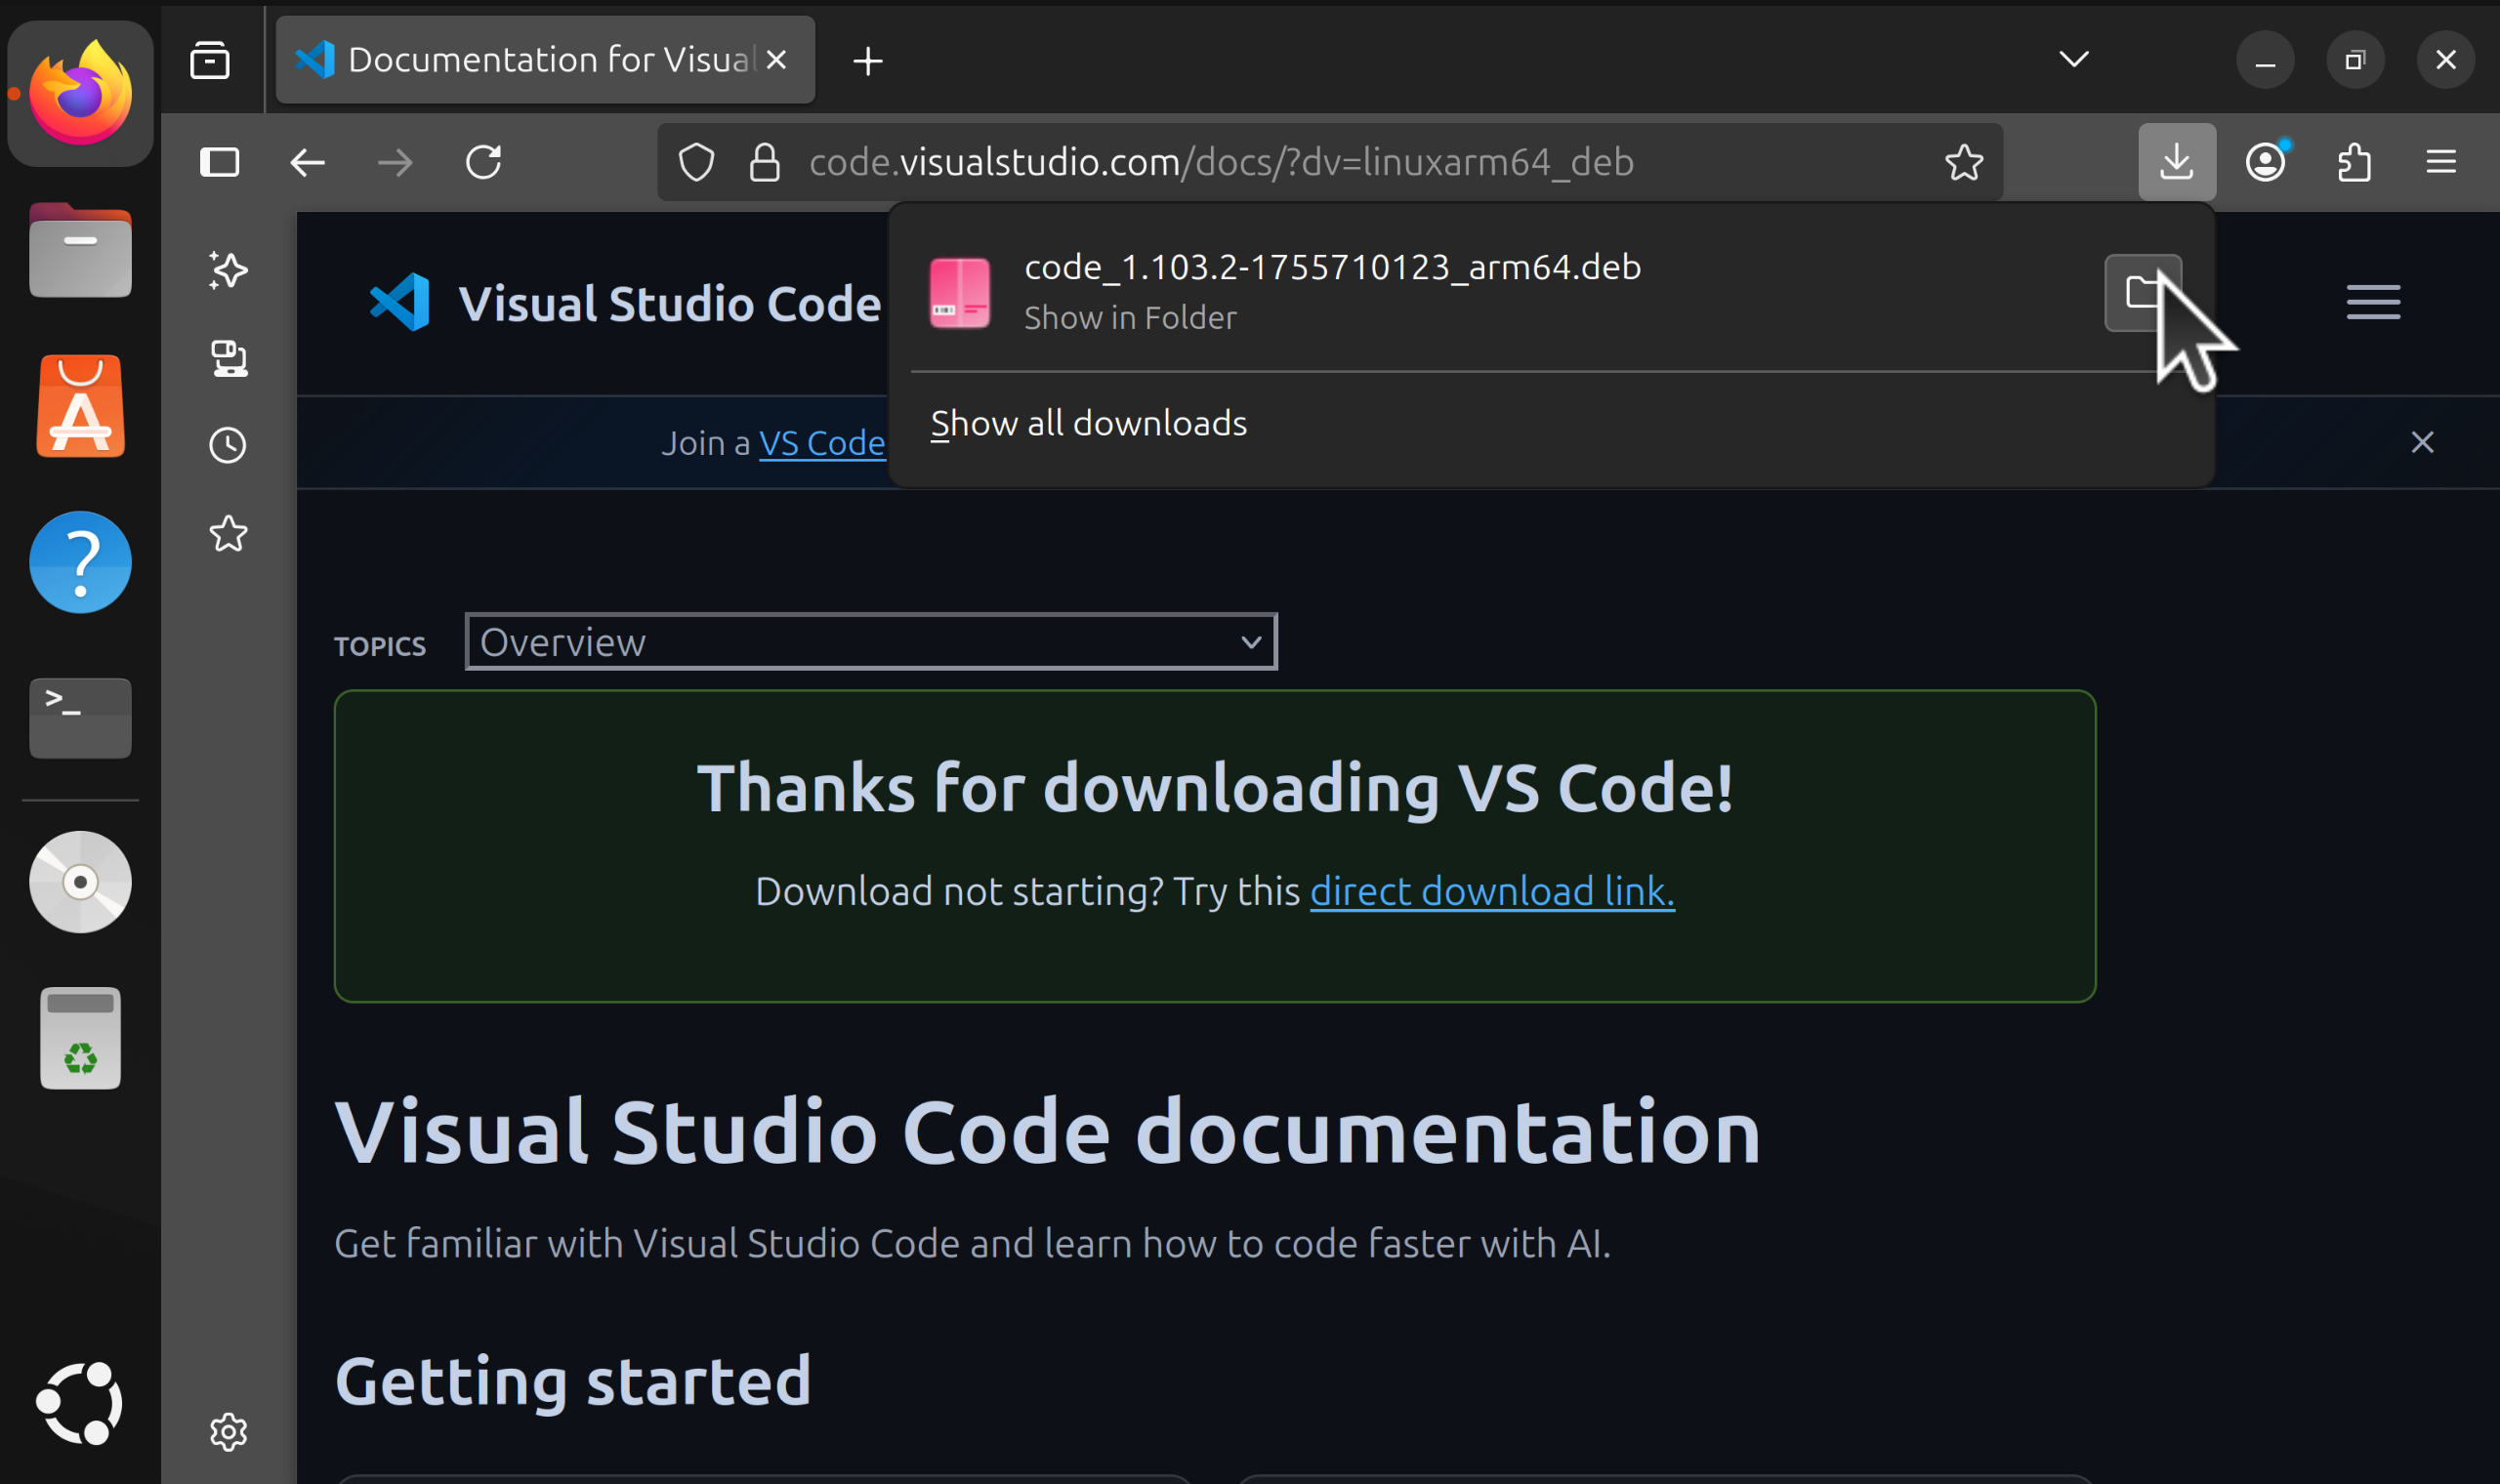
- Once the download has completed, click the folder icon to open the Downloads folder.
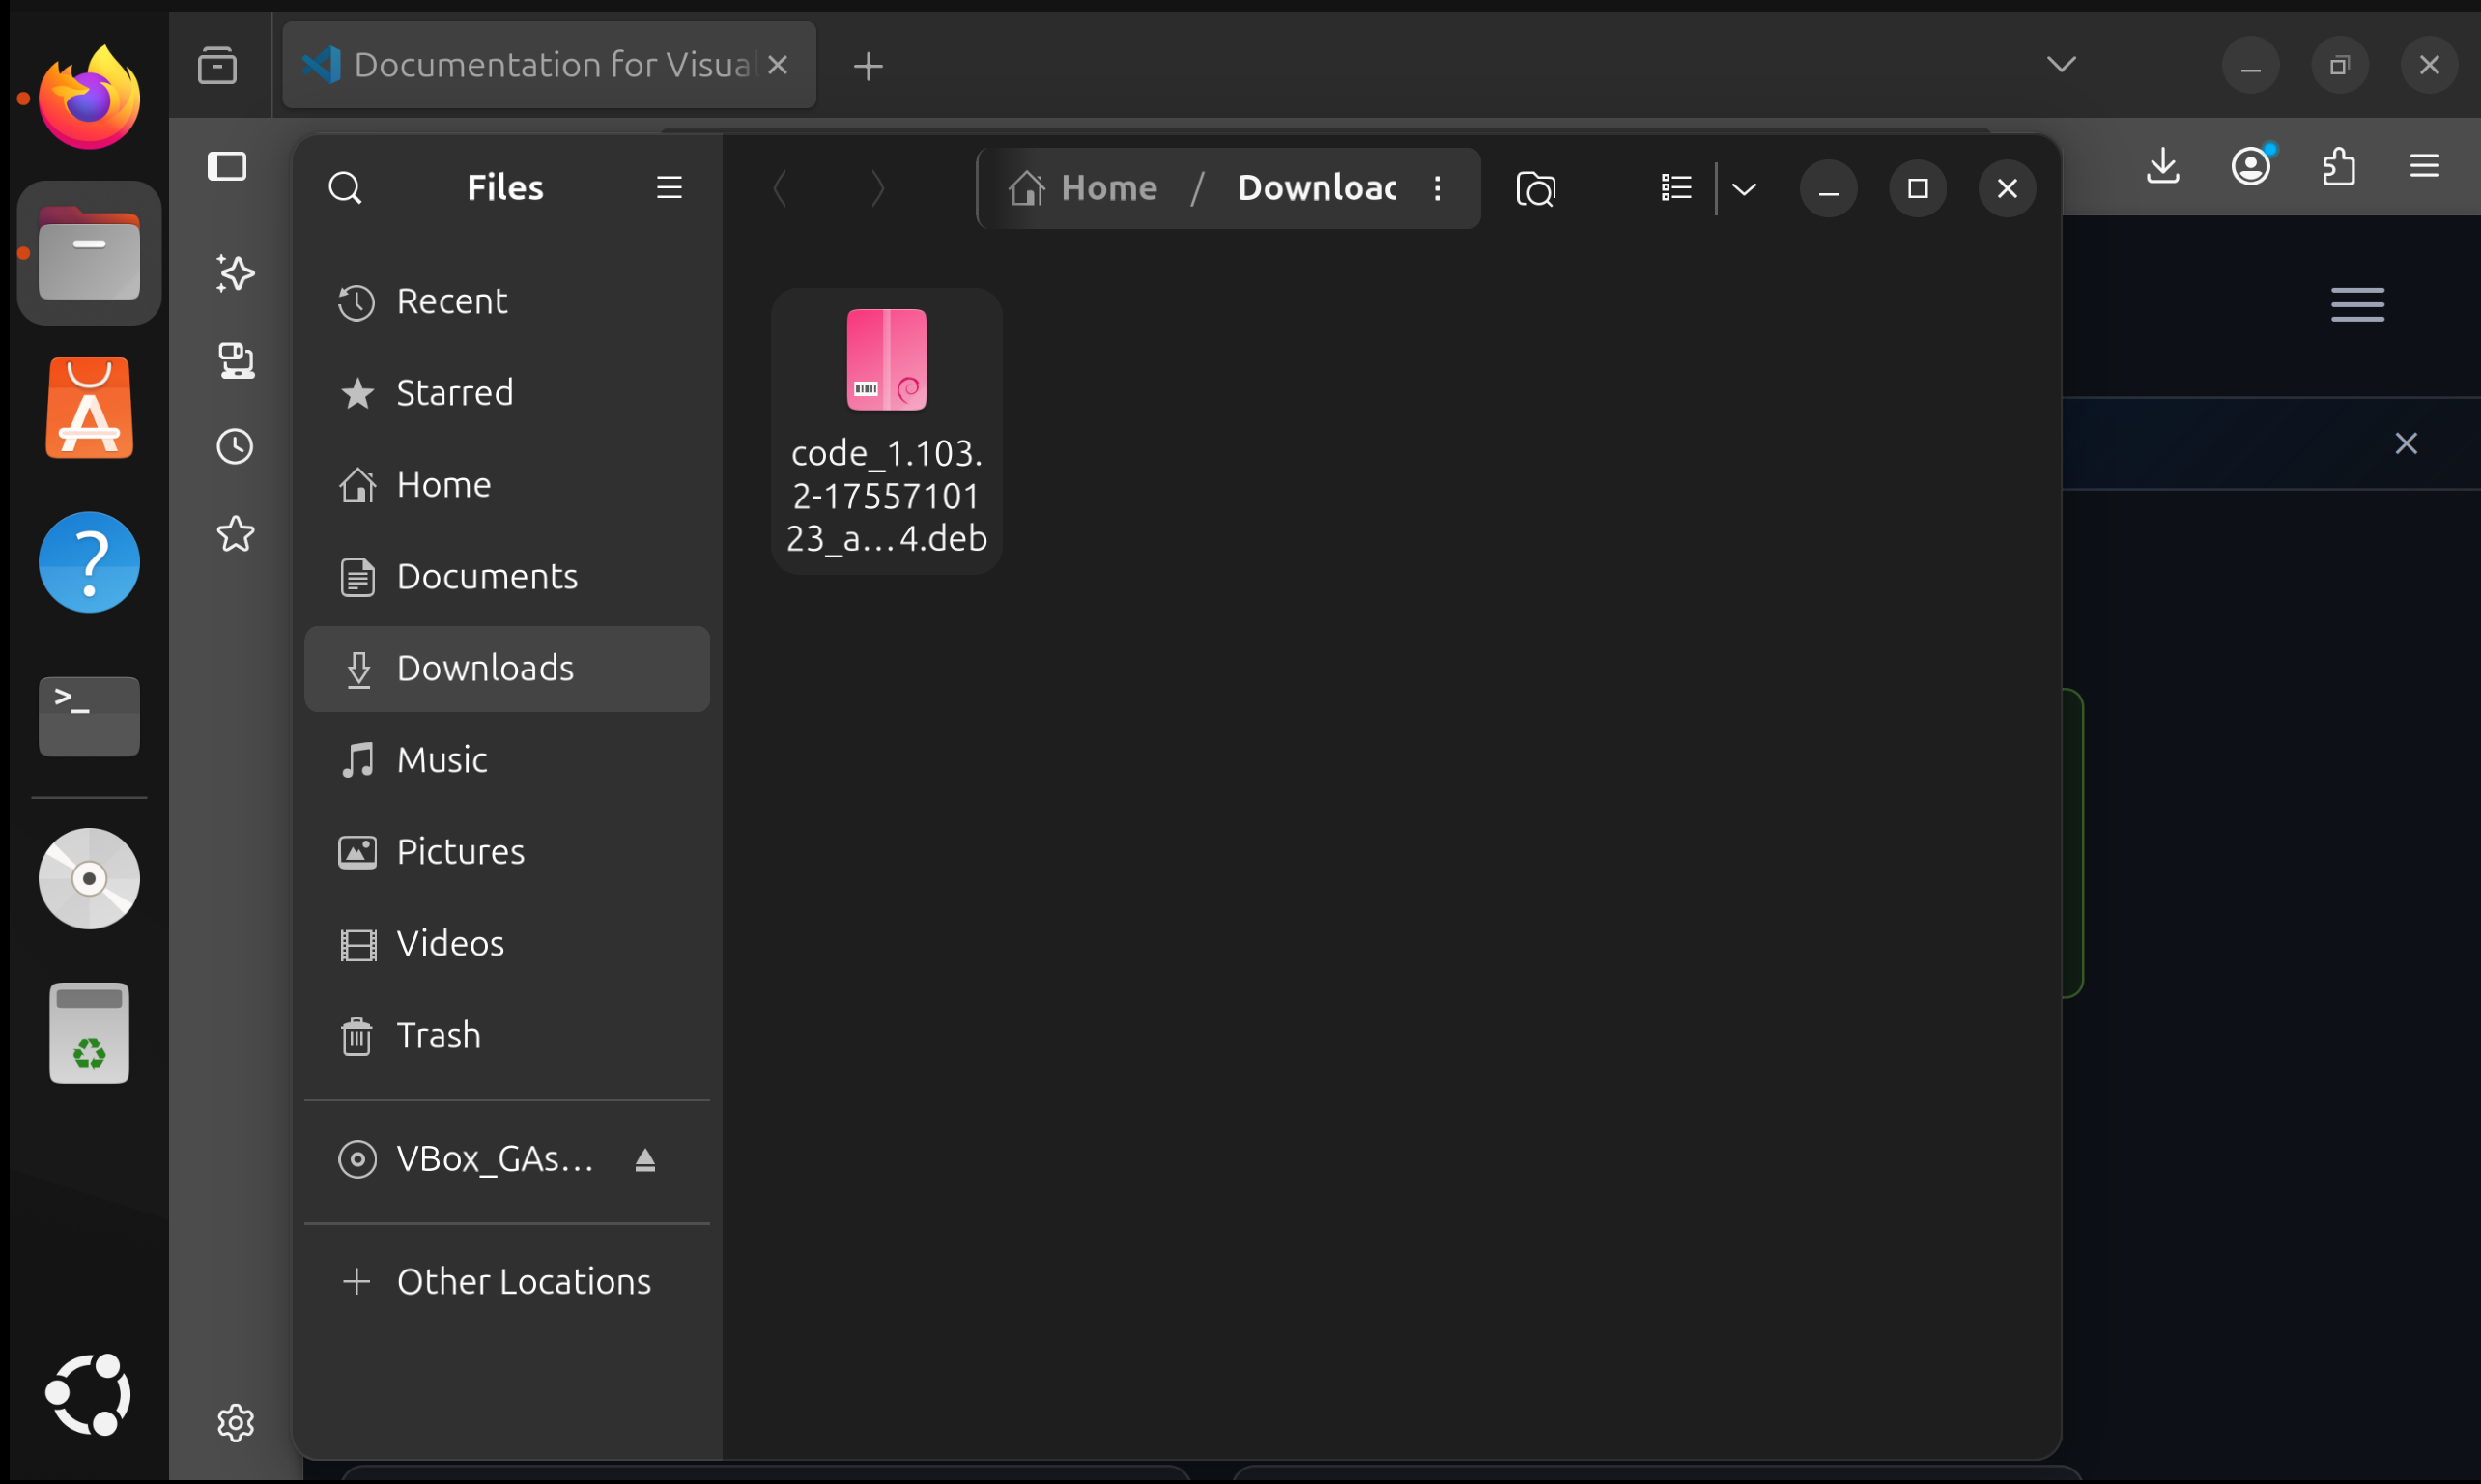
- Double click the
.debfile.
- Click
Installand confirm.
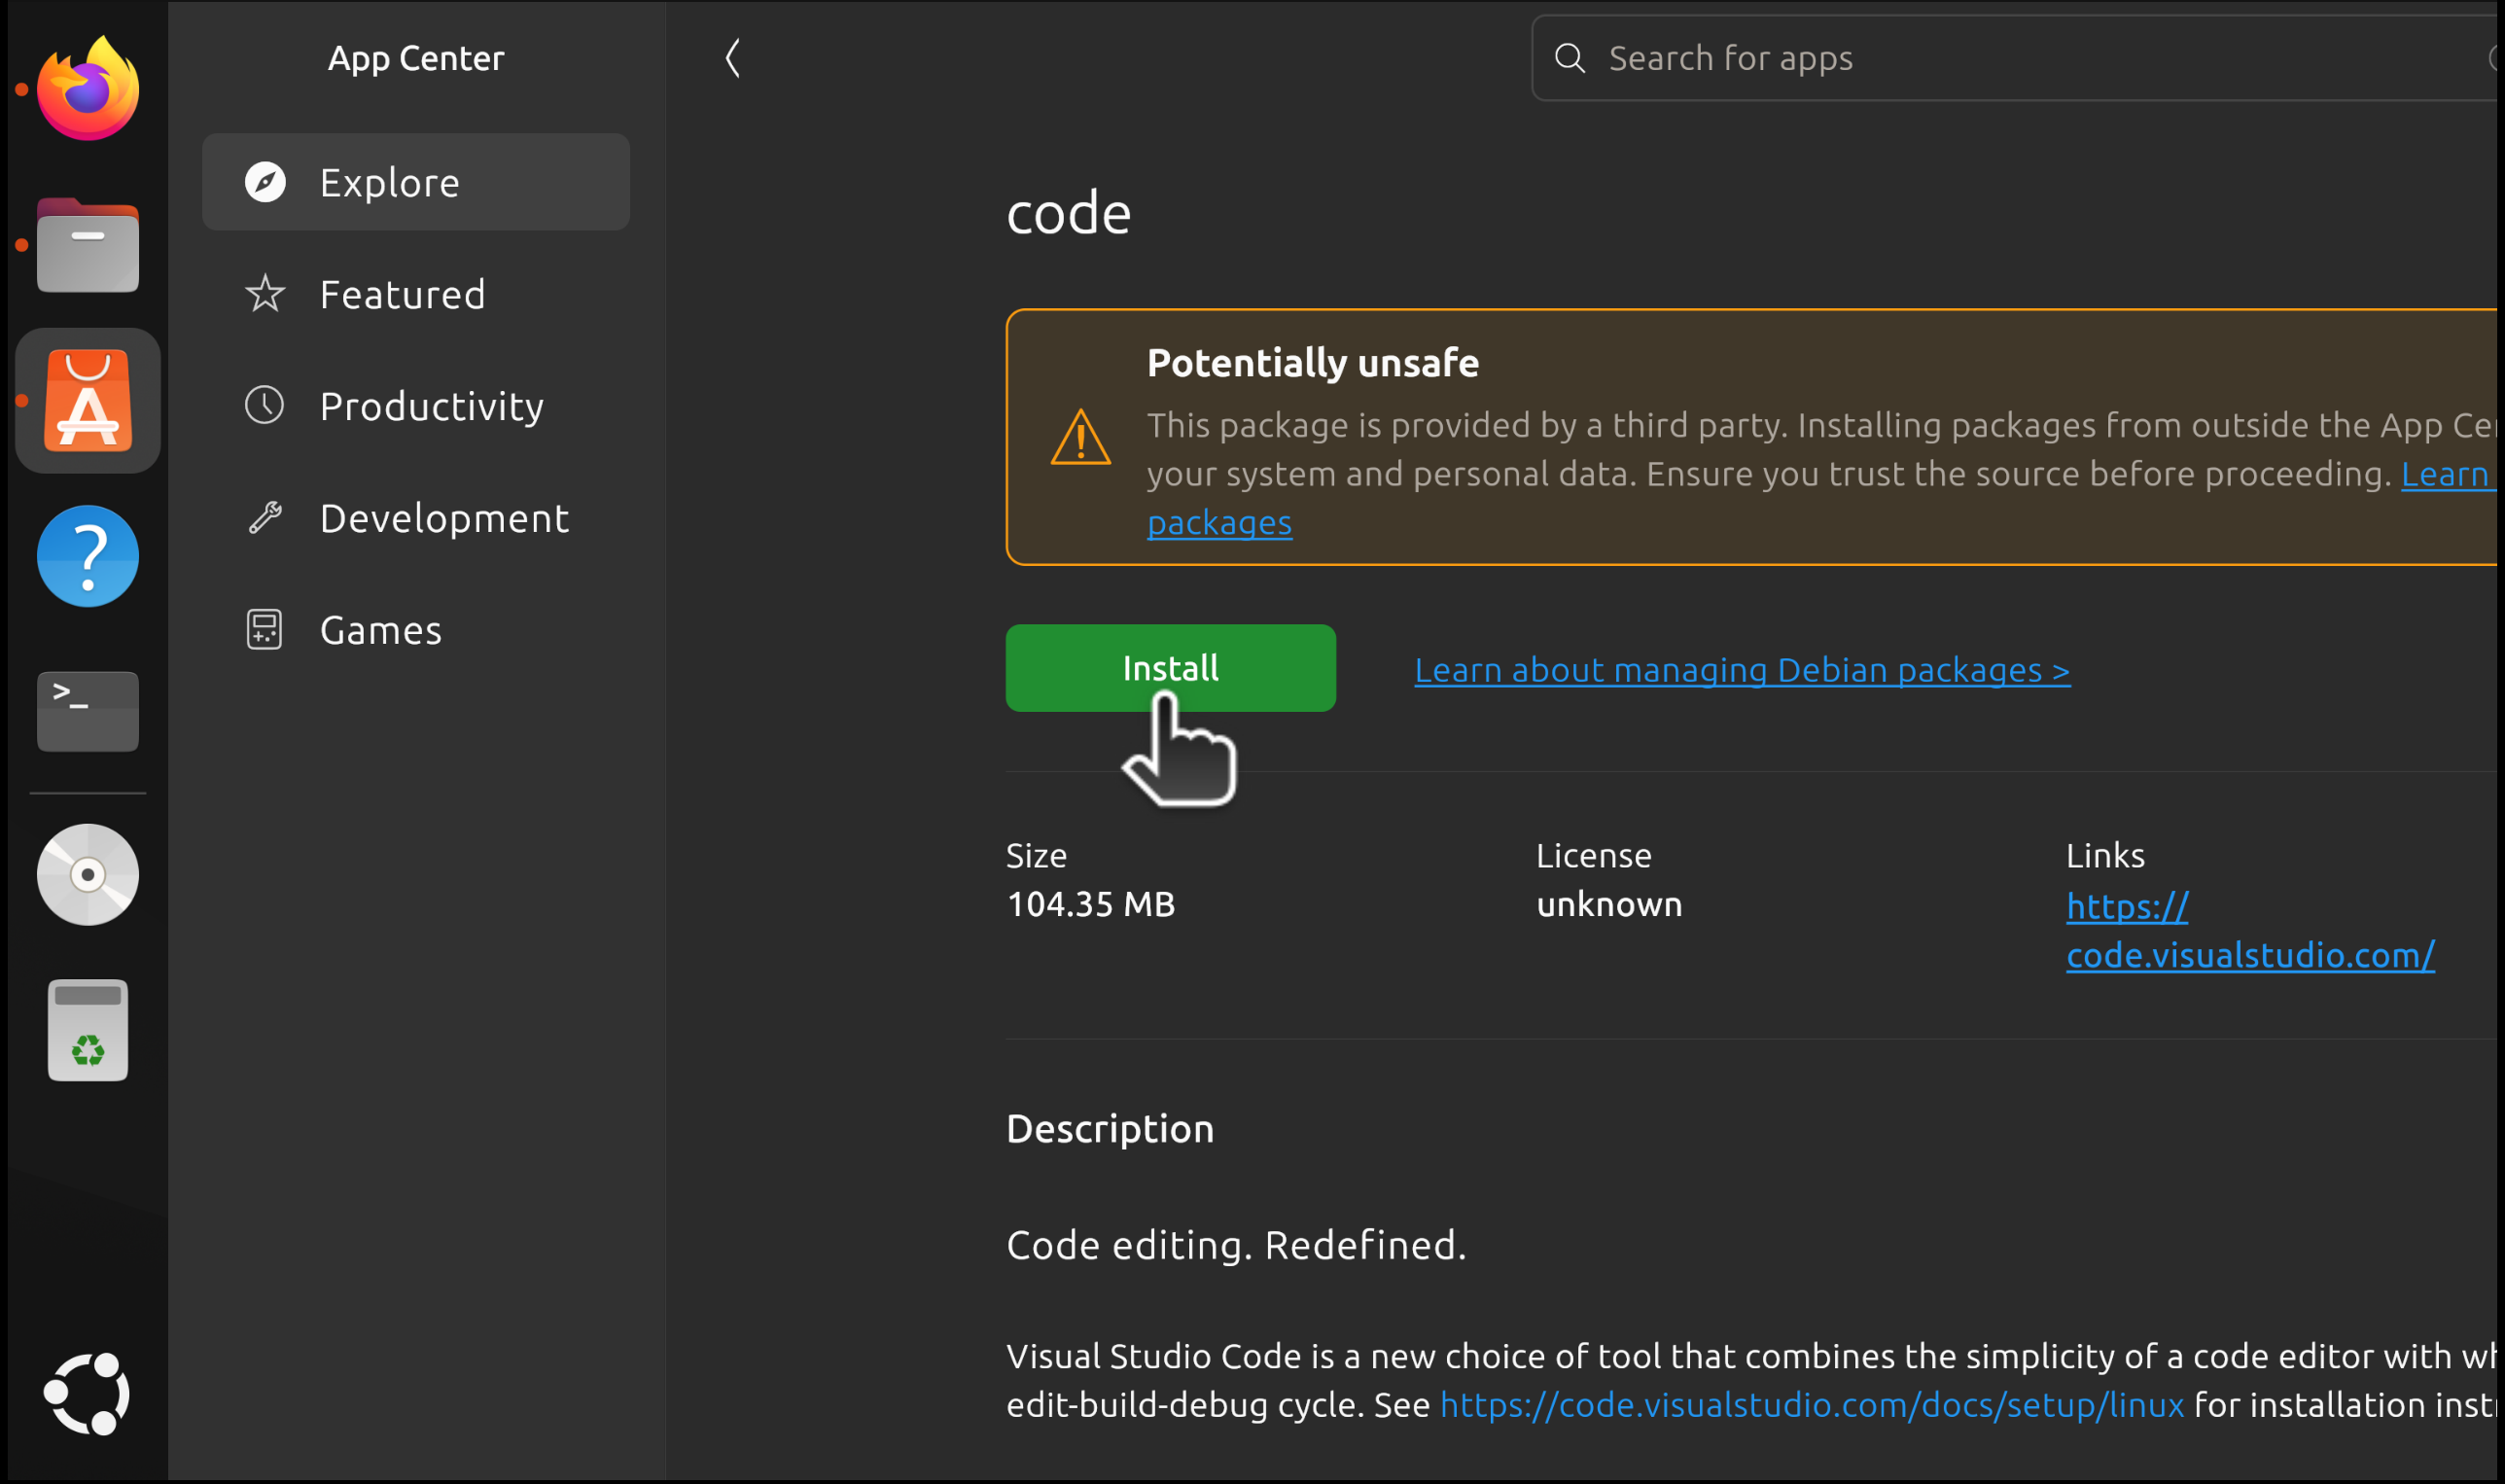
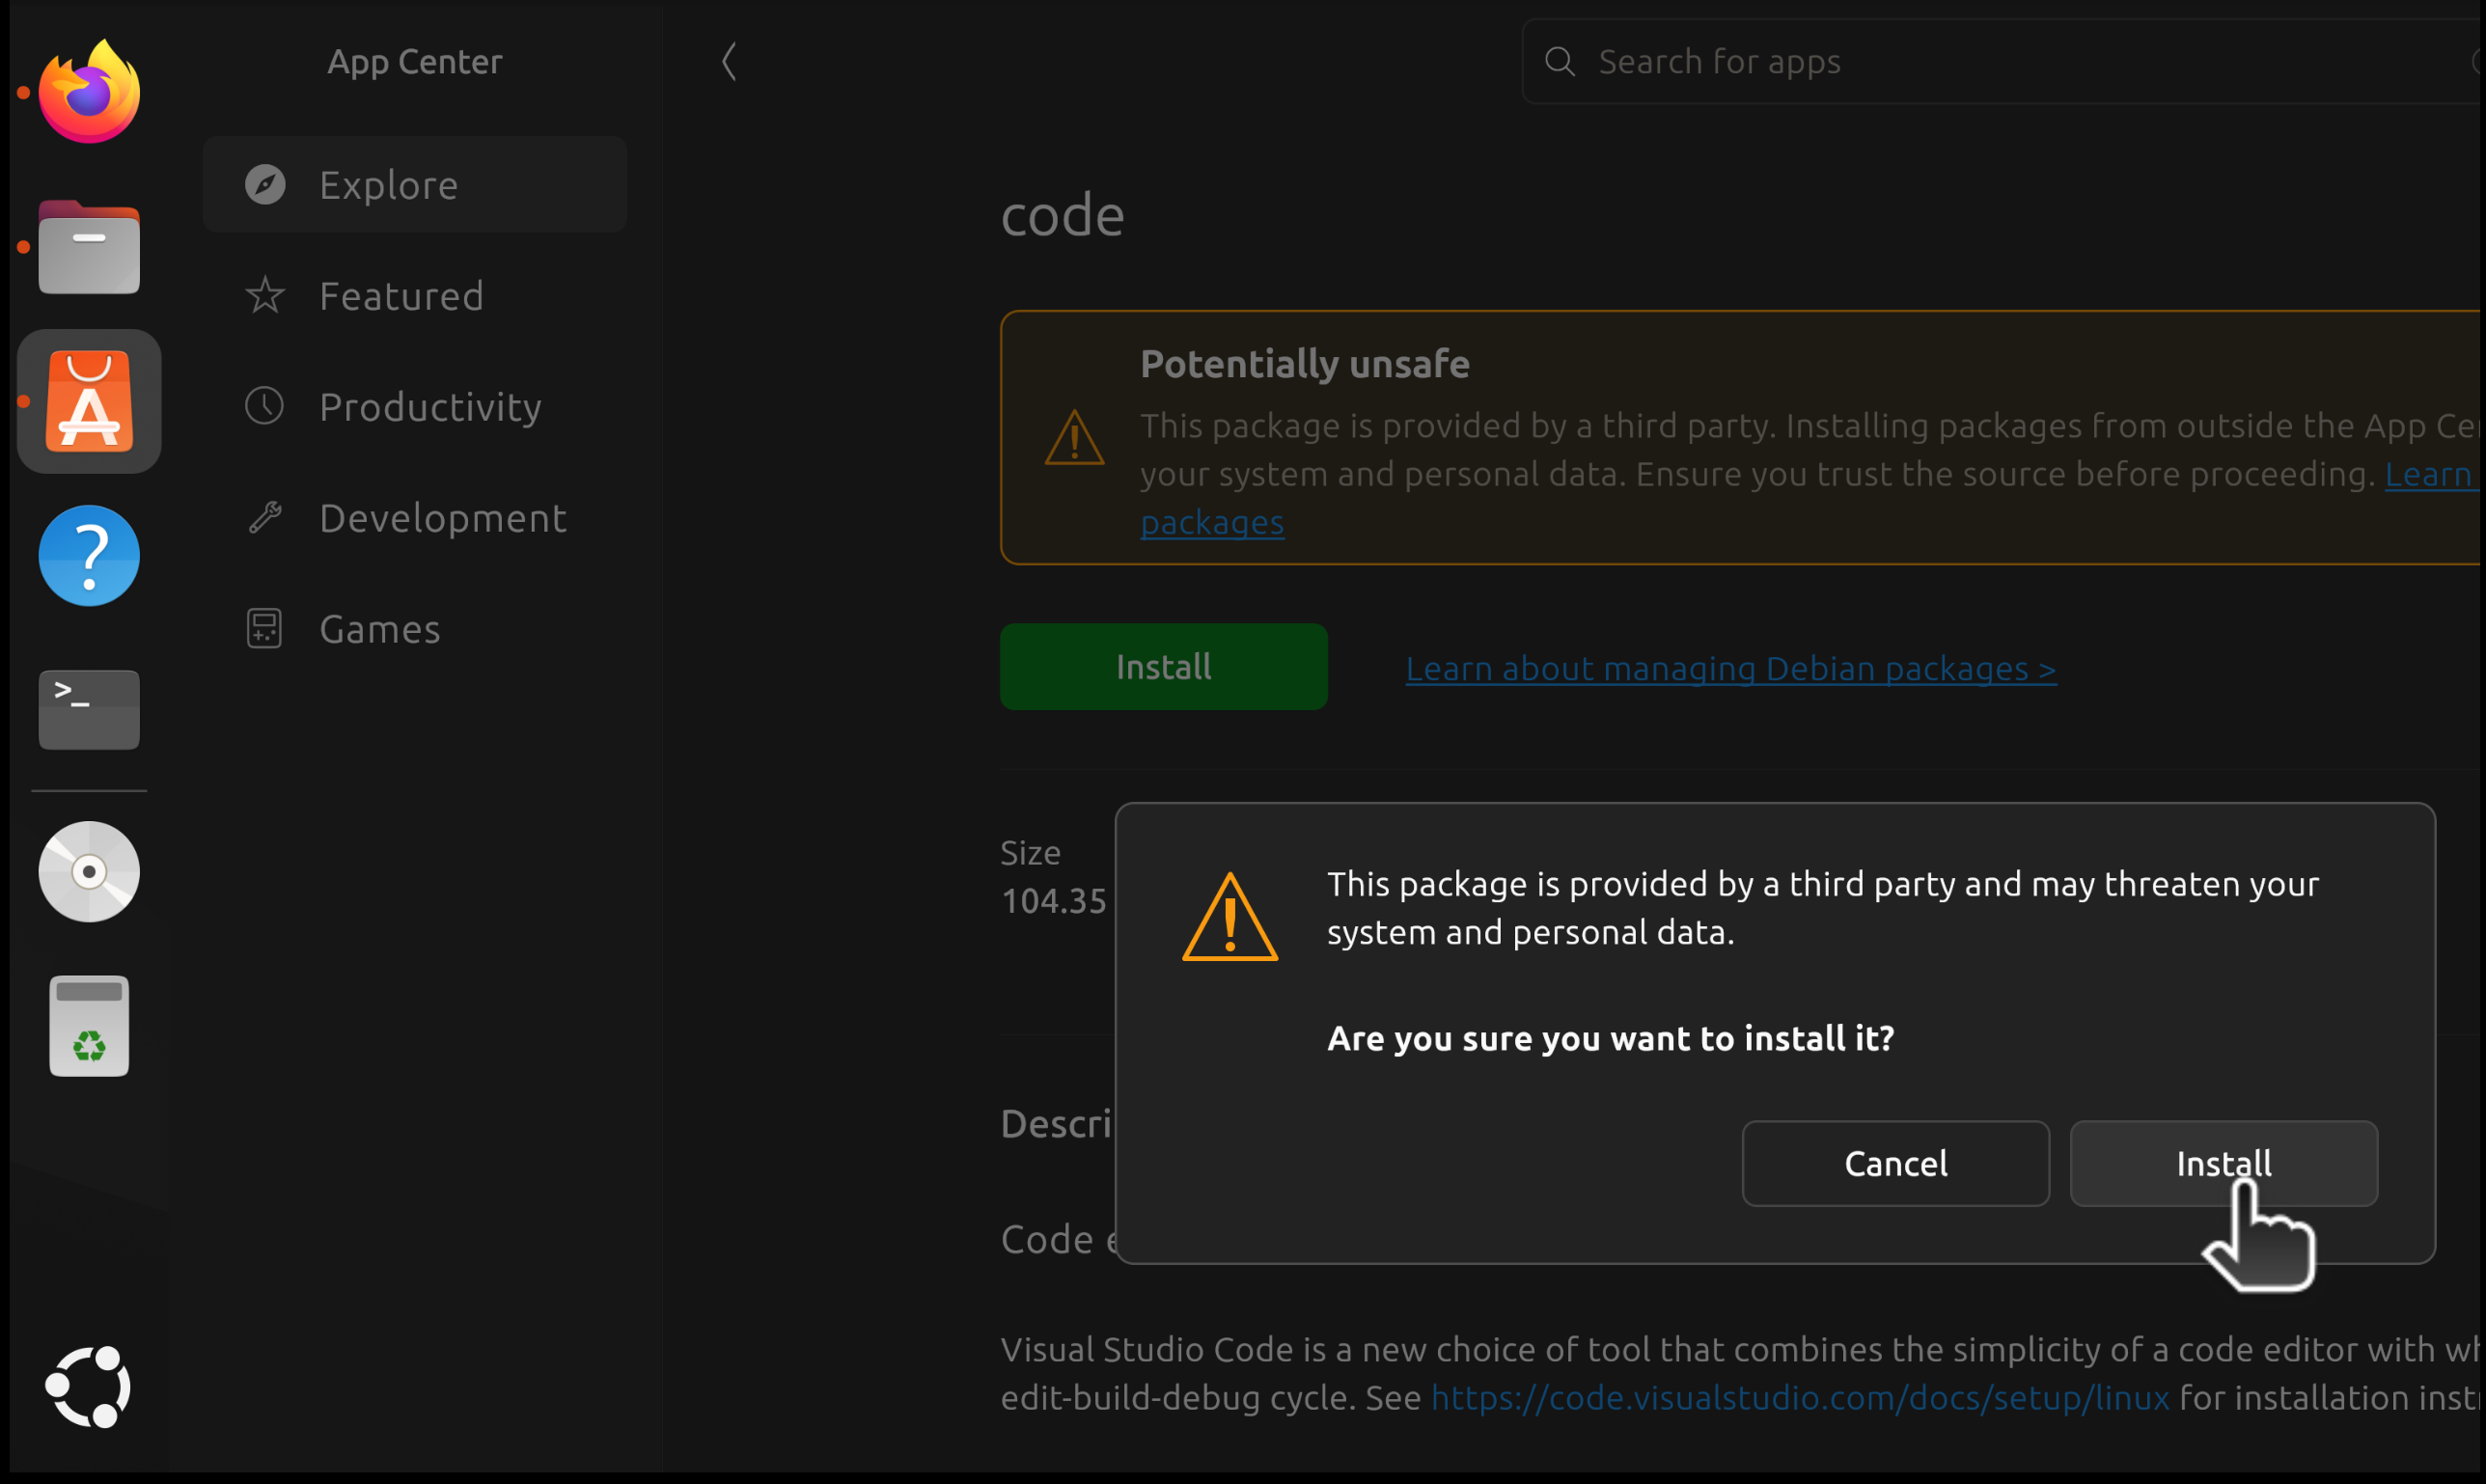
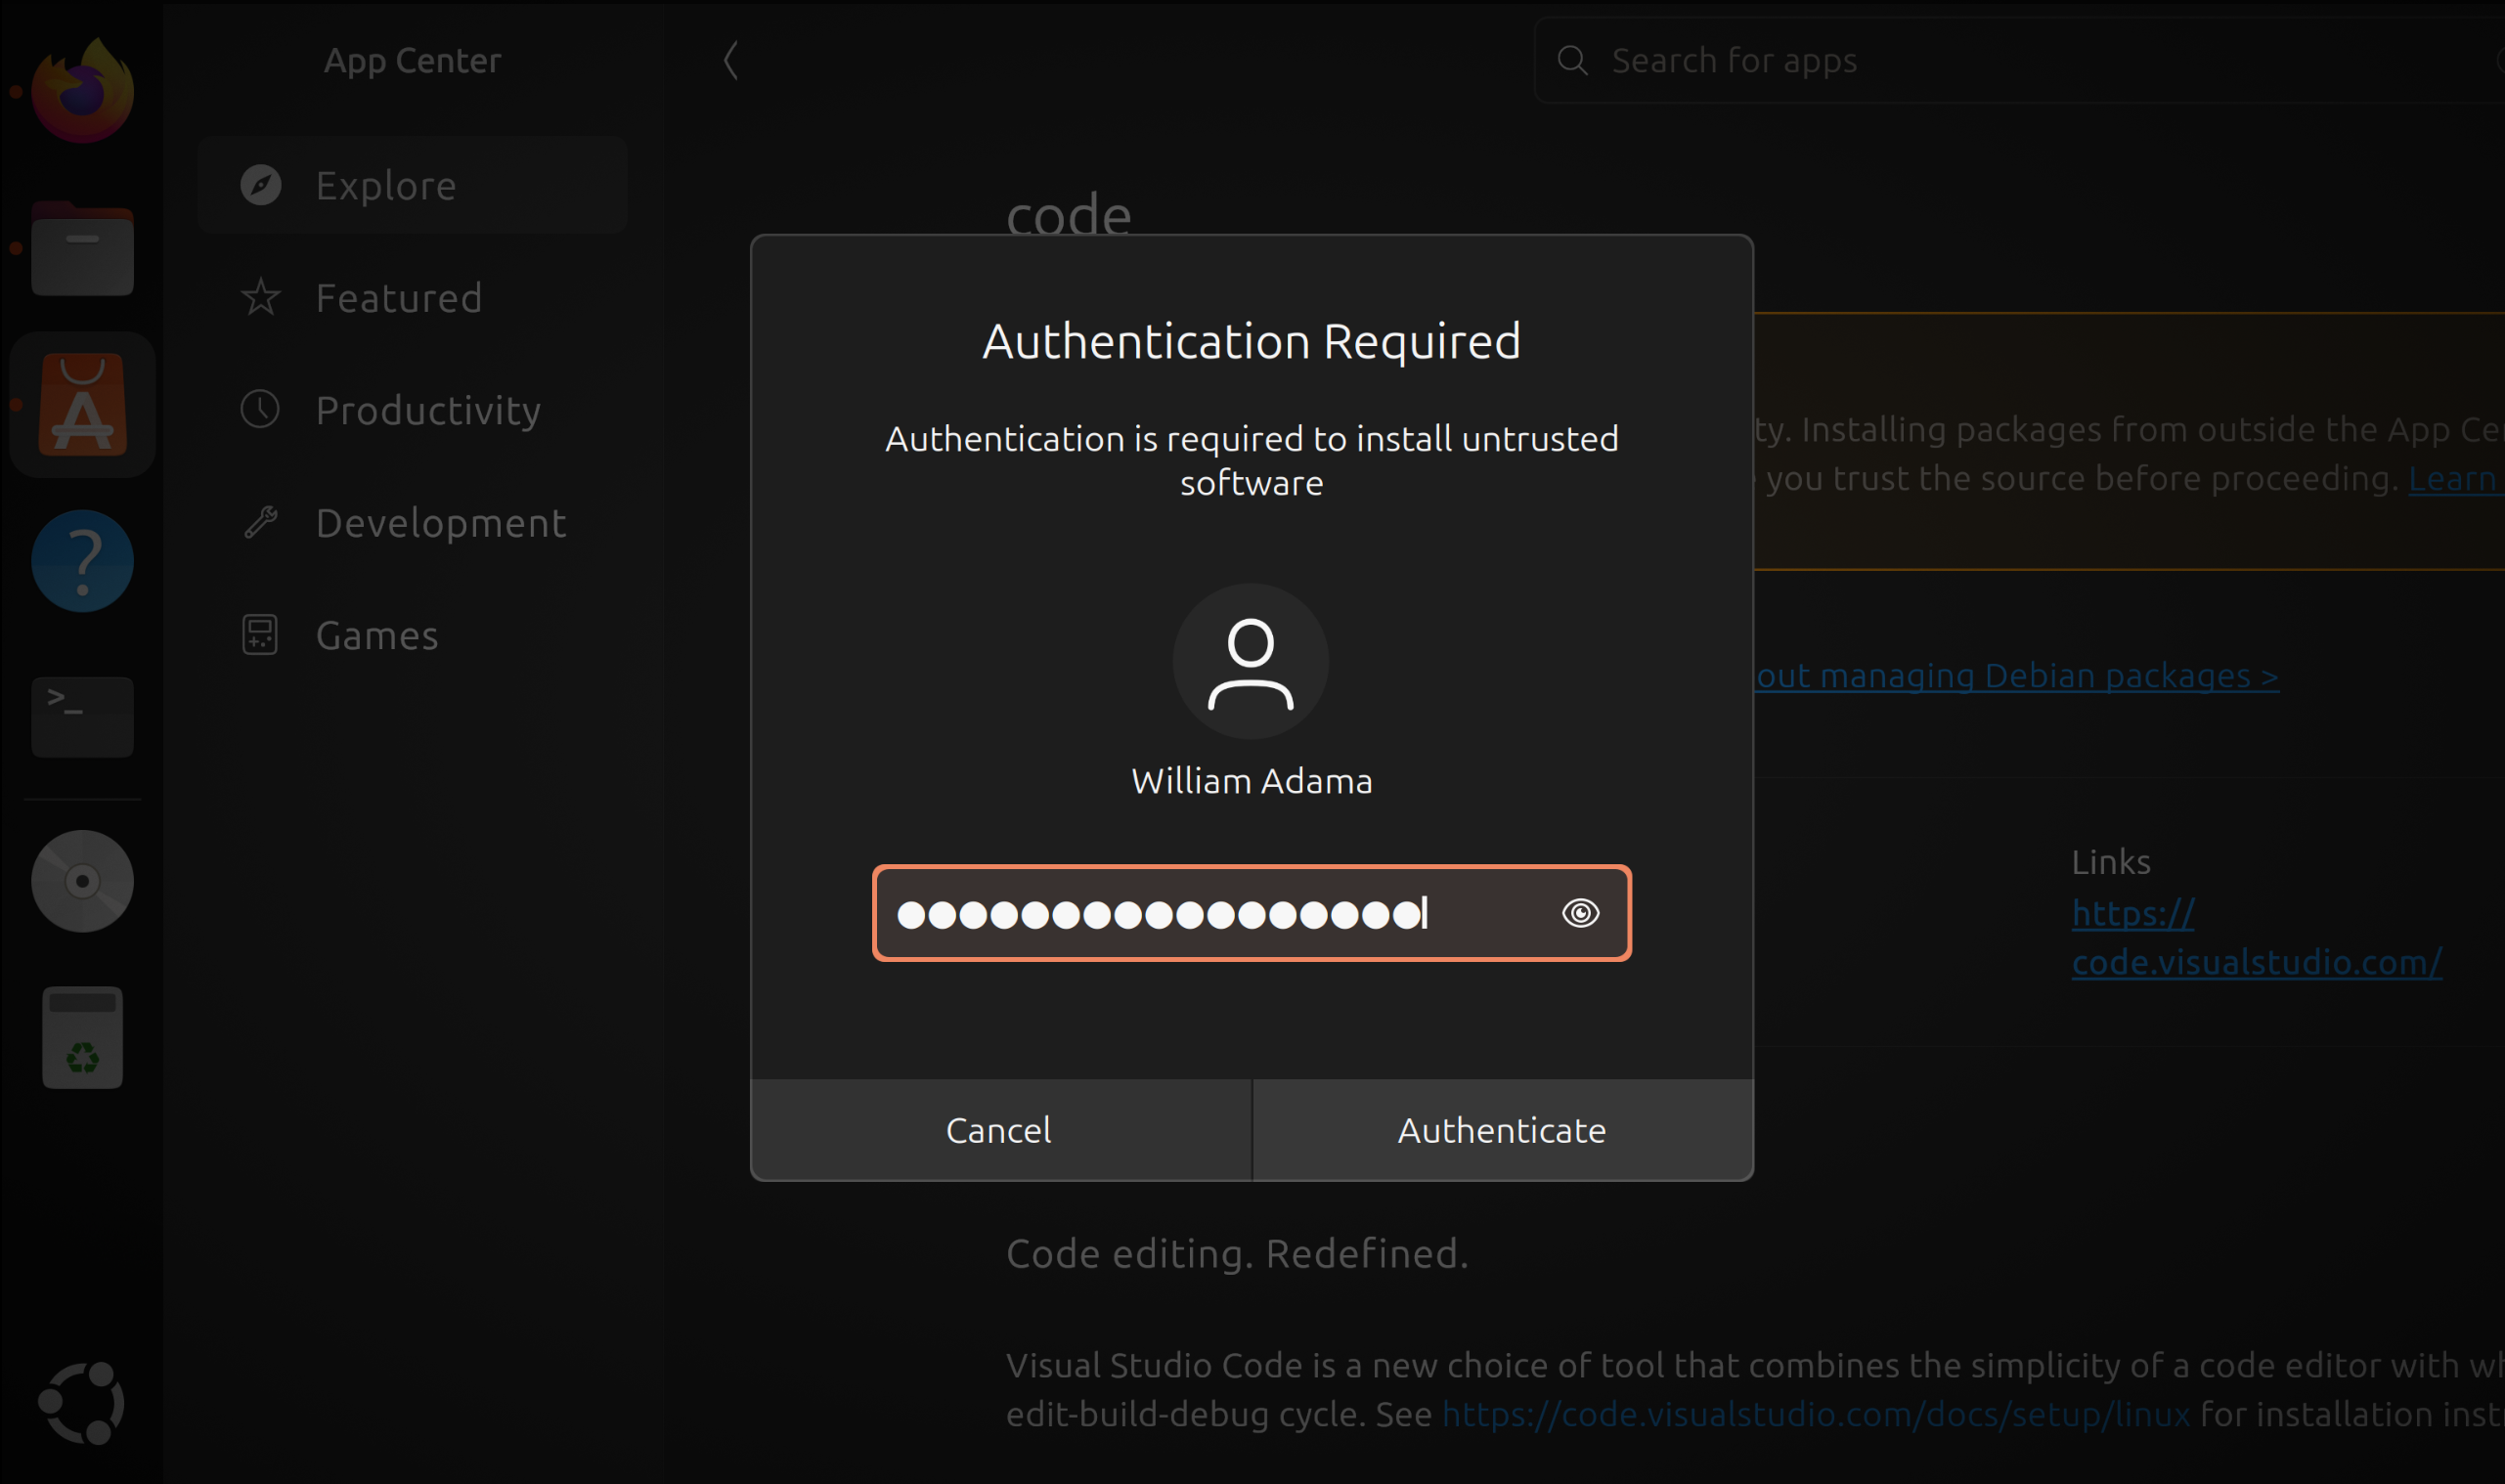
- You may be asked to enter your user password. Follow the directions presented.
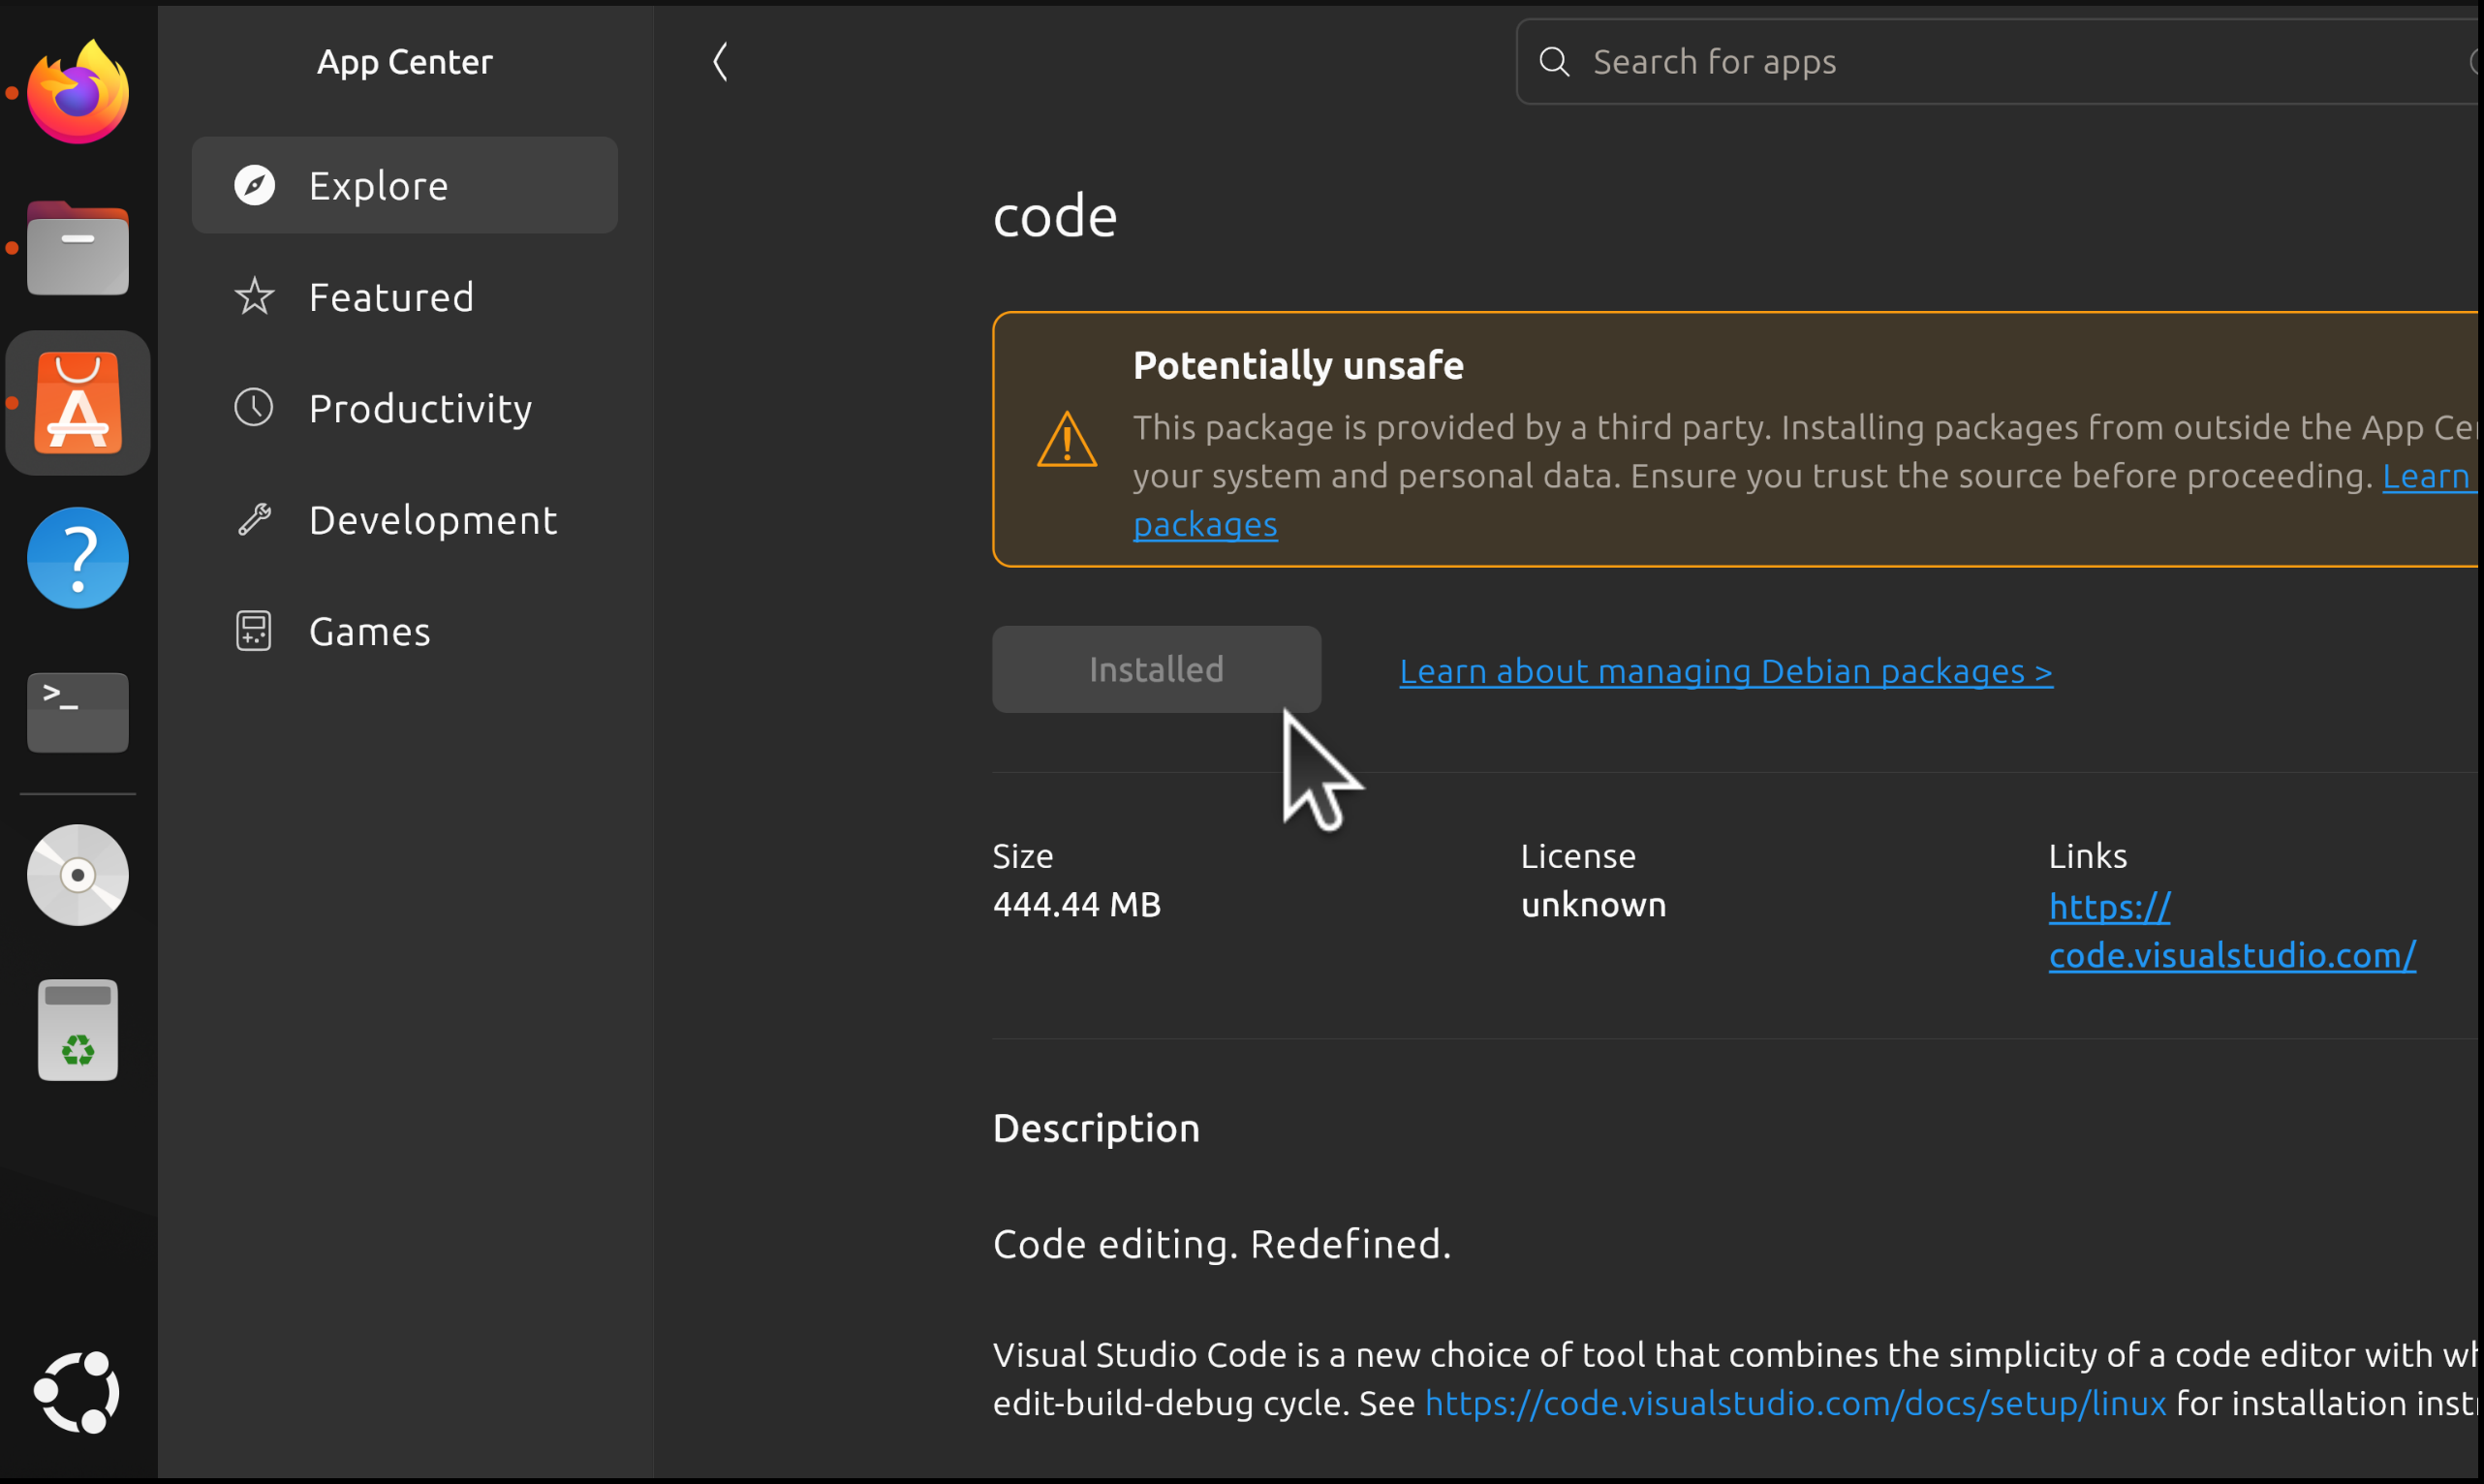
- Once the installation has completed, the
Installbutton's text will change toInstalledand the button will be disabled.
Step 2: Starting Visual Studio Code
There are two main ways to start Visual Studio Code.
Option 1
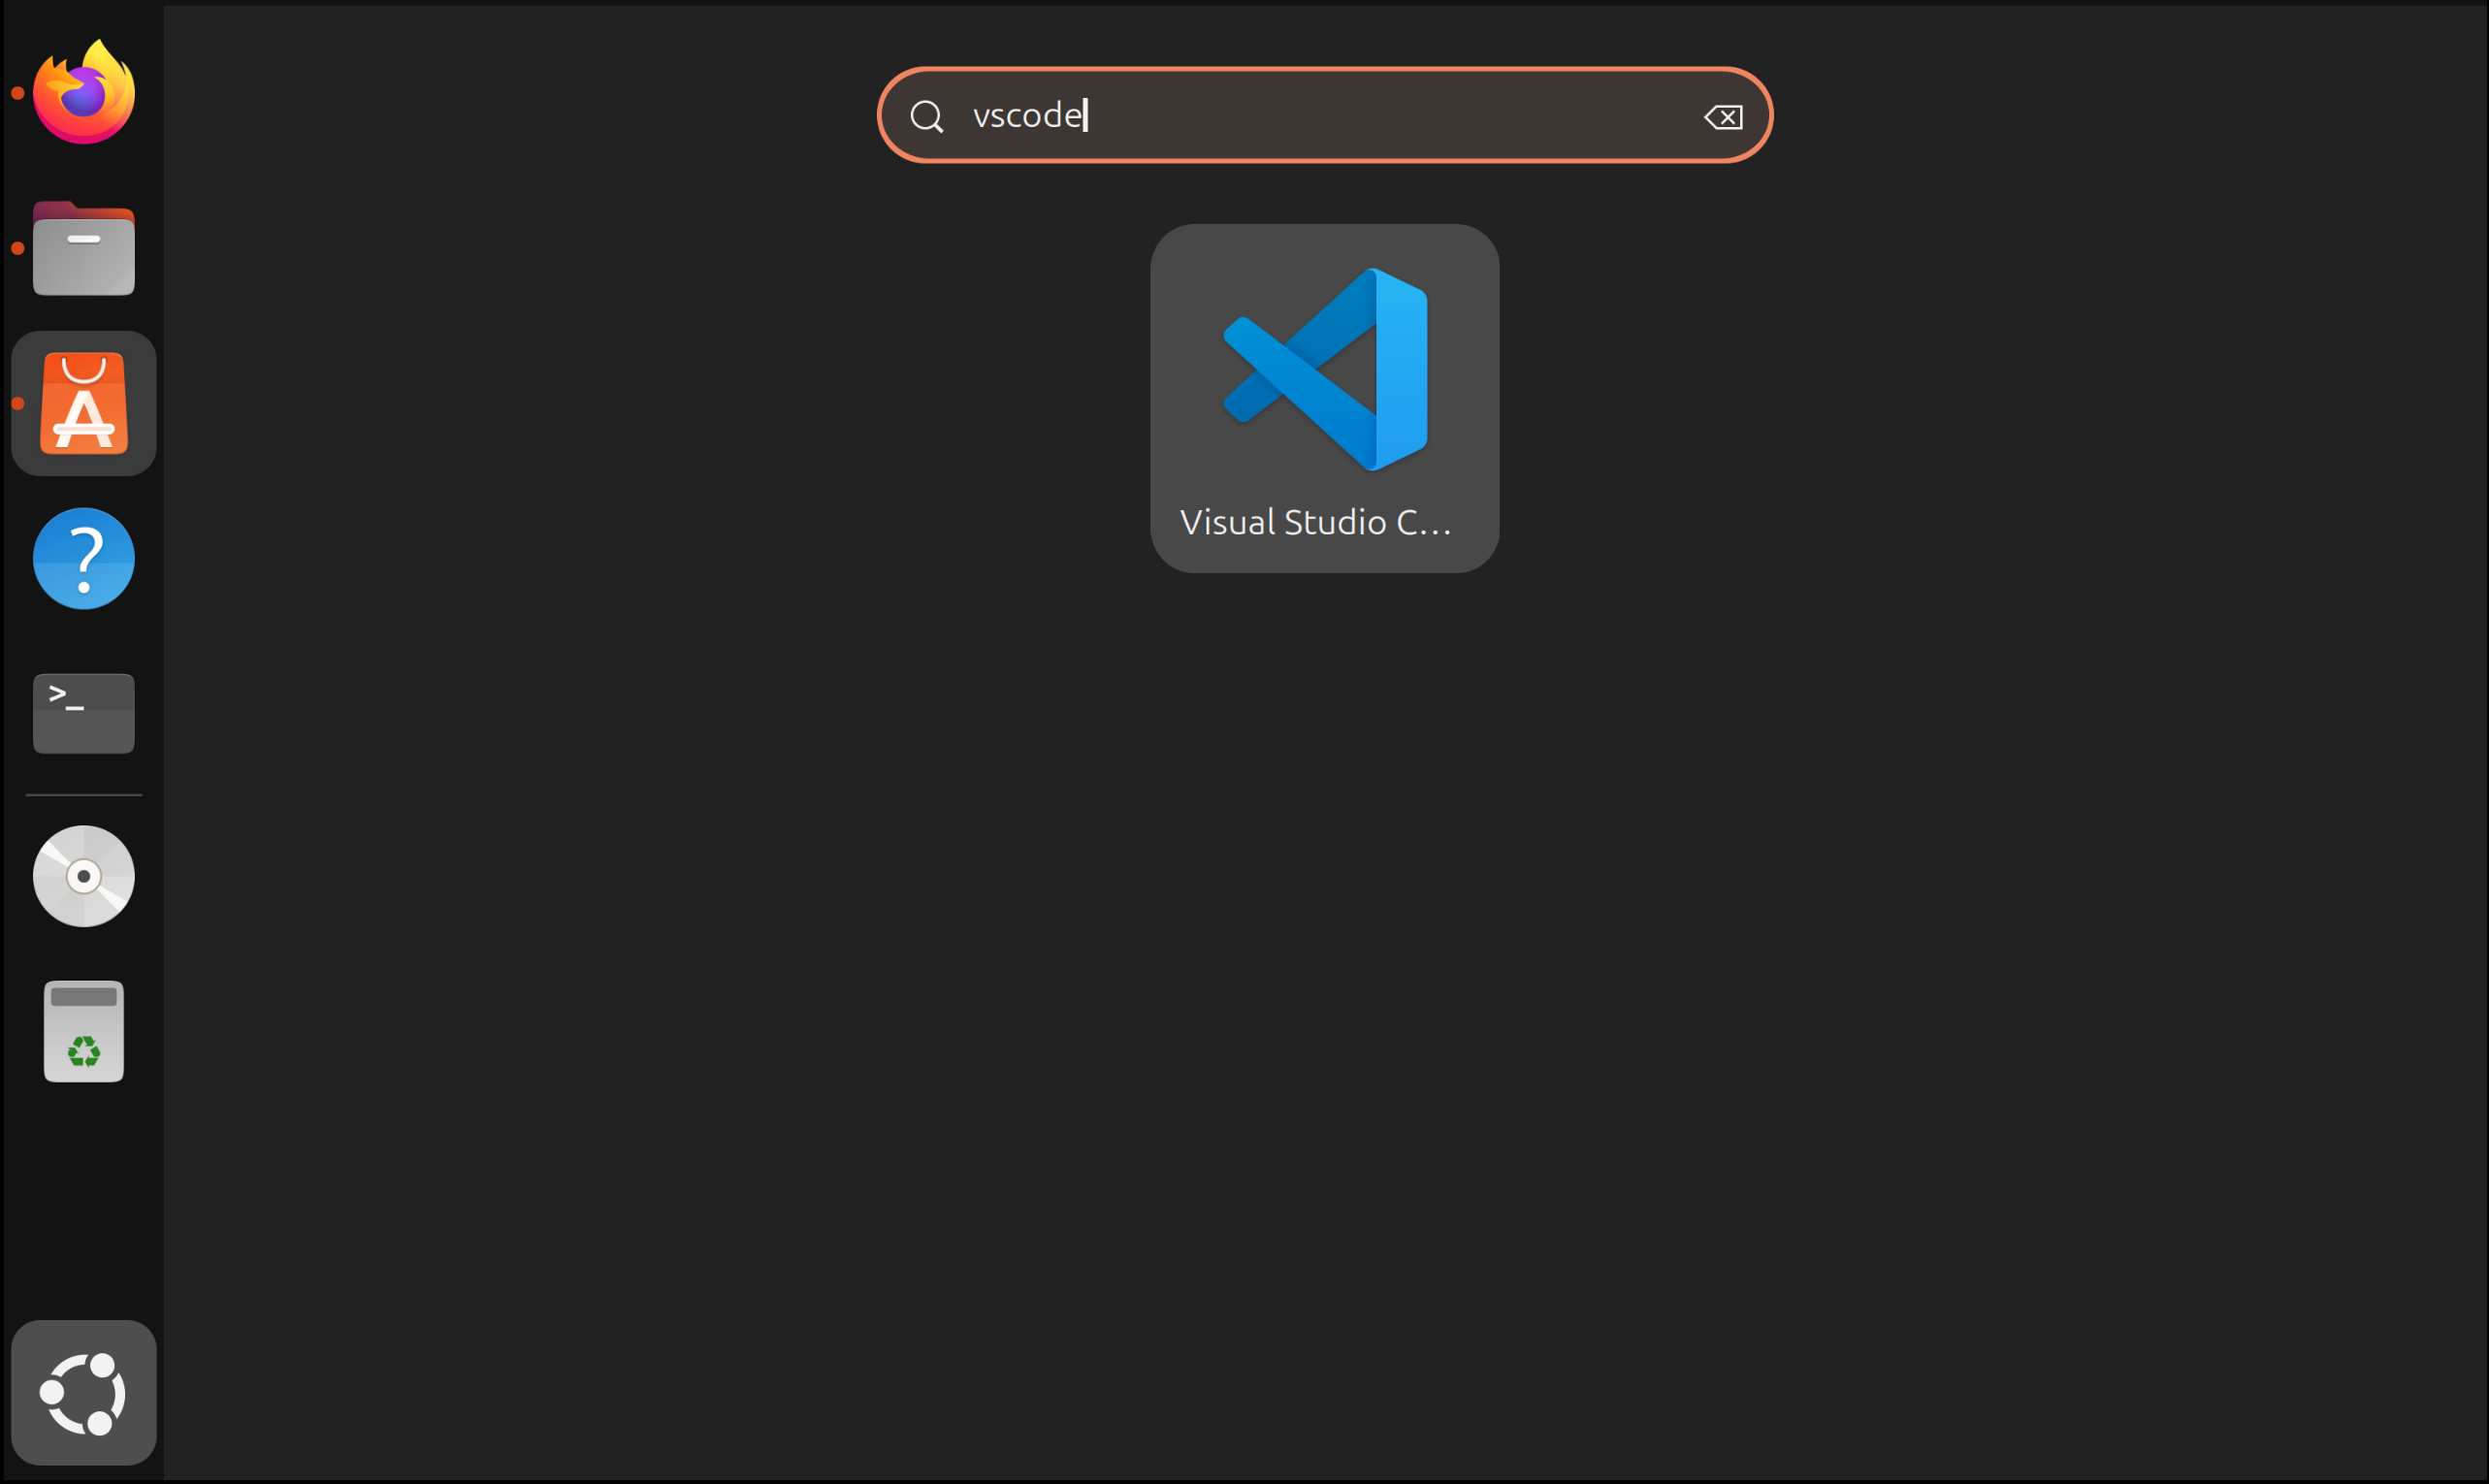
Click the Show Apps button in the bottom left-hand corner of the Dash (or the horizontal line icon at the top of the Dash) and type vscode in the search box that appears. Click on the VS Code icon to launch the application.
Option 2
Open your terminal and type code:
[ghp@hlt-vm] $code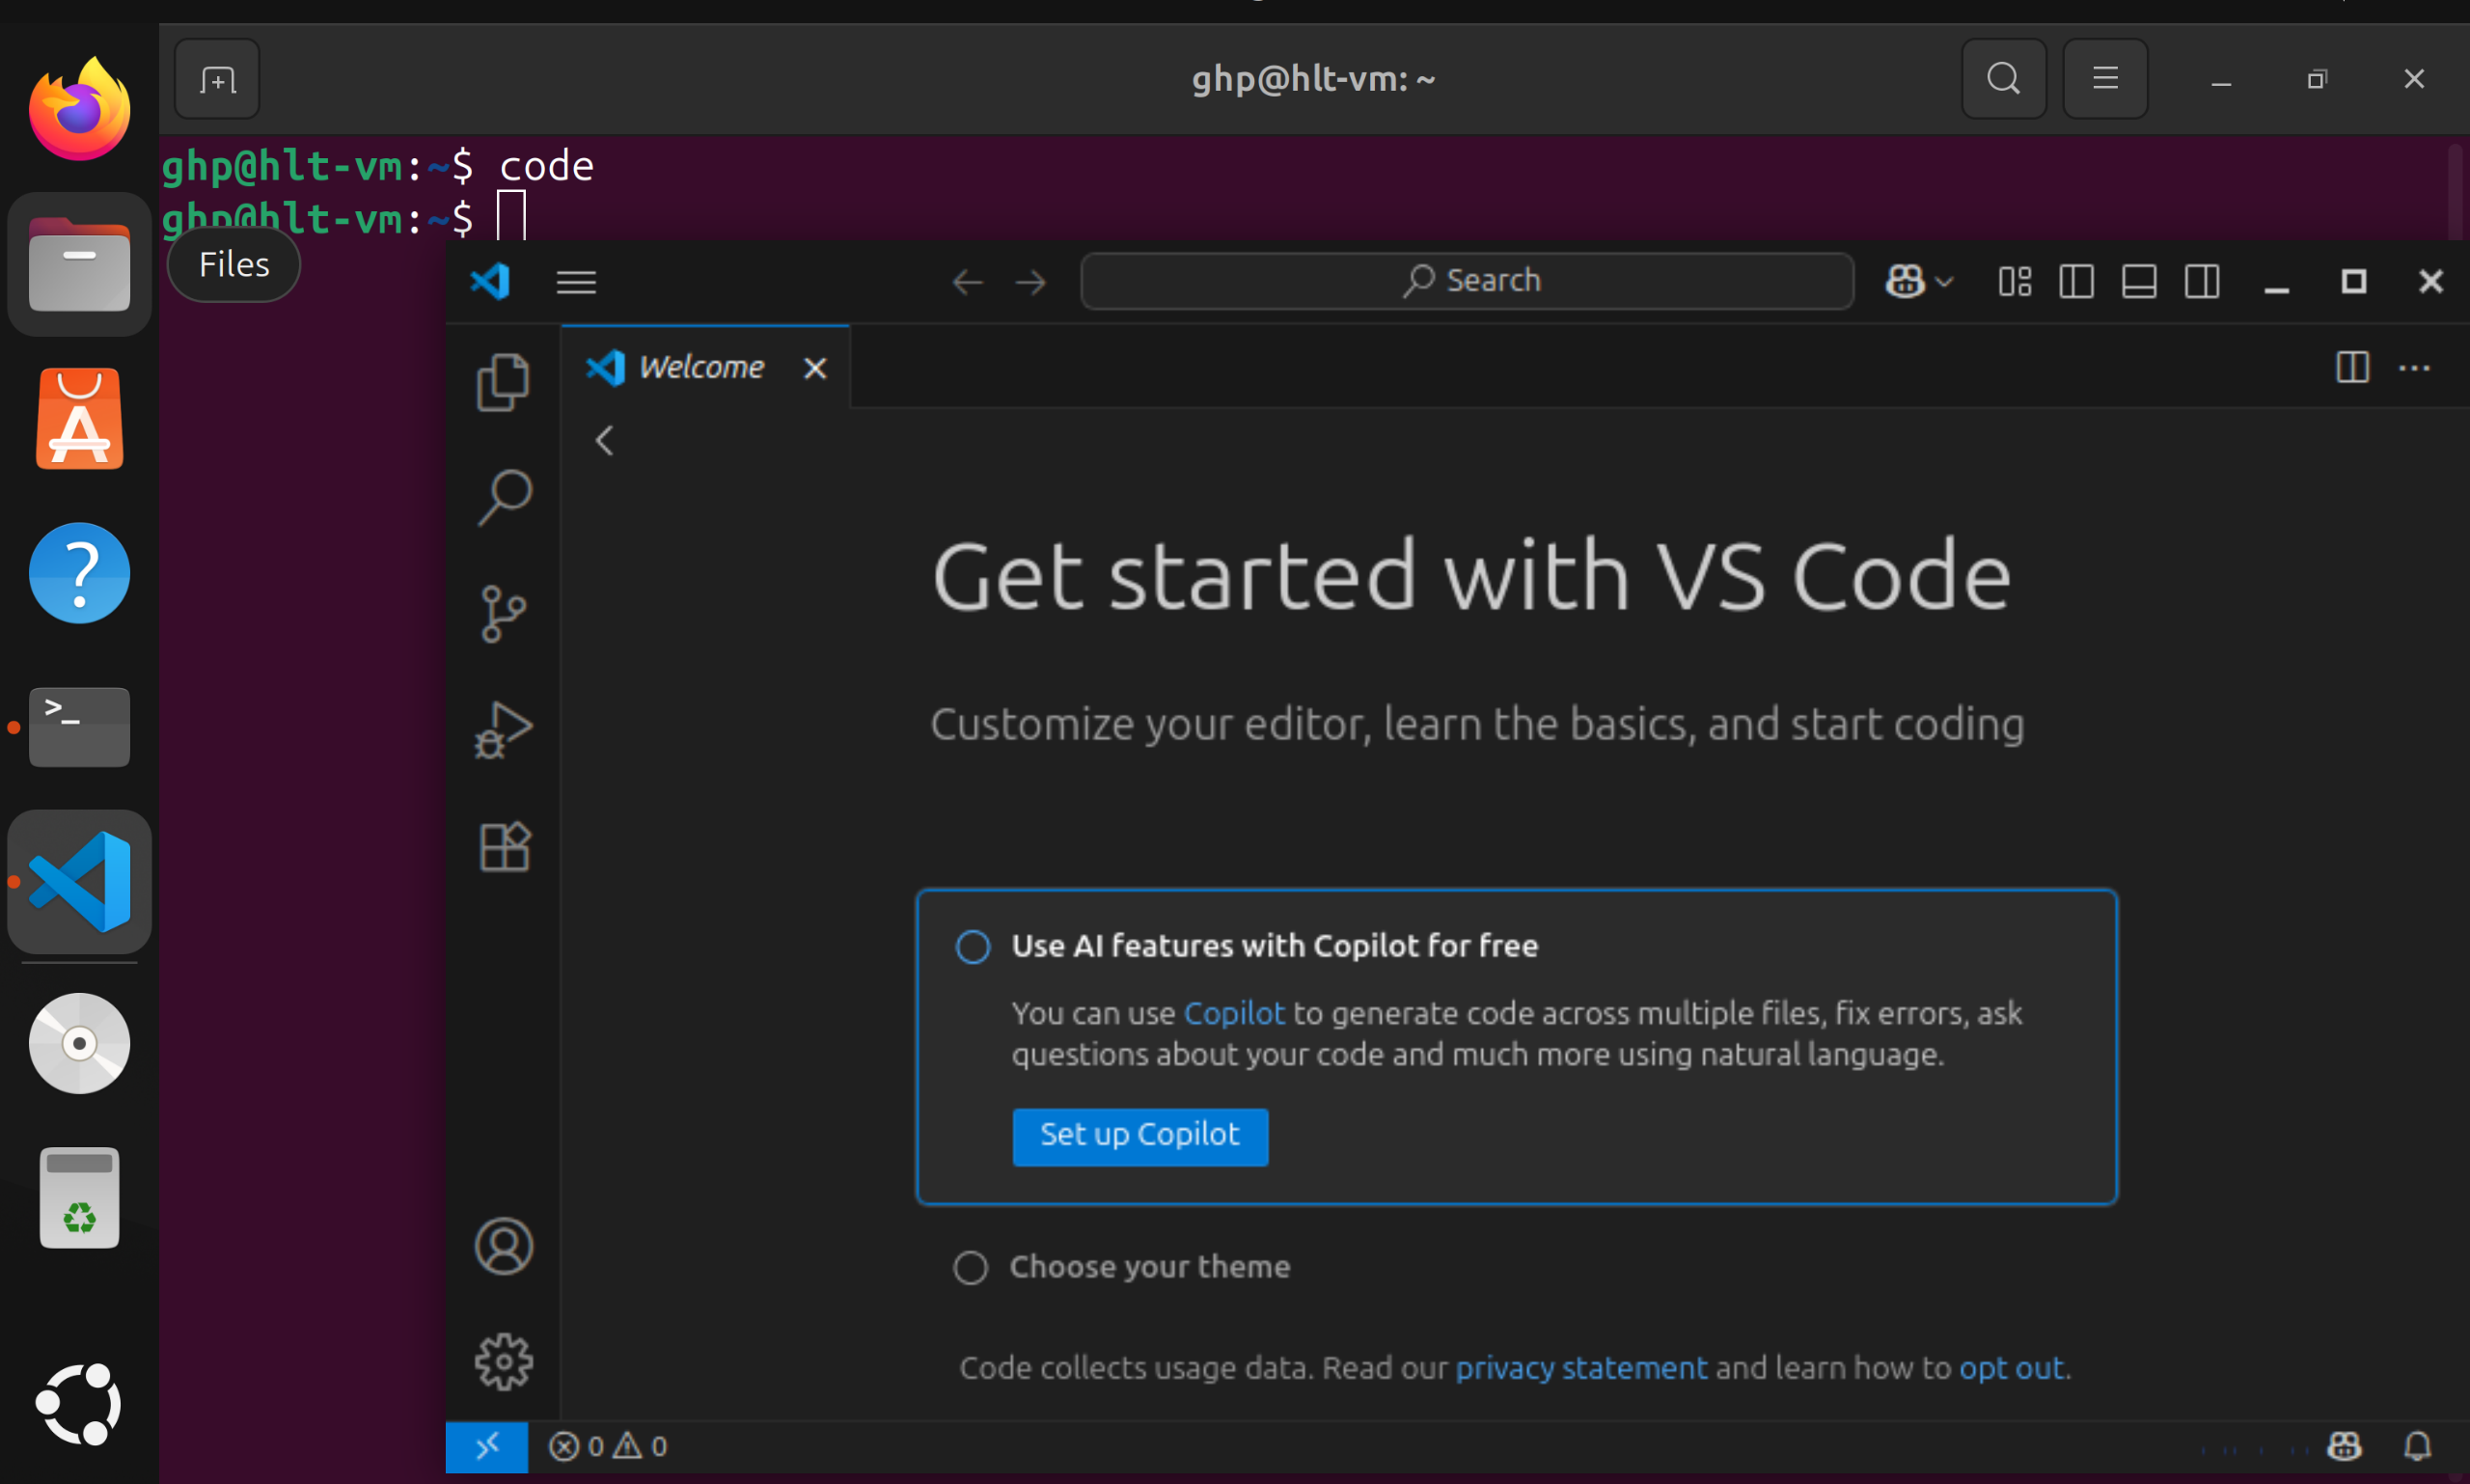
This should launch VS Code.
Step 3: Pin Visual Studio Code
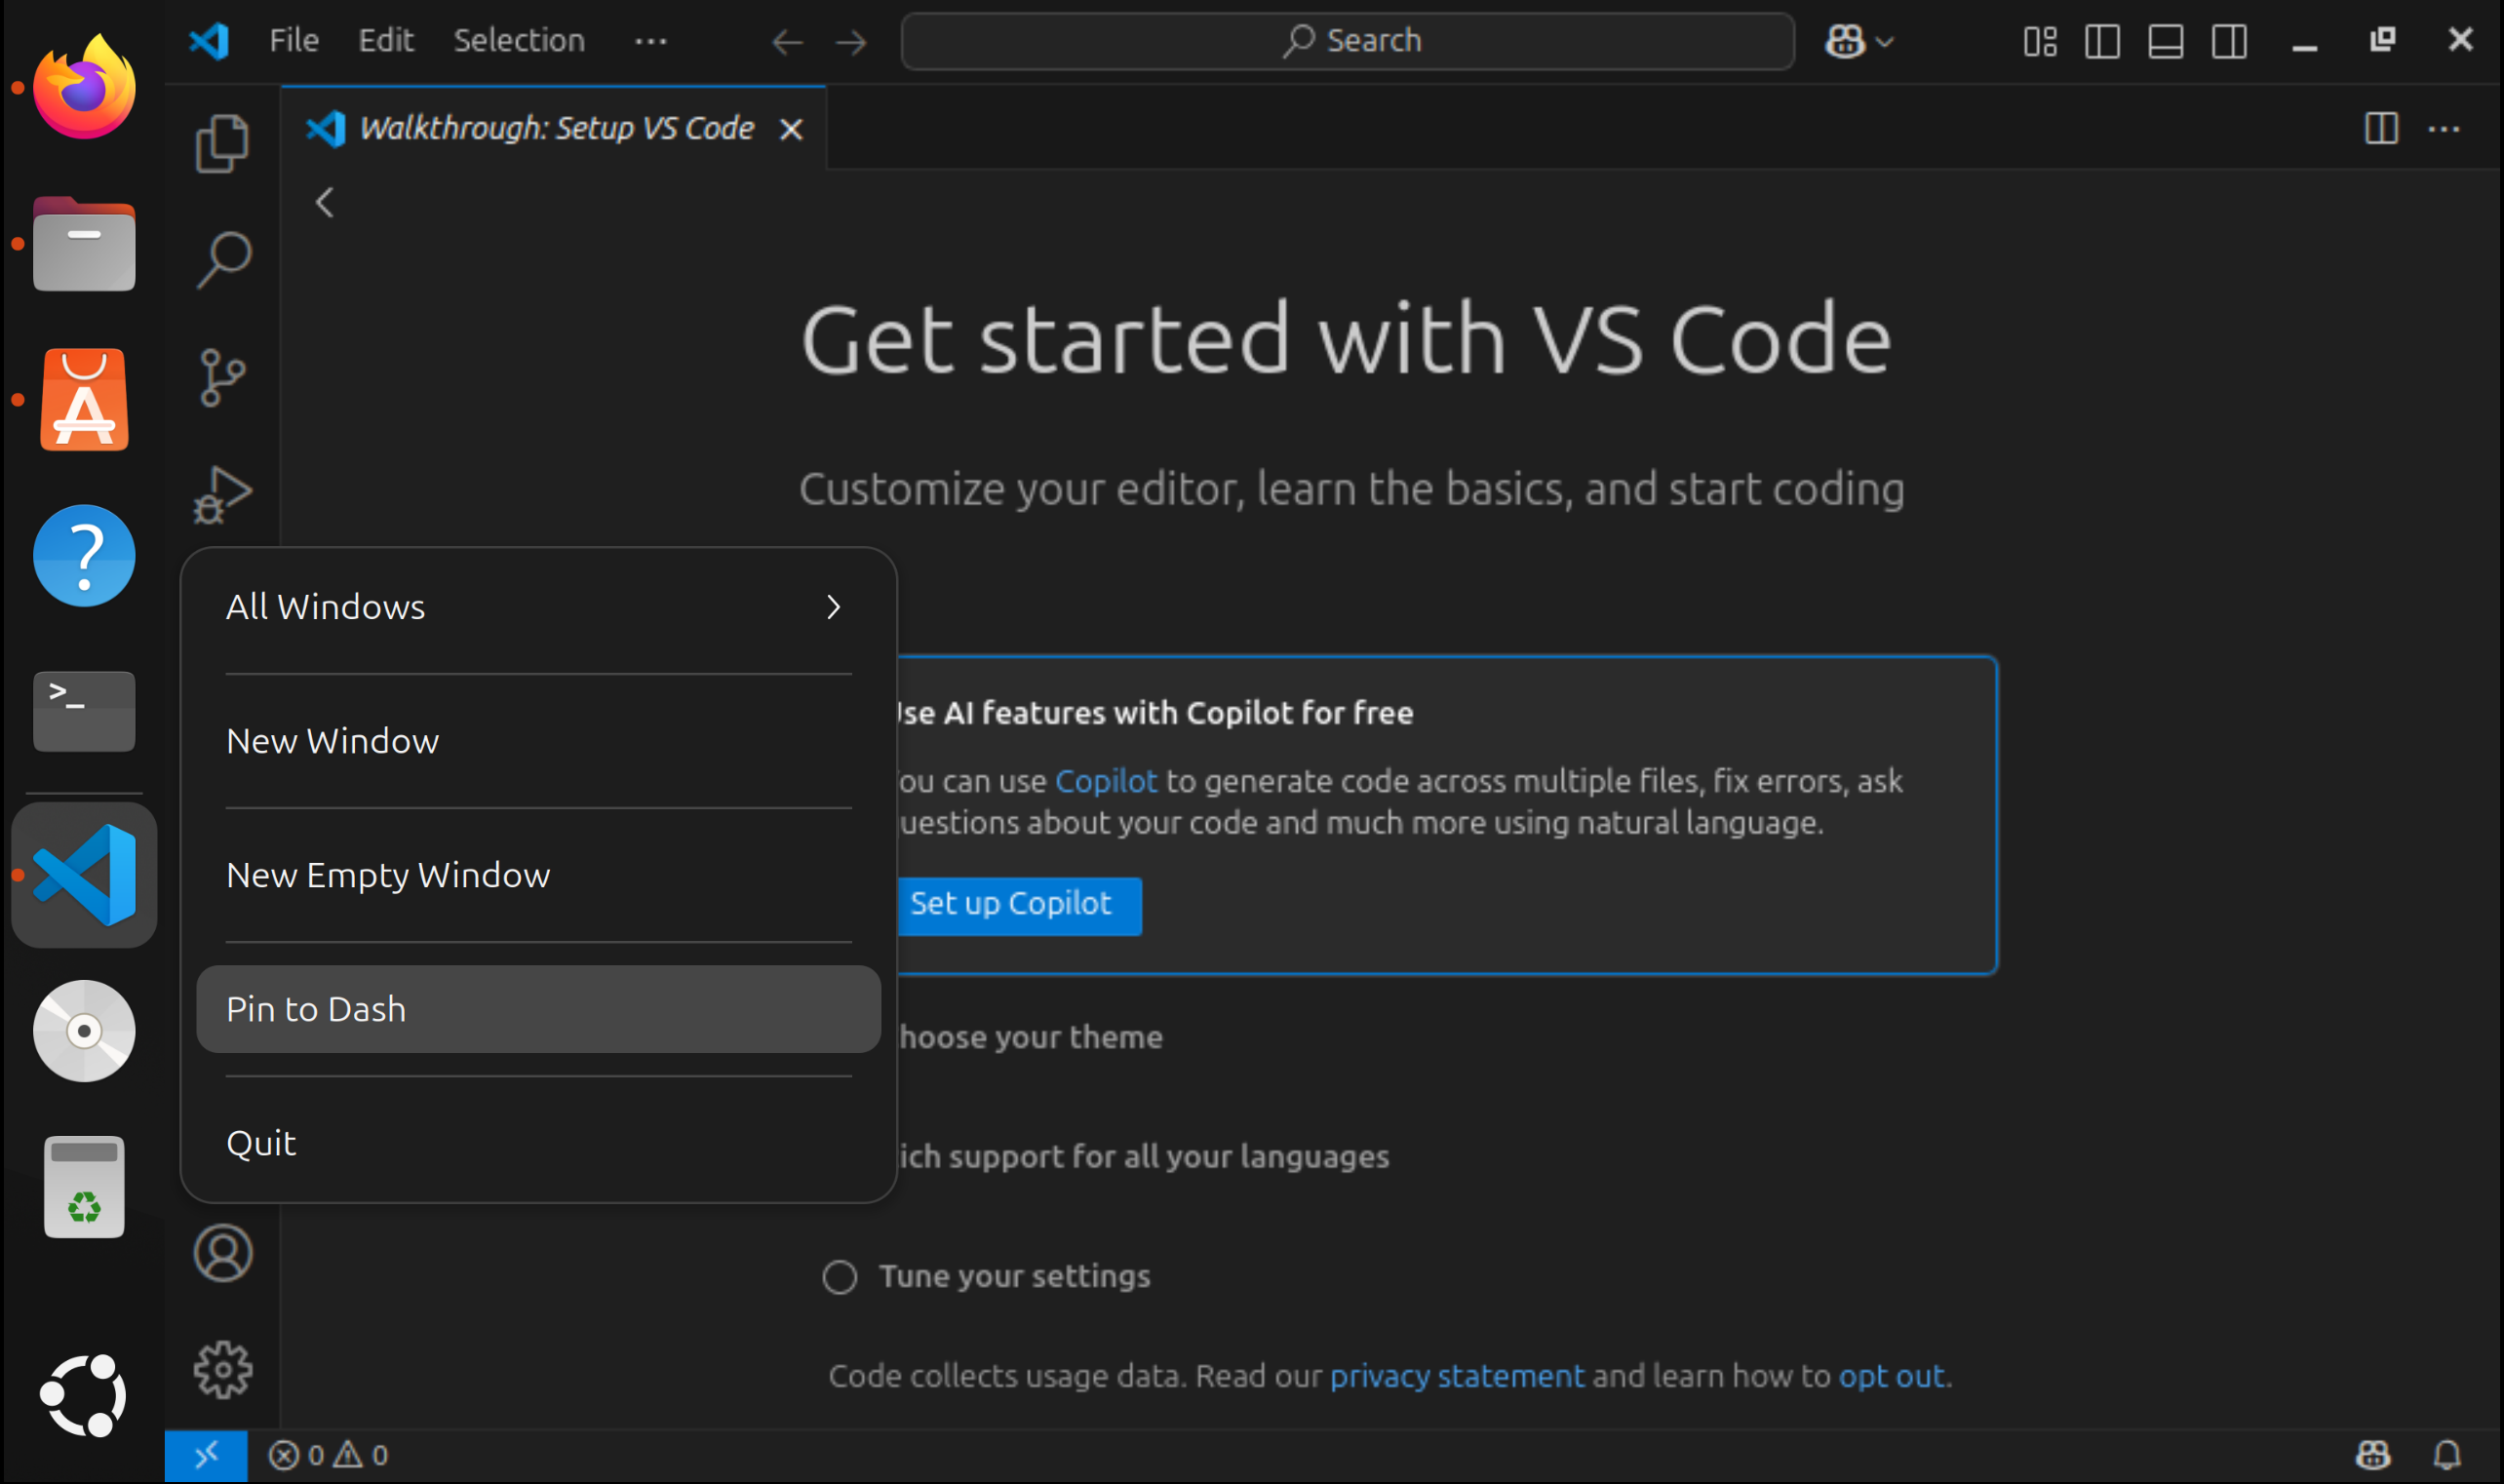
For easy access, you can pin Visual Studio Code to the Dash by right clicking on its icon in the dash and selecting Pin to Dash.